Double or Nothing

I often run out of space on my MacBook. It’s one of the second generation Airs, from 2010, the entry-level model. It came with a 120GB drive, which seemed a bit small at the time, and has looked increasingly tiny as I’ve added Eclipse and Xcode and other development stuff over the years. I’ve recently moved most of my web development to virtual machines, which is a great way of doing it, but does take up some space. My Mac has many Linux boxes on it.
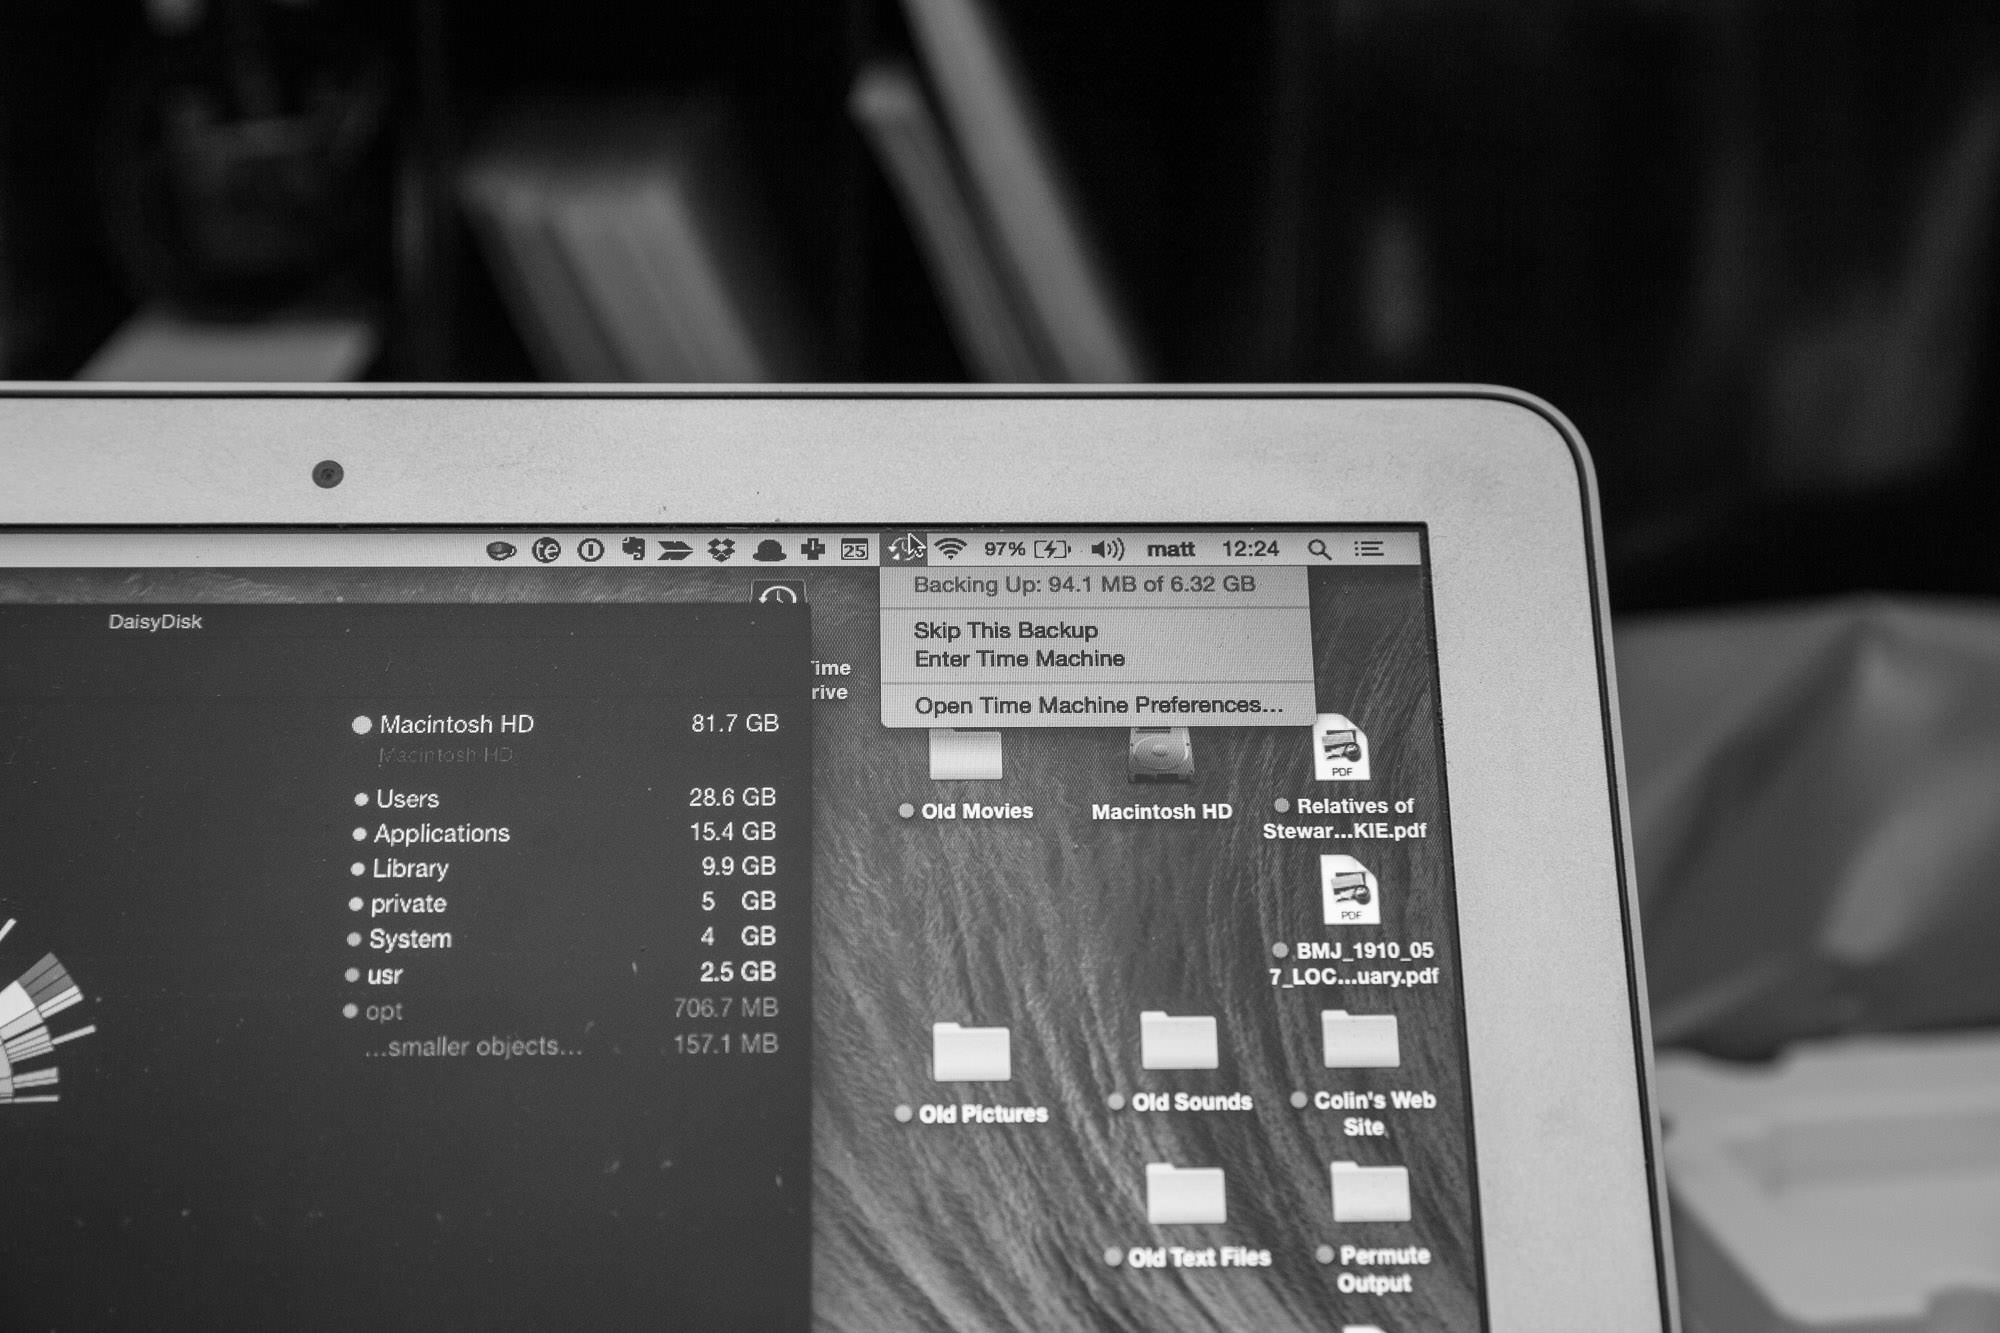
 I battle valiantly, the gorgeous DaisyDisk my steadfast companion, and dump a few gigs of extraneous stuff, and then the space fills up again over a couple of months, and the cycle repeats itself.
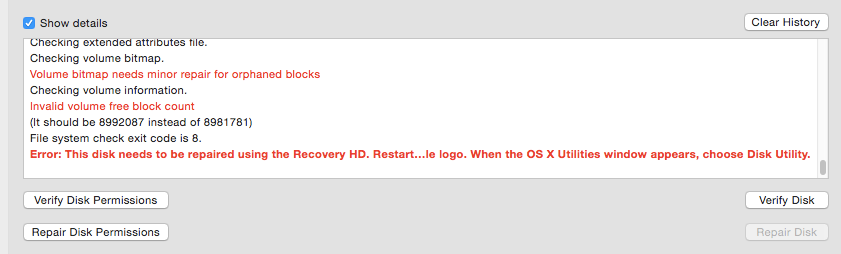
I had it in my head that upgrading the solid state drives on these tiny Airs would be difficult, perhaps even impossible without Apple’s help. The storage would be soldered in, or getting to it would be a nightmare, I thought. Recently, further problems (you know it’s not good if Disk Utility tells you that you need to boot from the Recovery partition) prompted me to look more deeply into getting the Air fixed, upgraded, or possibly part exchanged.
And what do you know? After all this time thinking it would be really difficult, it was actually a doddle.
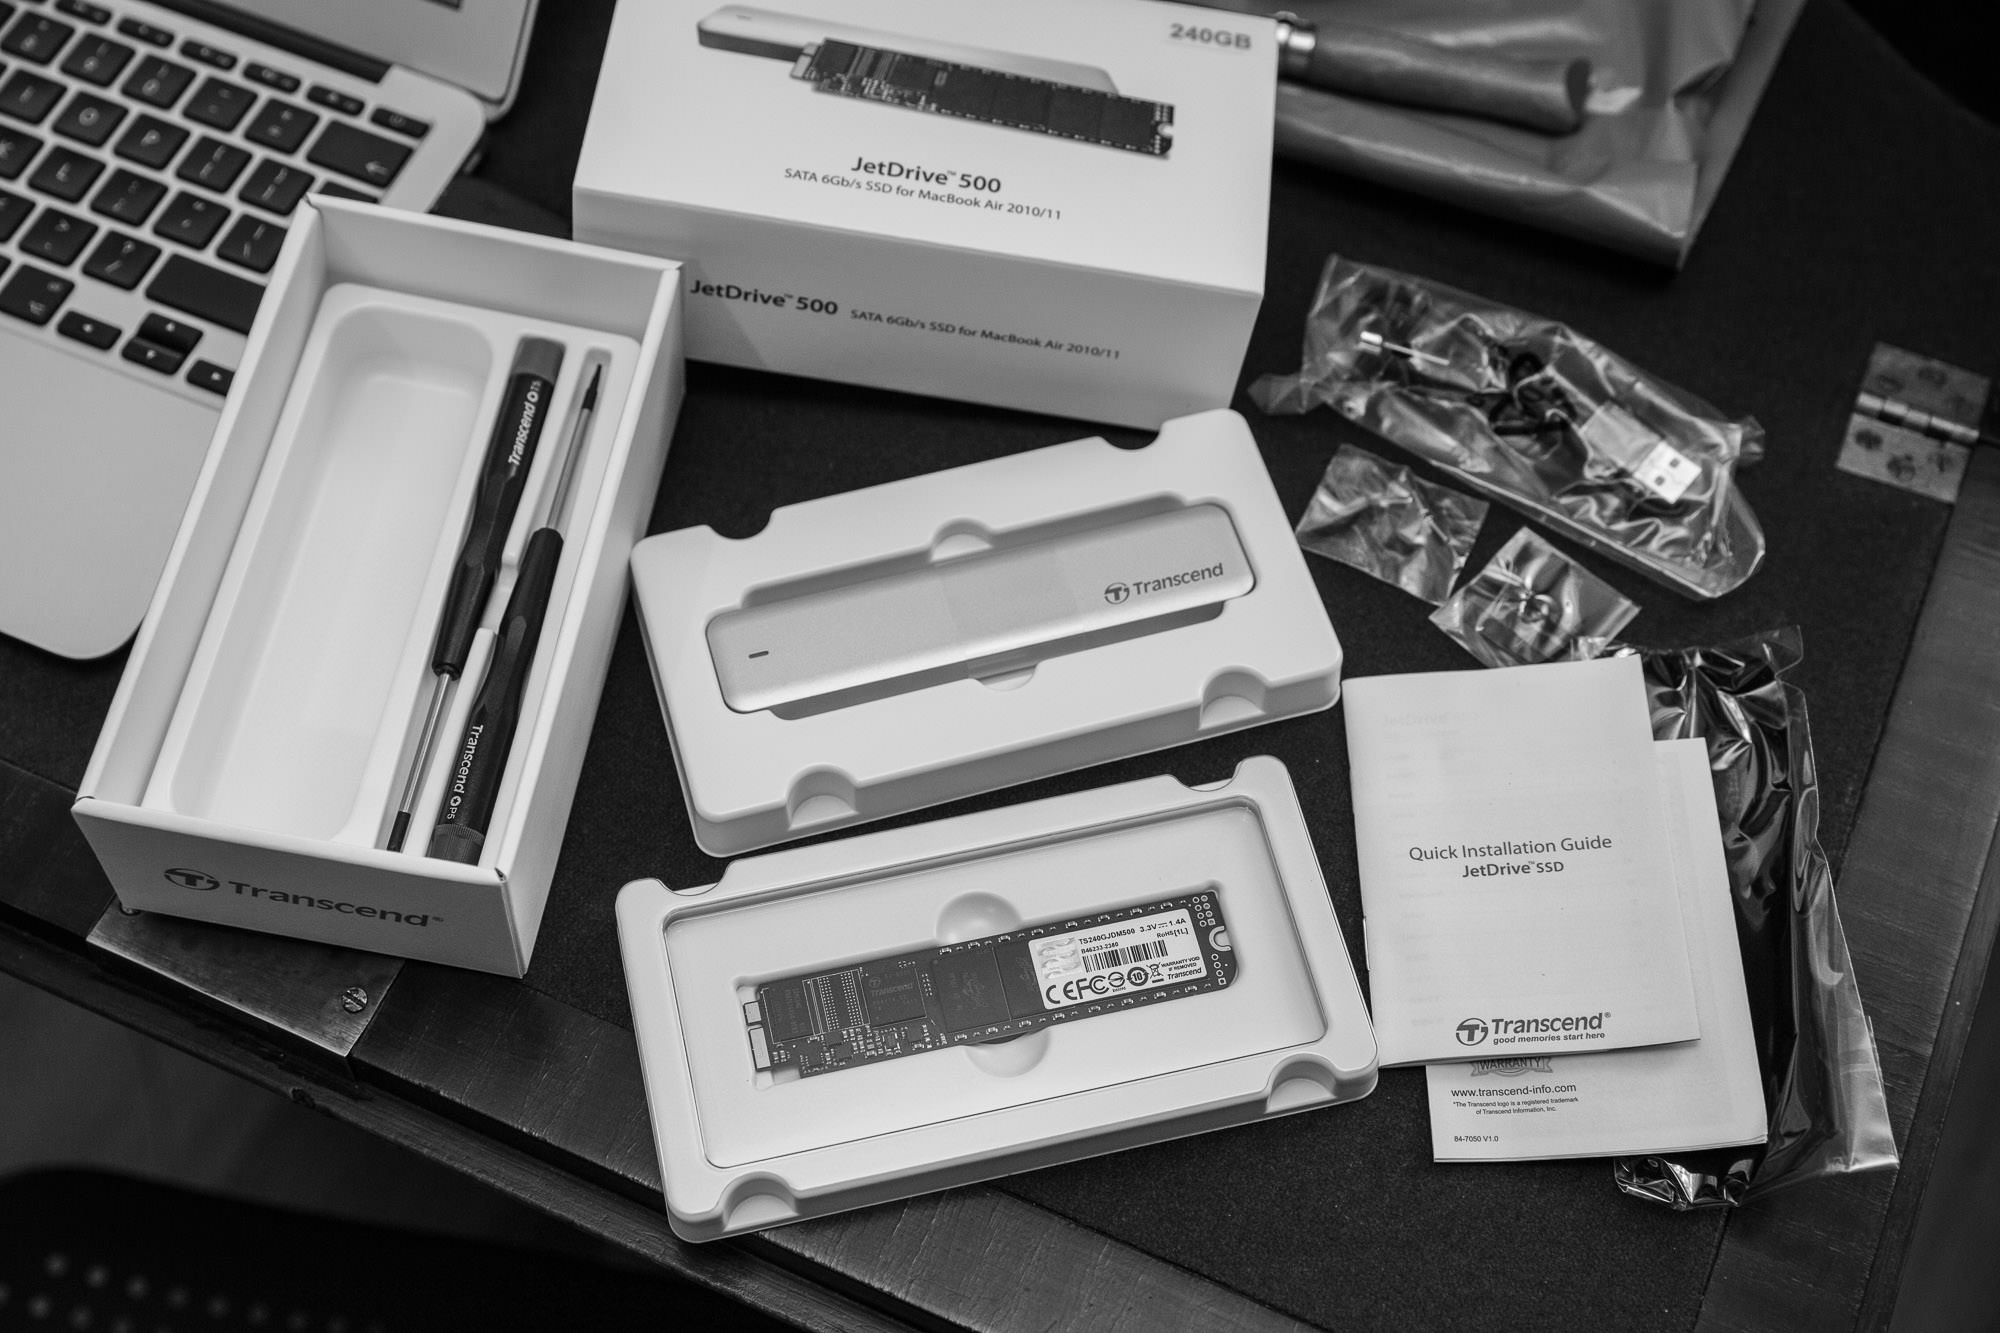
The ever-helpful EveryMac made the job sound relatively painless. I checked their UK sponsor, Flexx, and for £136.99 I bought the cheapest SSD upgrade kit they sell for my Air, which is double the size of the original drive.
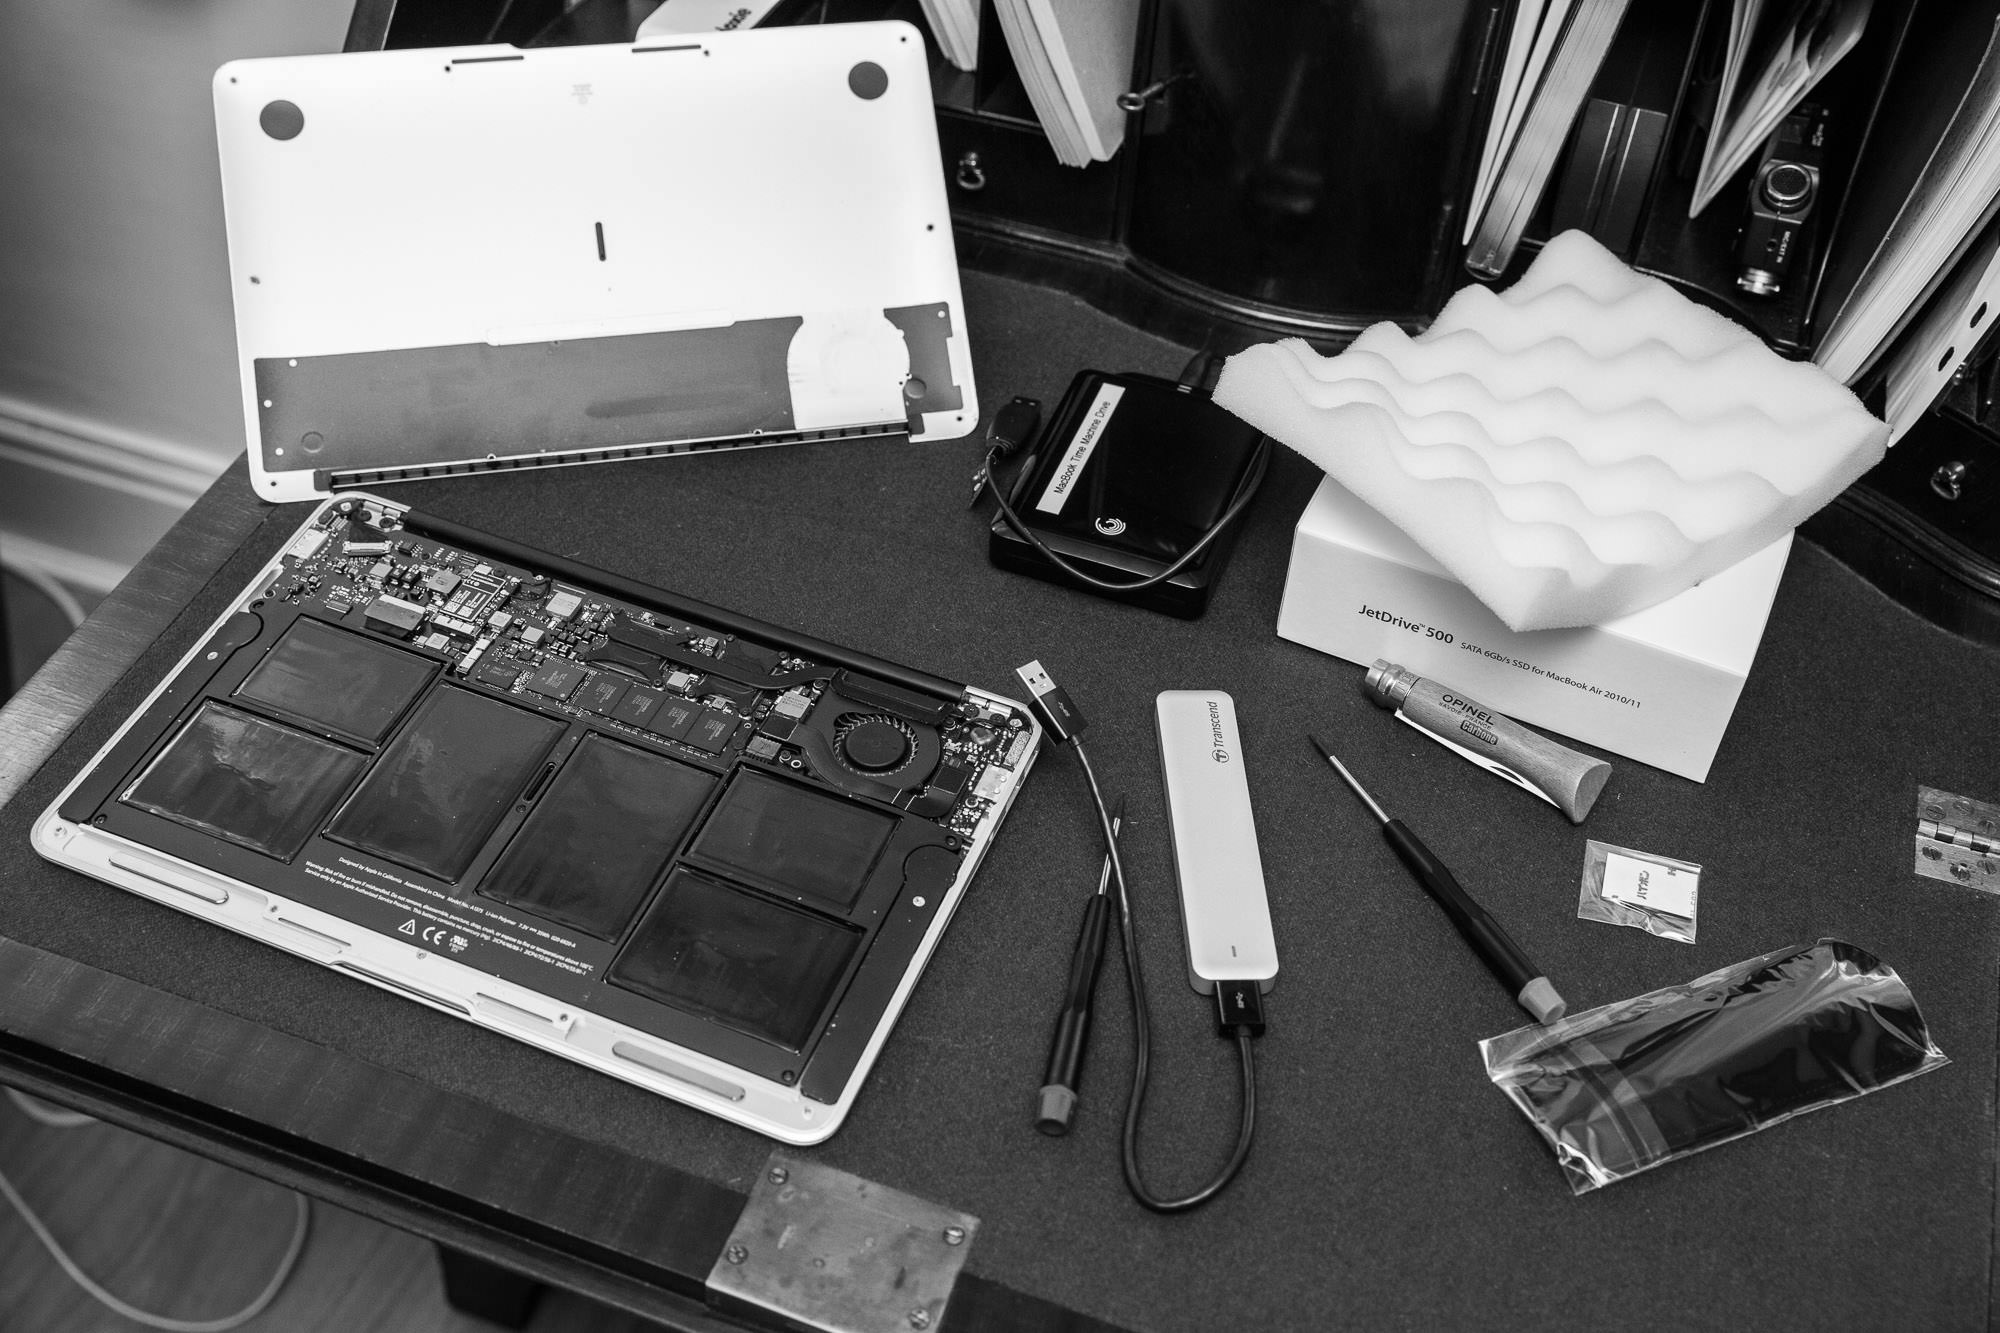
Things couldn’t have gone more smoothly. I ordered the drive at 3pm yesterday, and it was at my door by 11am today. Pretty good for free delivery. The kit’s both well-presented and well-thought-out. As well as the replacement SSD and the screwdrivers you need — Apple encourages you not to void your warranty by using special 5‑lobed “Torx”-style screws — the kit comes with a USB drive enclosure for the SSD, which is a brilliant idea.

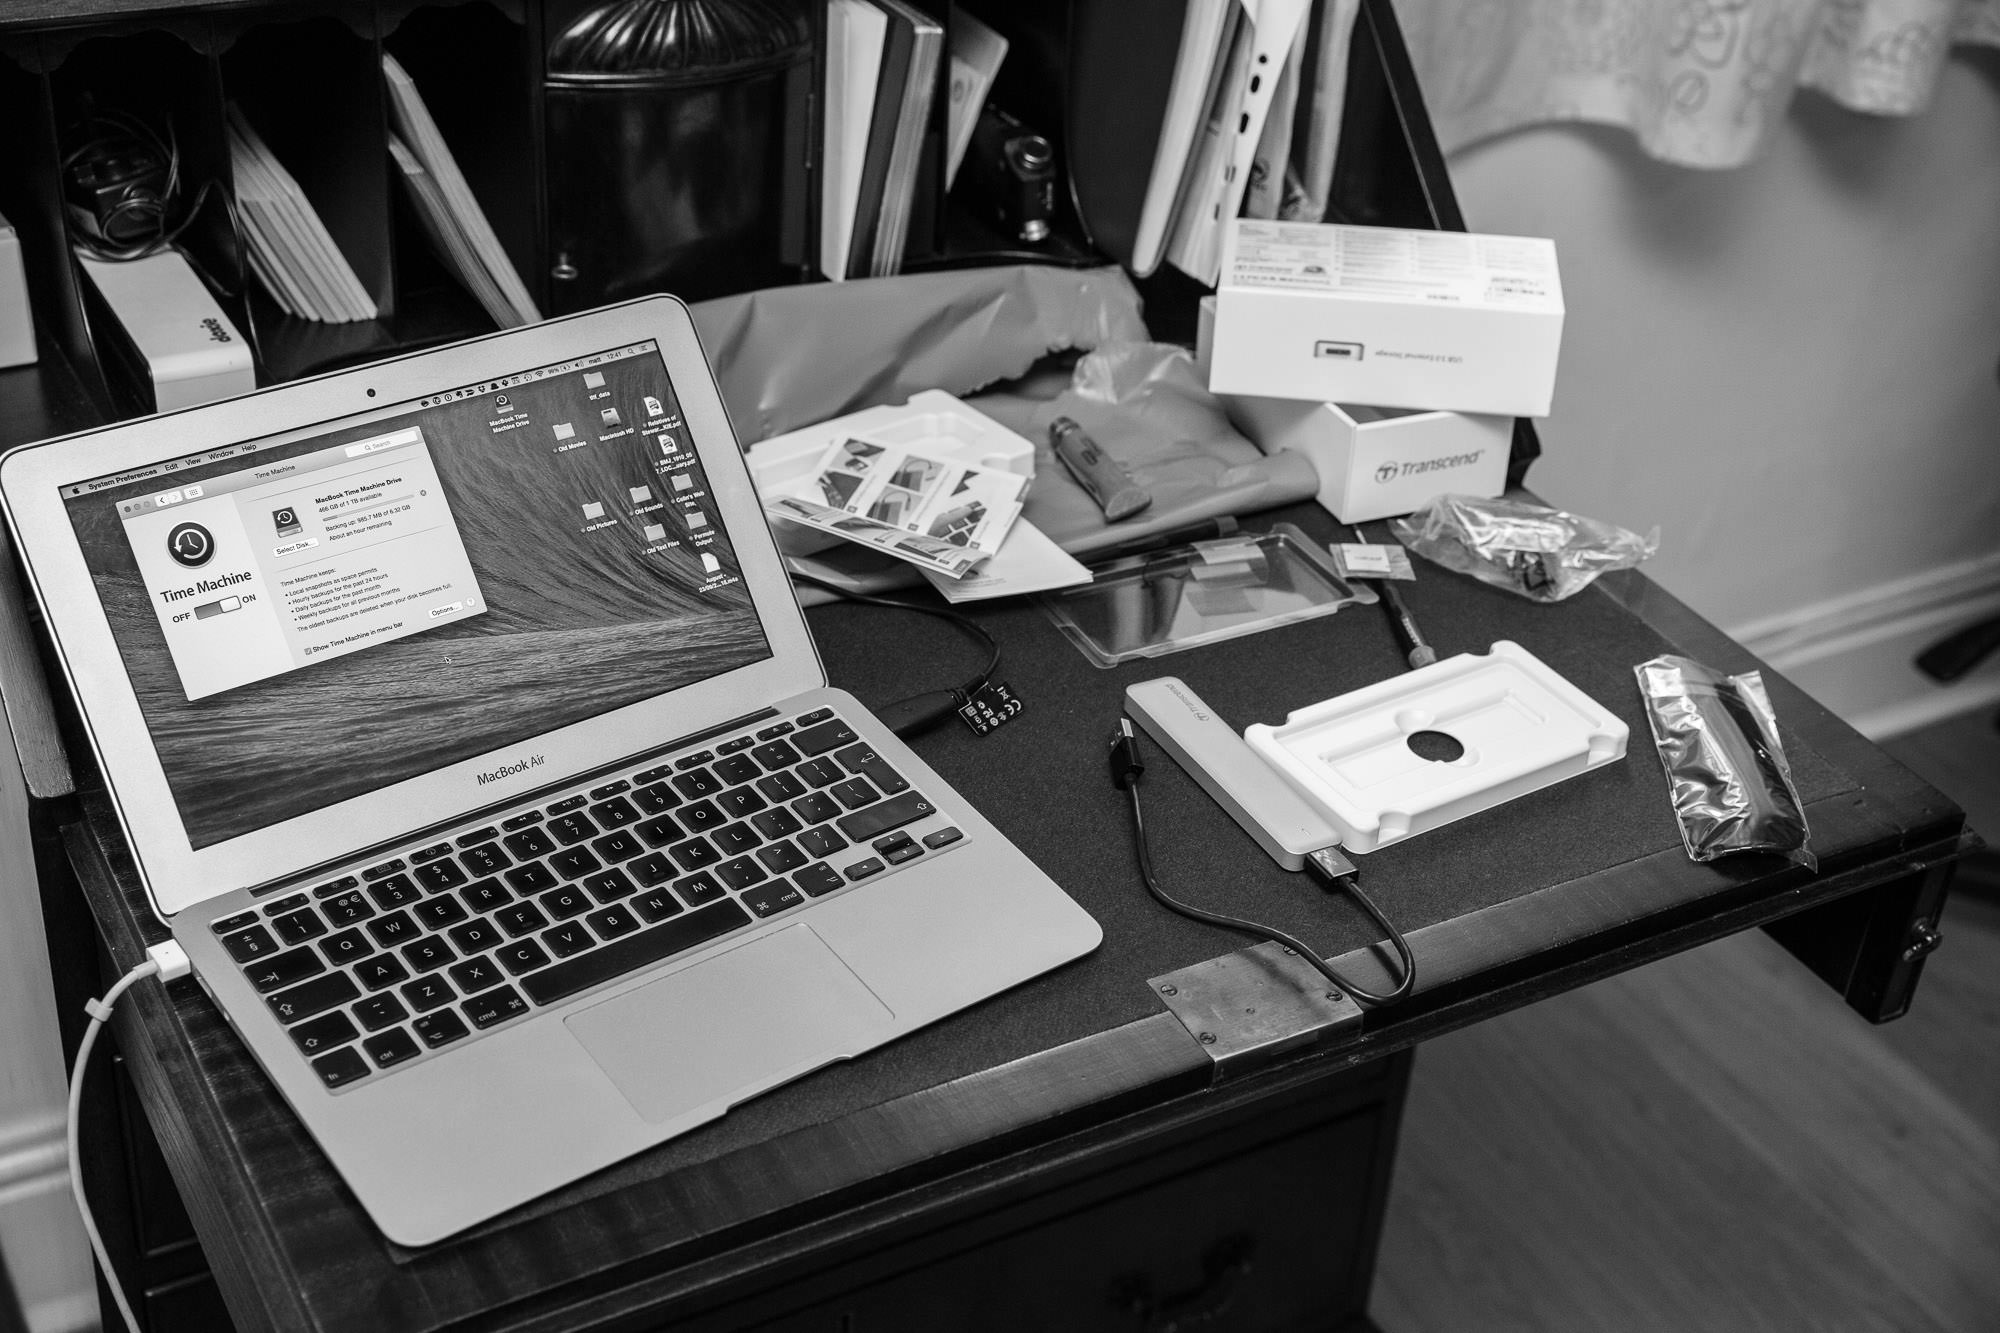
Before you open your Mac, you fit the upgrade SSD into the enclosure. Then you connect it to your Mac and clone your current drive over onto it. Then, when you swap it into your machine, it’s already got all your data on it. (Naturally, though, I did a full backup to my normal Time Machine drive first, just in case.)
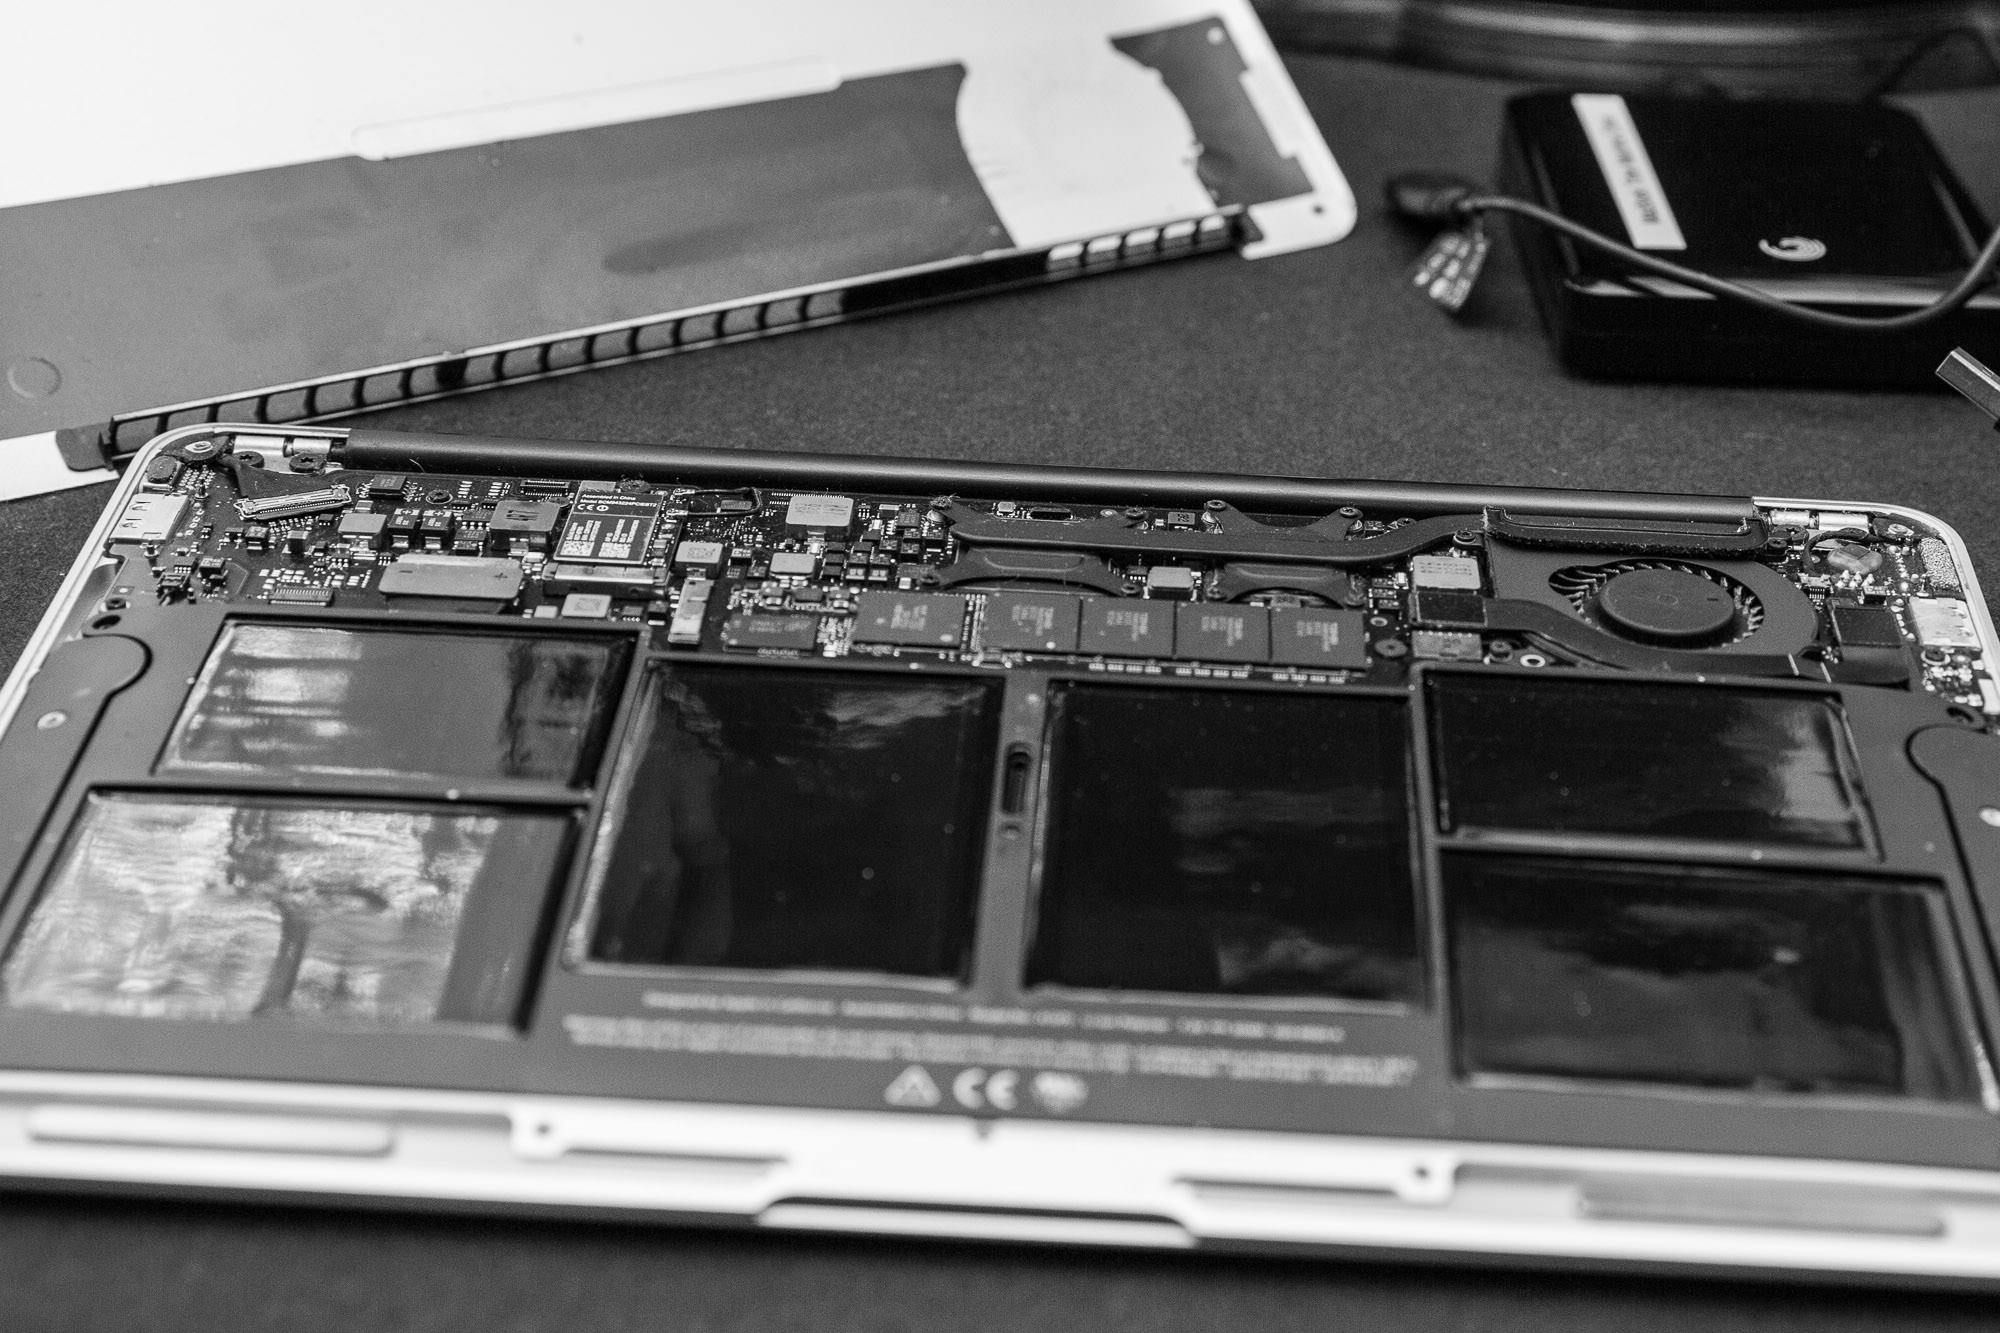
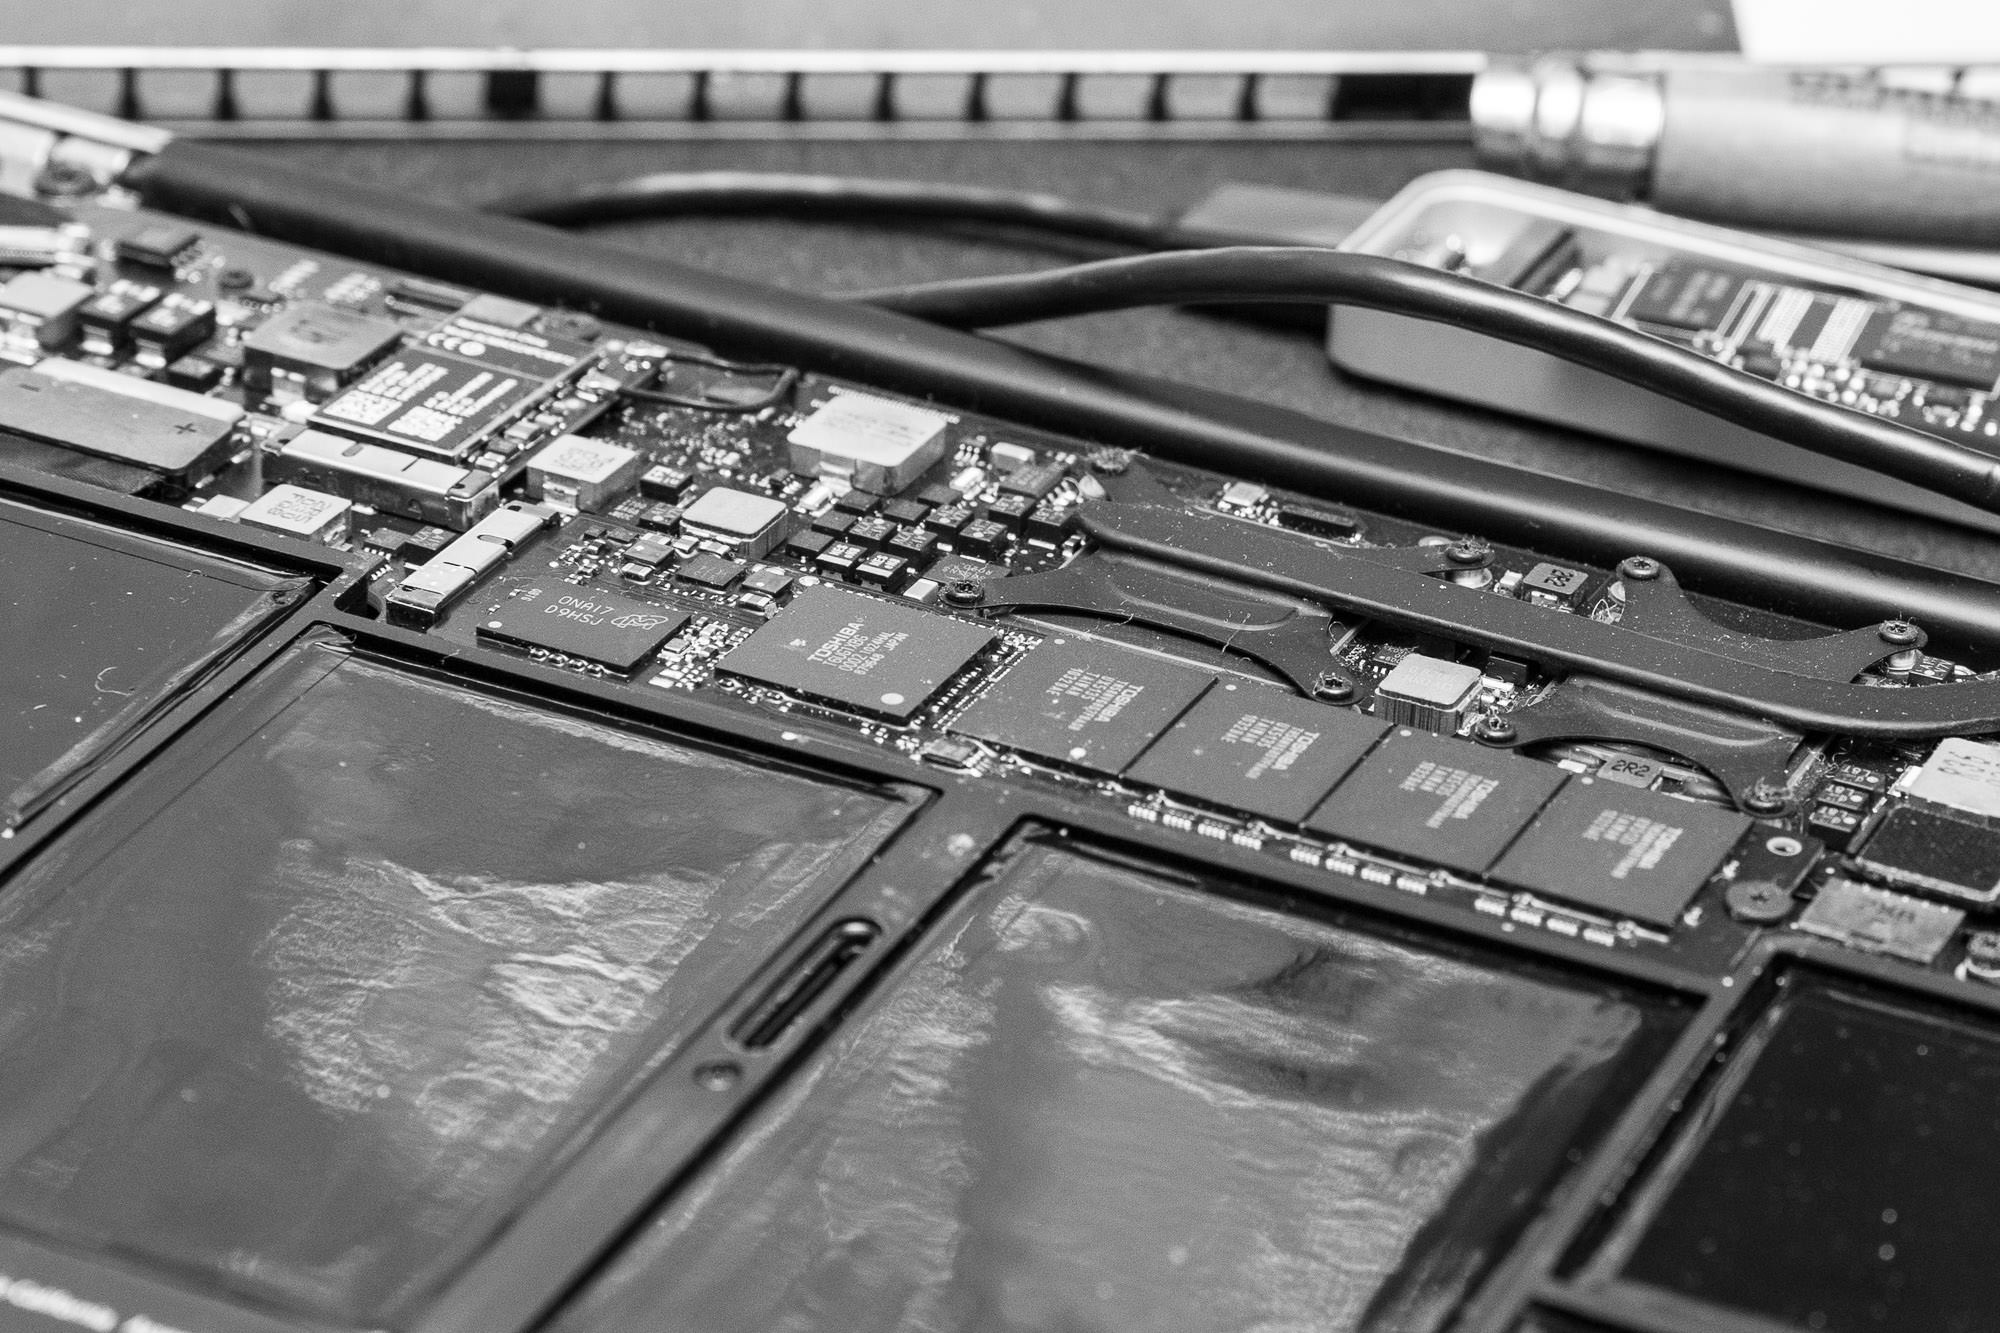
The instructions and the accompanying cute little video are more than enough to walk you through the job, which is basically remove eight screws, pull the back of the MacBook, swap the SSD out, and screw the back back on. The only problem I had was in realising that the screws don’t go as perpendicularly to the plane of the MacBook as you might expect, instead having a matching angle to the slight curve of the case. But I didn’t break anything finding that bit out, at least.
So, after years of being annoyed by the tiny drive, all it took was ten minutes’ work, £136.99, and some diligent working at my day job while cloning and backups happened, and I suddenly had 167GB of free space, and, hopefully, a drive that doesn’t feel like it’s about to die. (Also, of course, if your old SSD is healthy, you can fit it into the provided enclosure and you’ve got a nice little 120GB portable drive as an extra bonus…)
About the only downside I can see is that Yosemite has made it harder for you to use TRIM on third-party drives, but frankly, I think I’m just going to see how I get along without it, rather than hacking things about to enable unsigned kernel extensions.
Hopefully it’ll Just Work fine without TRIM. Time will tell, but for now I can at least stop worrying about how much space there is if I want to install a new beta of Xcode, or shove a few extra virtual boxes on there…
It goes without saying that you shouldn’t try this stuff at home unless you’re an experienced geek, and even I wouldn’t open up a Mac that was still covered by AppleCare. But if you are an experienced geek, this is an easy, relatively cheap way of keeping a faithful old machine going as long as possible.