Taking a Test Shot

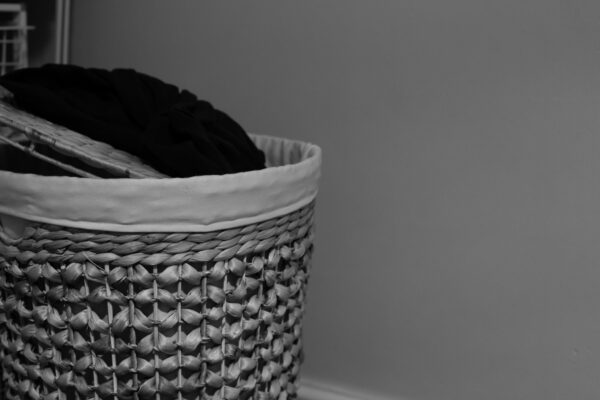
A useful camera habit for you today: the test shot. Every time I pick my camera up at the start of a new day, I take a test shot. Here’s one:
On its own, a test shot is the absolute minimum of double-checking: you know you’ve got a battery in the camera, and you know the camera works.
It may also ensure there’s a memory card in the slot, depending on your camera and settings. If you can shoot without a card in your camera, it’s worth digging through your manual to see if you can turn that off. On Canon DSLRs, turn off “Release shutter without card”; on Nikon, set “Slot empty release lock” to “LOCK”.
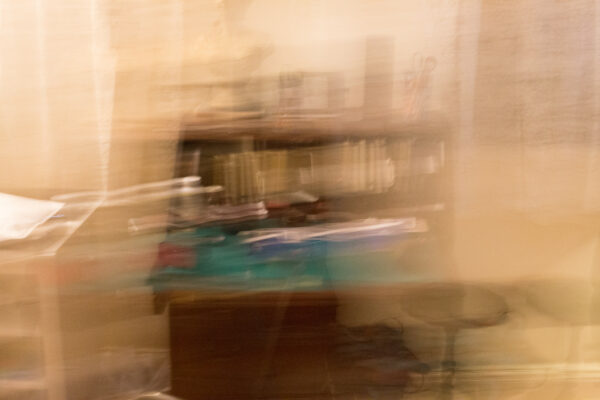
A test shot will tell you if you’ve left the camera on wildly odd settings, too. I snap my test shot, and I hear the shutter opening and the mirror going up, then a long, long gap before everything closes back down. The picture preview is a sliding blur of my lounge. Oh, yeah — the last time I used the camera I had the aperture set to f/22 for a tripod-shot landscape.
It may not spot more subtle problems. If your ISO is fixed at 1600, a test picture will look fine on the back of the camera. Then you go out into daylight and take pictures and they come back noisy.
As you get better at photography, you learn to spot this kind of odd setting as you’re shooting: “How the hell am I exceeding my maximum shutter speed at f/8?” you wonder, and then the penny drops. But maybe that first photo you took was the best opportunity of the day, and now it’s rammed full of digital noise when it could have been pristine.
So I use the test shot as a reminder to double-check my settings, too. I have a little mental checklist. This checklist will vary from person to person and from camera to camera. Here’s the settings that have bitten me on the backside at least once:
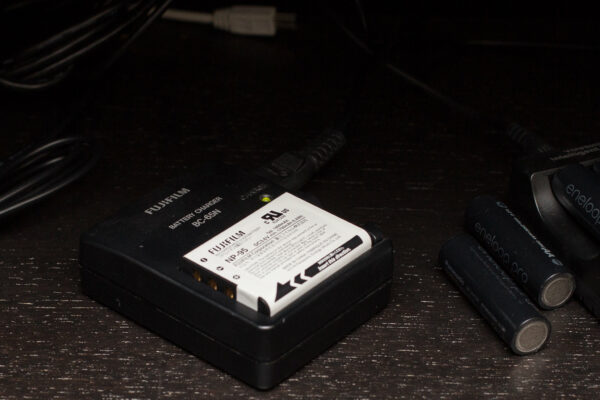
- Battery level: Just because you can take one test shot doesn’t mean you can shoot all day. Double-check the battery level, and make sure your spare battery’s not still sitting in the charger, instead of in your bag.
- ISO: I think every photographer has shot at the wrong ISO all day at least once.
- Metering mode: Another setting I often adjust for particular shots — and then forget to turn off.
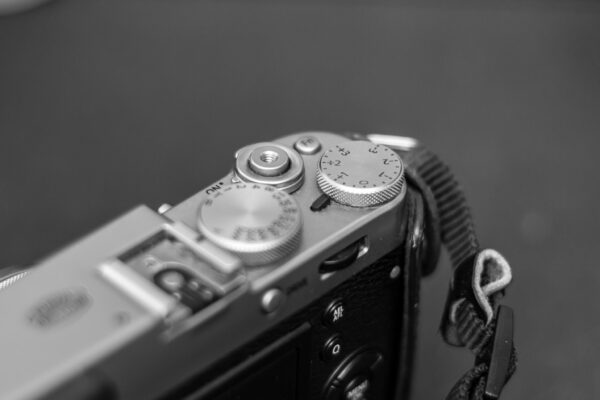
- Exposure compensation: I don’t find my X100T’s auto-exposure quite as smart as my 6D’s, so I’m often adjusting the exposure up and down. It’s easy to forget to put it back to 0.
- White balance: It won’t matter if you’re shooting Raw, but the wrong white balance will be bad for JPEG shooters.
- Camera modes: It’s easy to leave the 6D in manual if I’ve been shooting indoors with flash. My X100T, on the other hand, loves to put itself in macro mode (nothing to do with my clumsy fingers or poor memory. Of course not.)
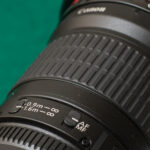 Lens settings: My 135mm lens has a switch for long- or short-range focus. If you shoot long-range in short-range mode, everything mostly works, but the focusing can be slower, and you can miss shots. So now “lens switches” are on my checklist.
- Speaking of lenses, is yours clean? A smudge or a few dried-up rain drops may not be apparent in picture previews on the camera’s display, but they can show up once you get your photos on a big screen.
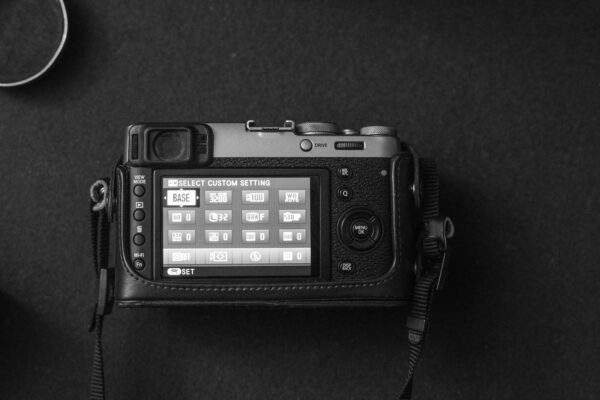
This may seem like a chore, but you can make your own checklist as short or as long as you want. Plus, most cameras have a way of viewing important settings in one feature-packed screen that you can scan through quickly.
Even if you don’t care for checklists, at least take a test shot before you leave the house. It’s a lot less embarrassing for that to be the moment you realise your battery is still in the charger.
1 Comment
Simon
October 19, 2016I’ve taken to leaving myself a note in the top of my studio strobe bag, reminding me to reset the ISO and lock the white balance, so that I don’t spend the first couple of shots fiddling with the strobes like an idiot, trying to work out why everything is so over-exposed. (My bodies tend to live on ISO 1600, due to most of my shots being at gigs or indoors with available light.)