Pedal to the Metal

Igor’s posts about putting together a guitar pedal kit inspired me to buy myself one for my birthday.
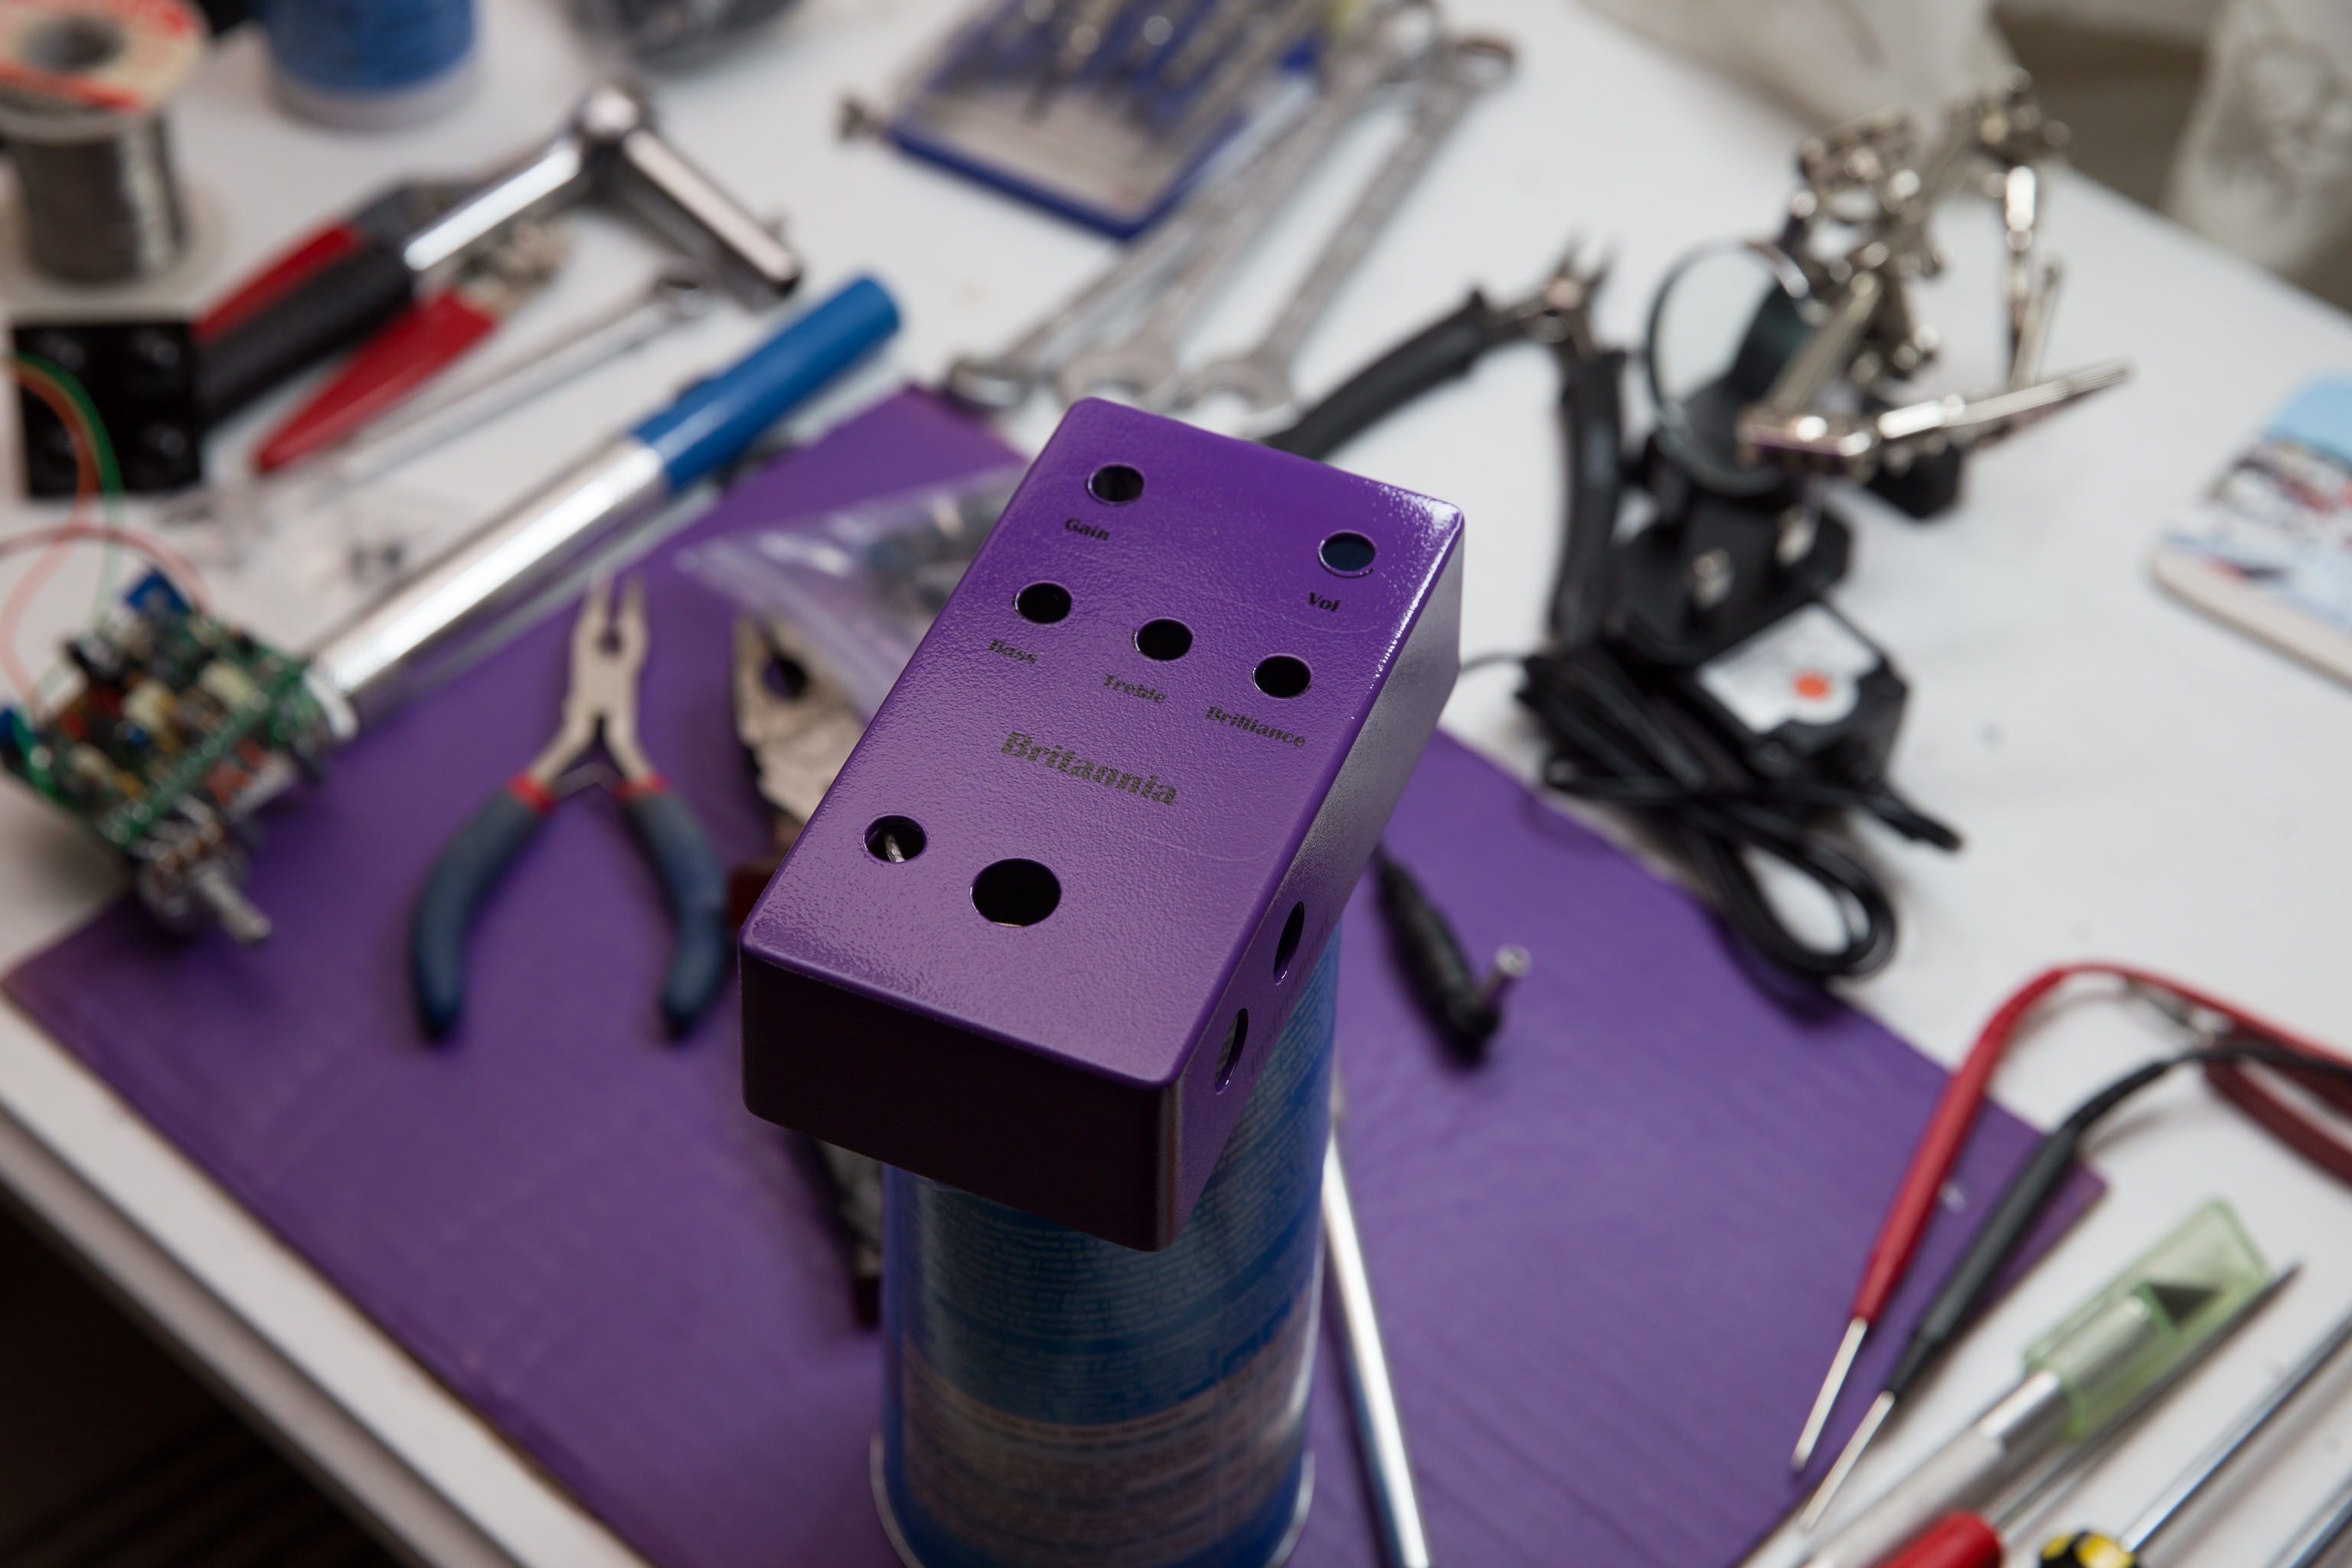
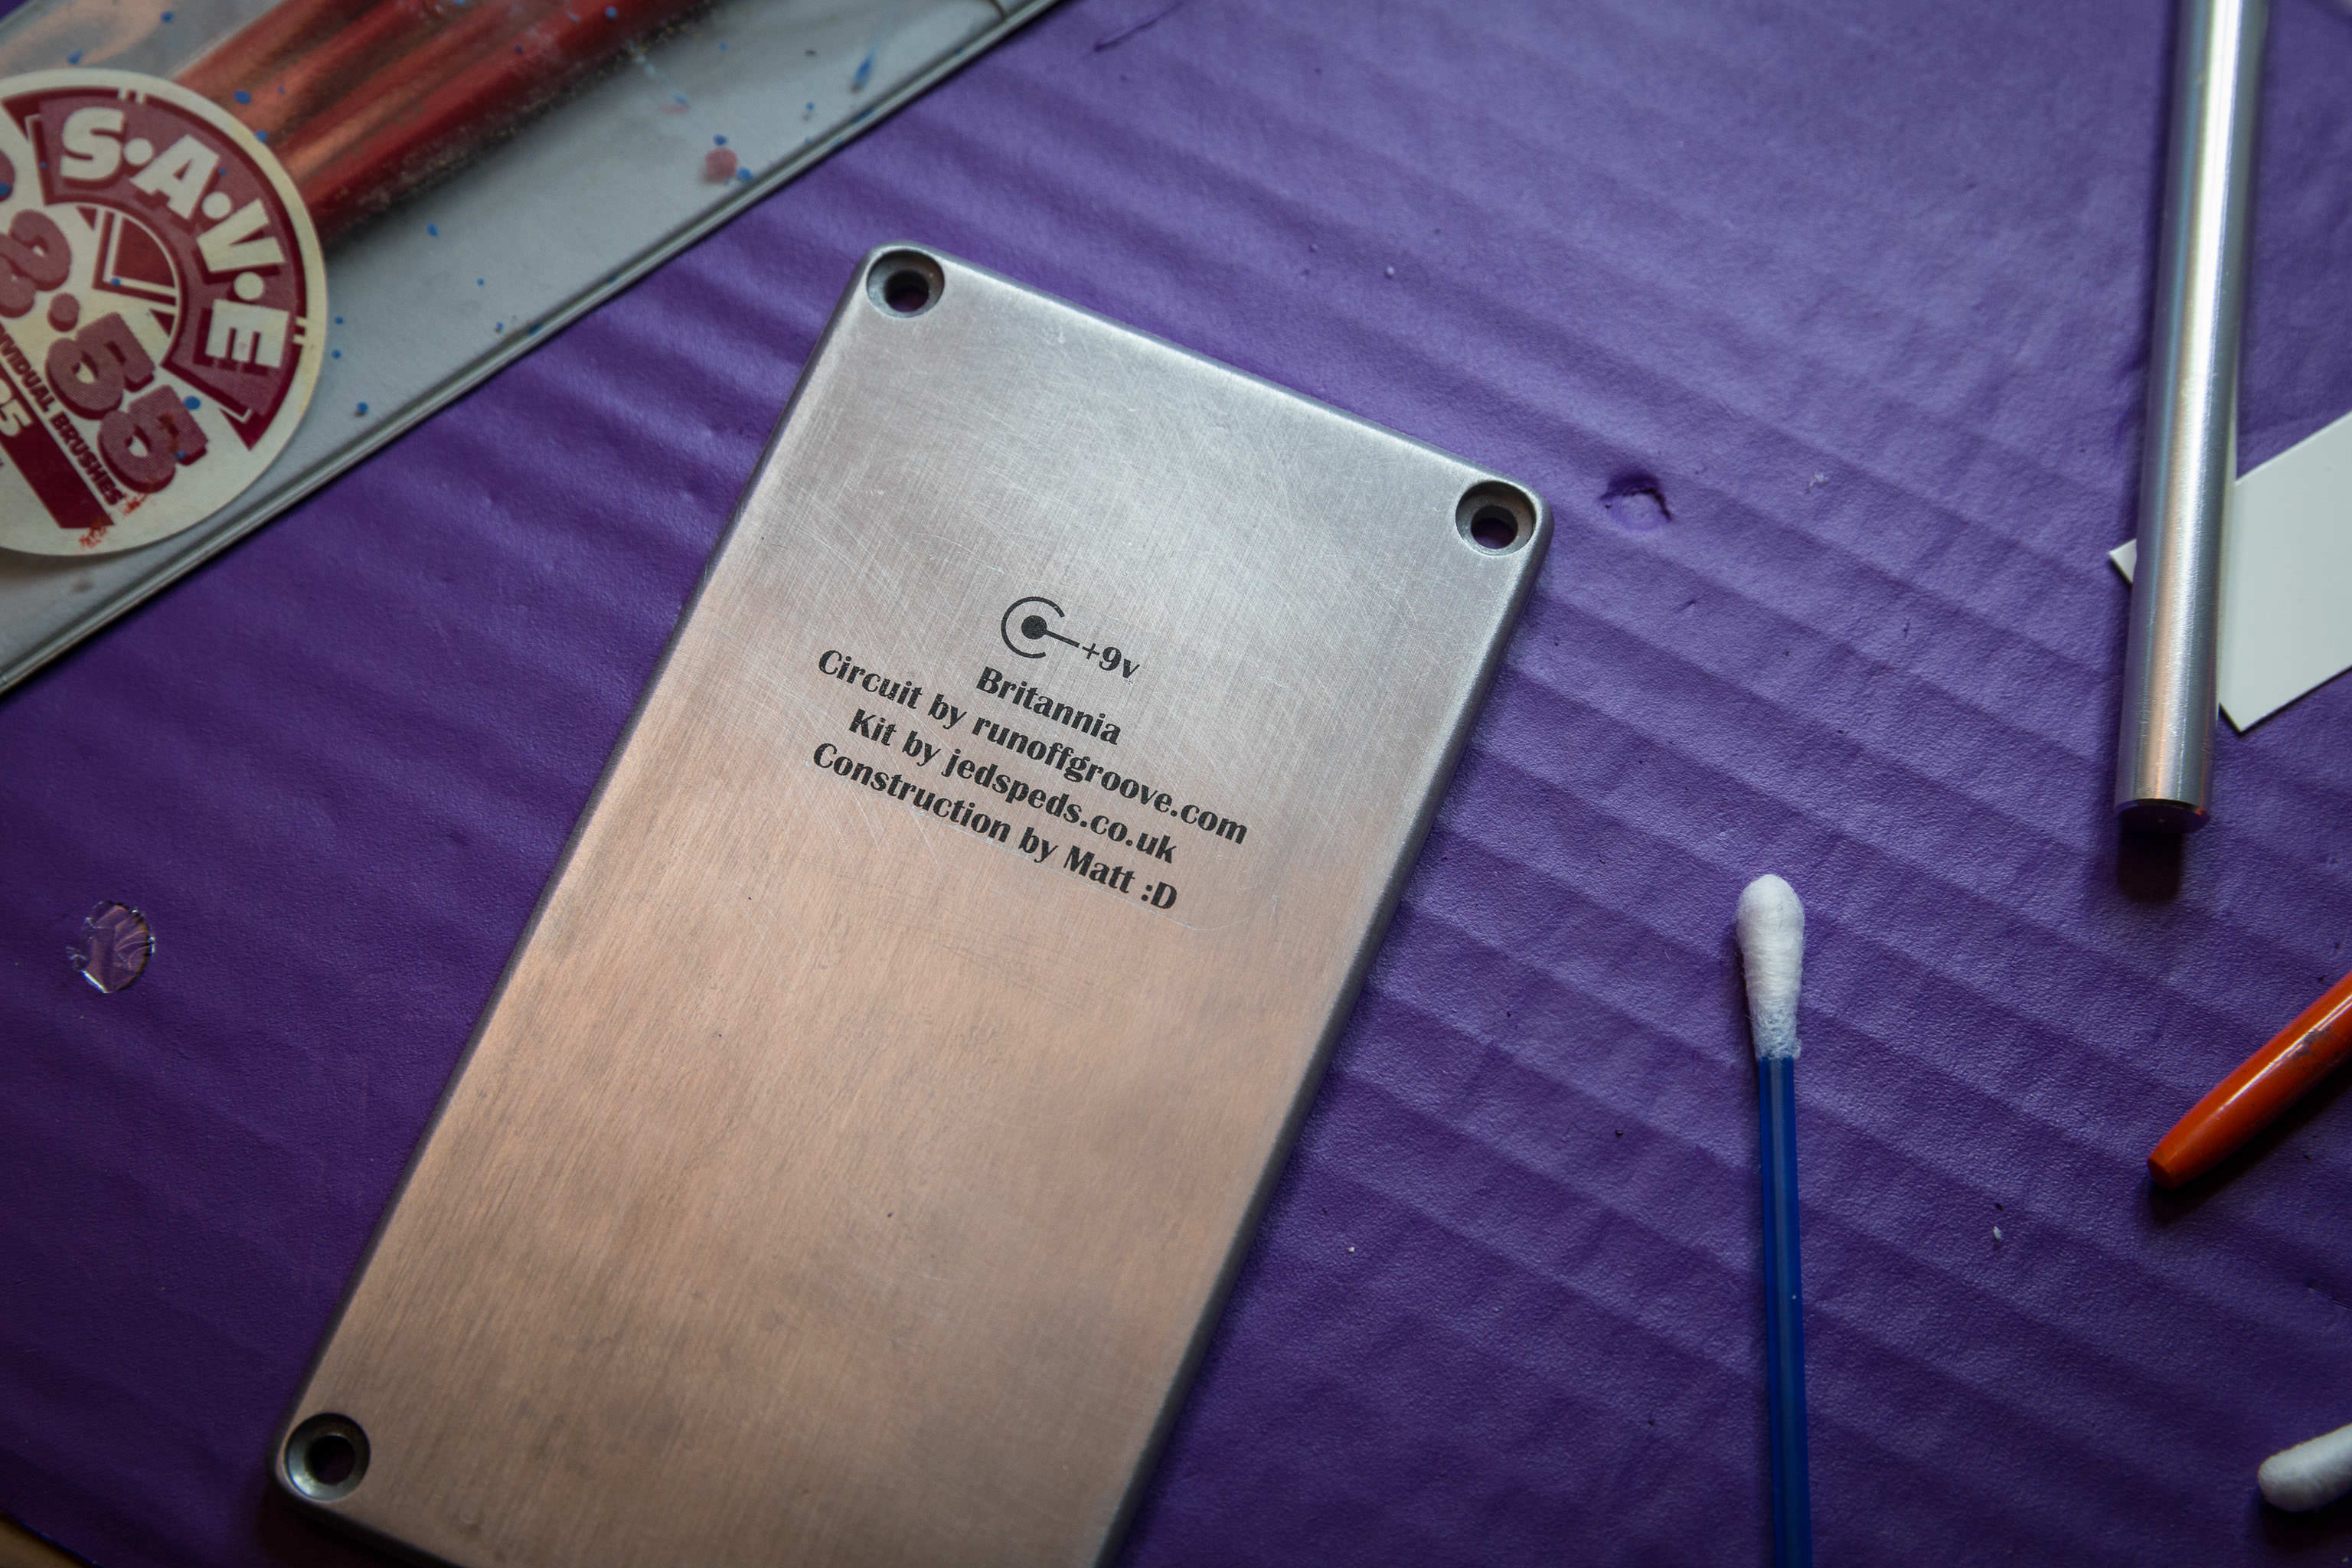
I chose the Britannia pedal, a Vox AC30 simulation circuit from runoffgroove.com. I found that Jed’s Peds, a UK supplier, were selling a Britannia kit including a PCB and pre-drilled box, which was very handy.
I’m pretty good at putting together kits. I remember putting together an FM radio — with my dad’s help, I’m sure — at a fairly young age. A GCSE in electronics helped cement the skills.
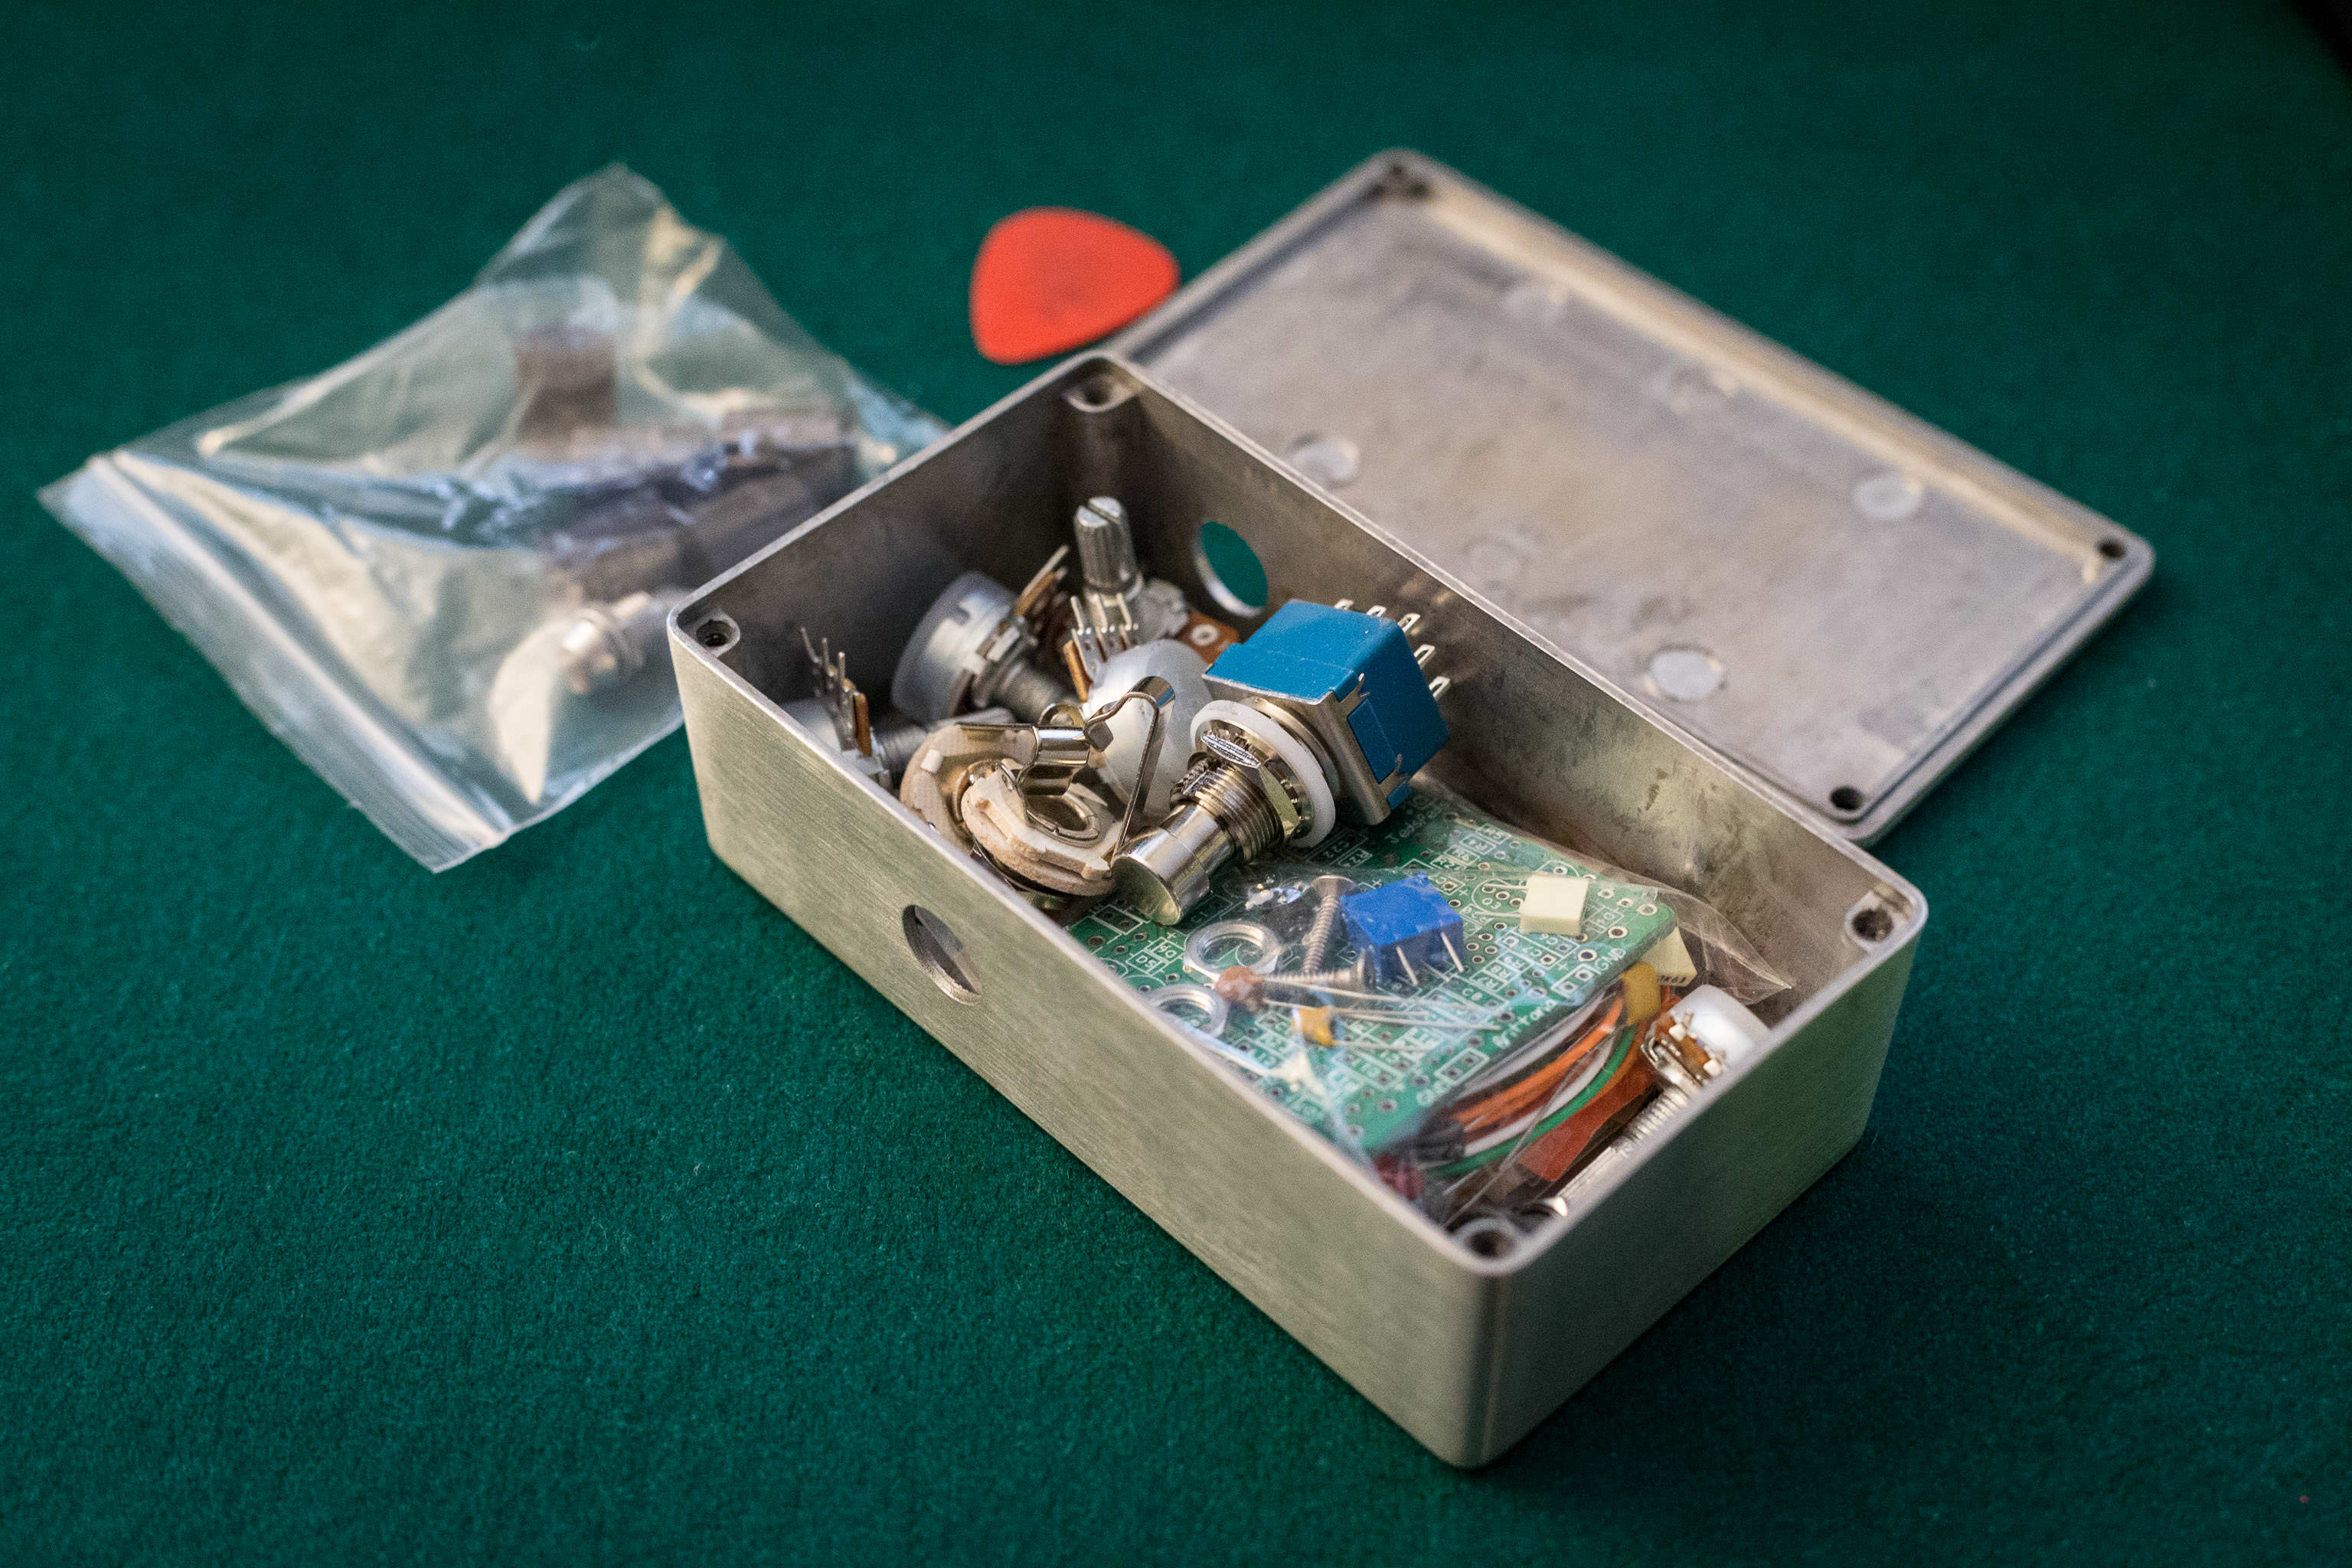
So, the electronics part of the build went pretty much perfectly and the guts of the pedal worked first time.
The work looked reasonably neat, too, and another birthday treat was a couple of second-hand Canon extension tubes so I could get some closer focusing from my lenses to take a good snap:

The real problem I had was the case. I’ve never really “finished” a project like this, which came with a plain aluminium box. Either my kits came with nice looking pre-labelled boxes, or they ended up as plain as they started, with naff-looking labels from my Brother label printer or — quite often — just scrawled on with a Sharpie.

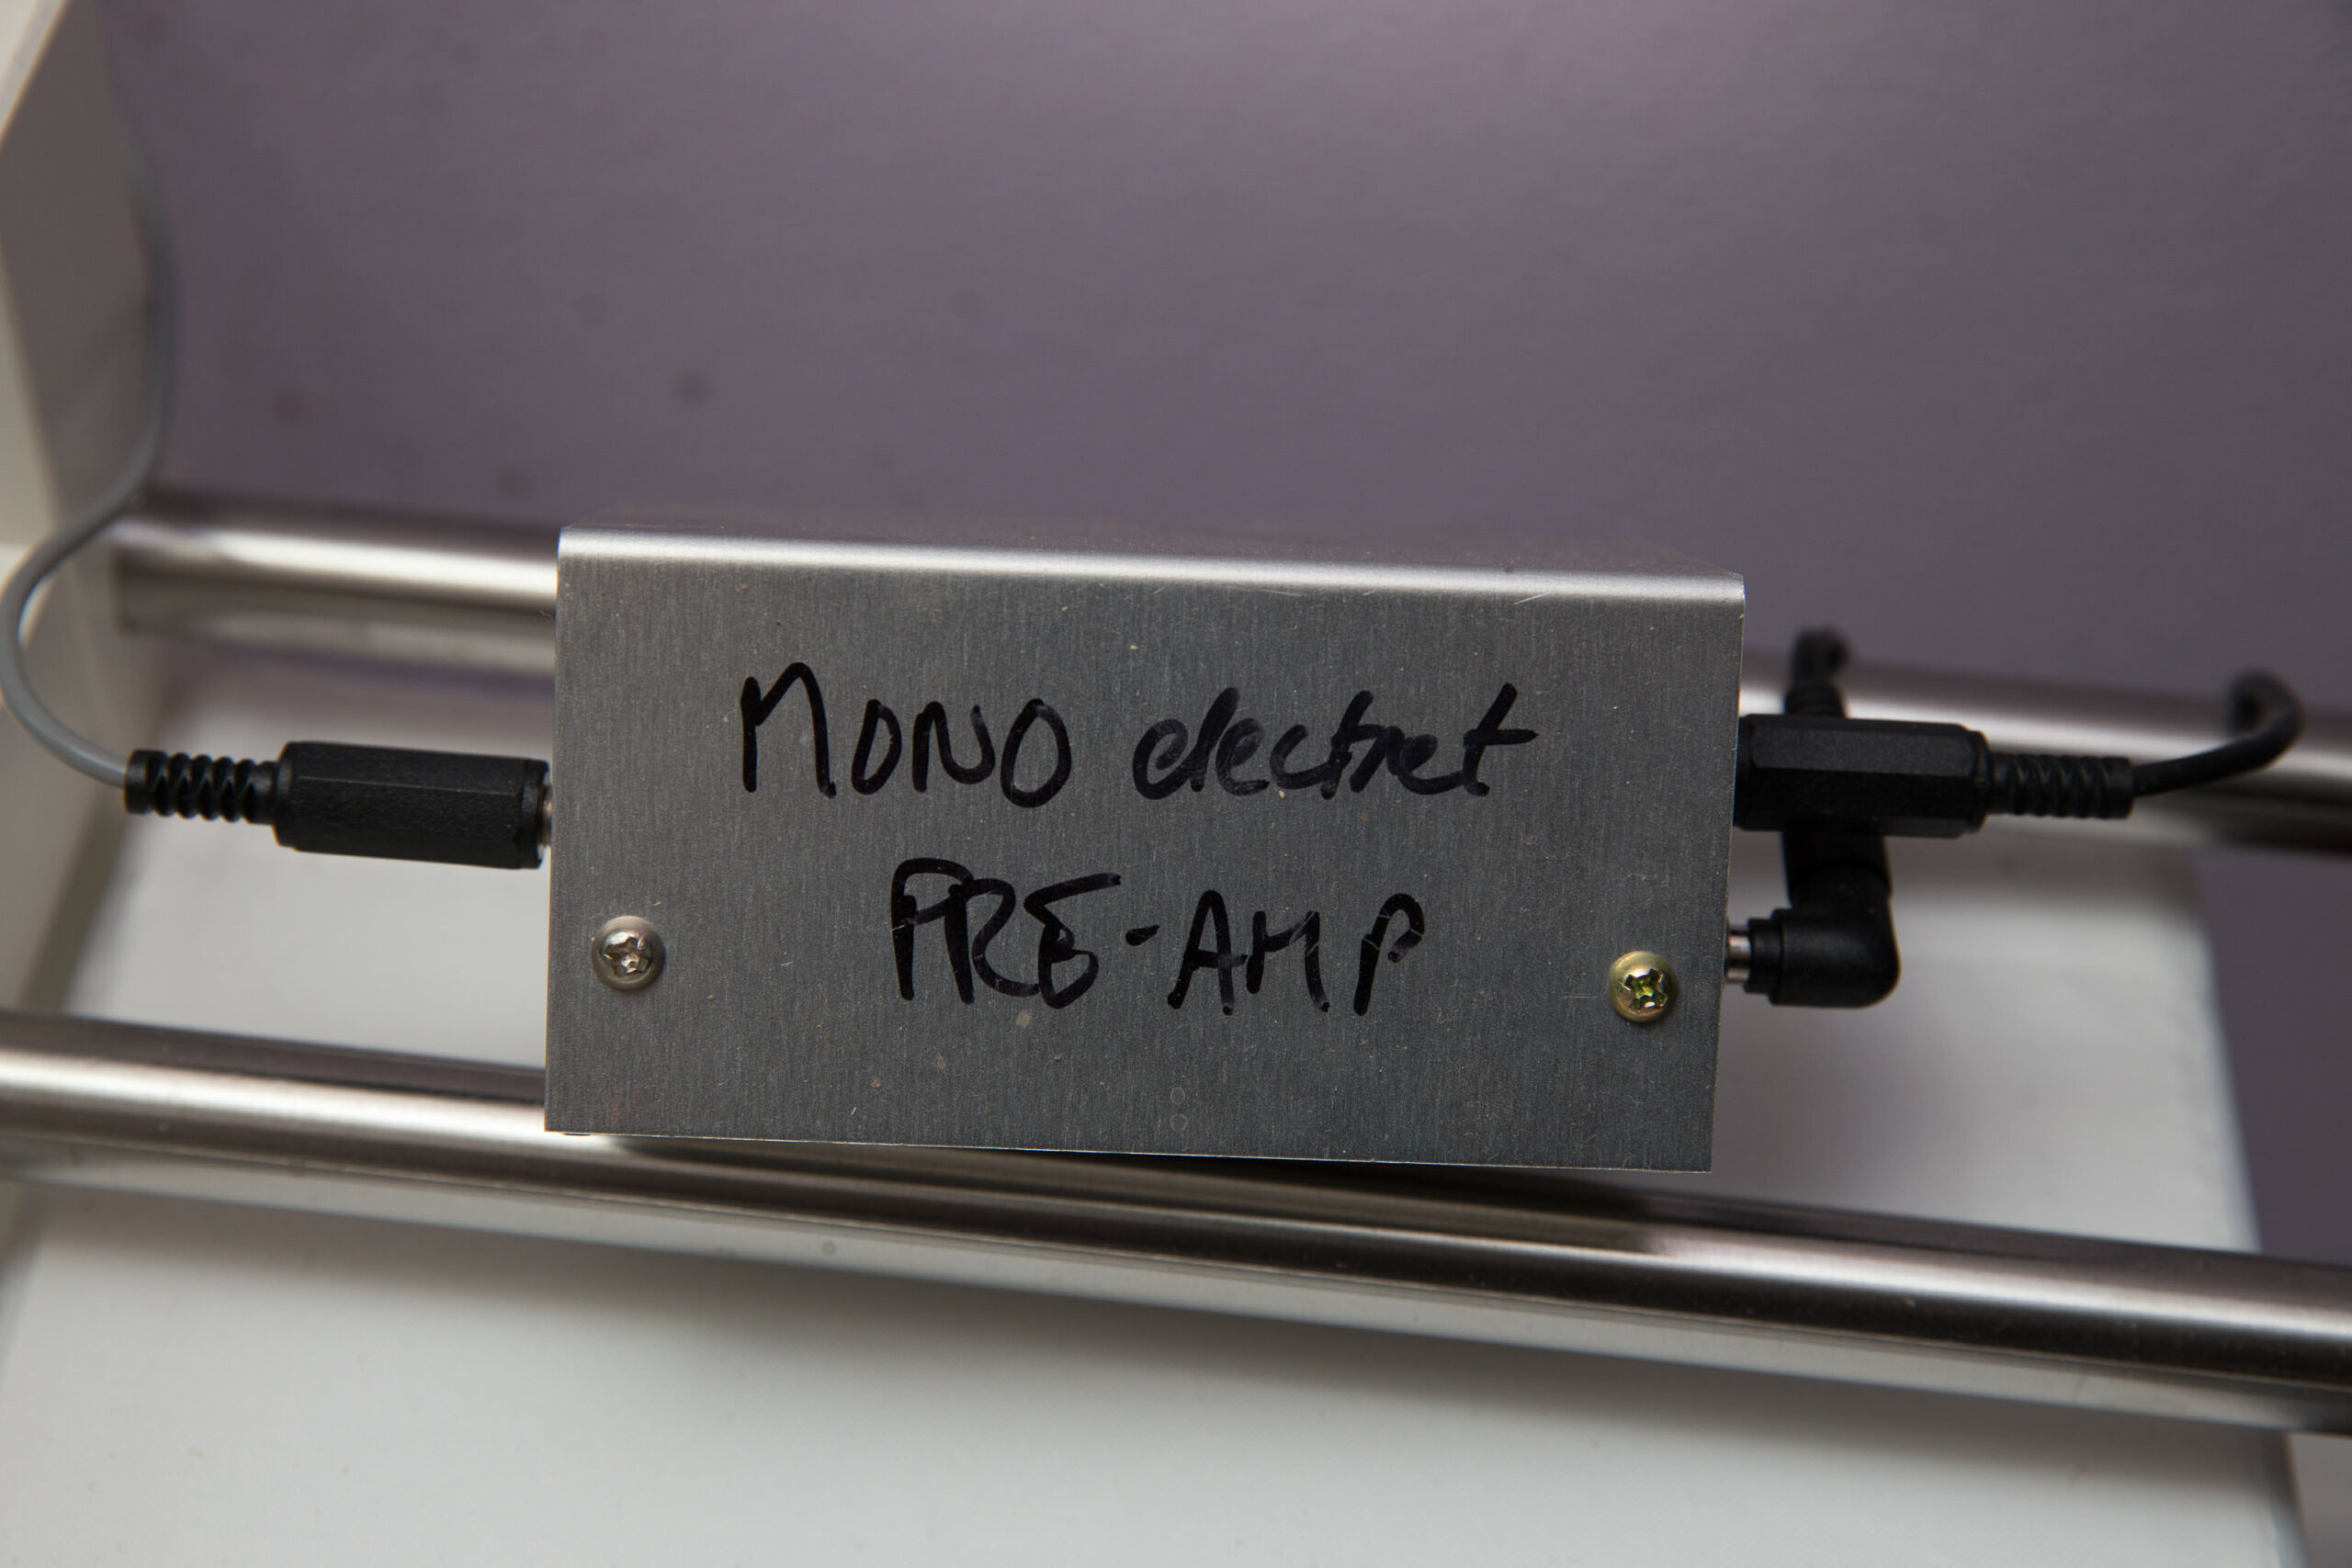
Hey, it’s either test gear or it’ll be hidden away under a desk…
But Igor inspired me to do better this time. And this is where I really started learning. I’ve never spray-painted anything before, or at least not that I can recall (I might have covered some rust on my Talbot Samba when I was a boy.) And I’ve not tried to put really nice-looking custom labels on anything, either.
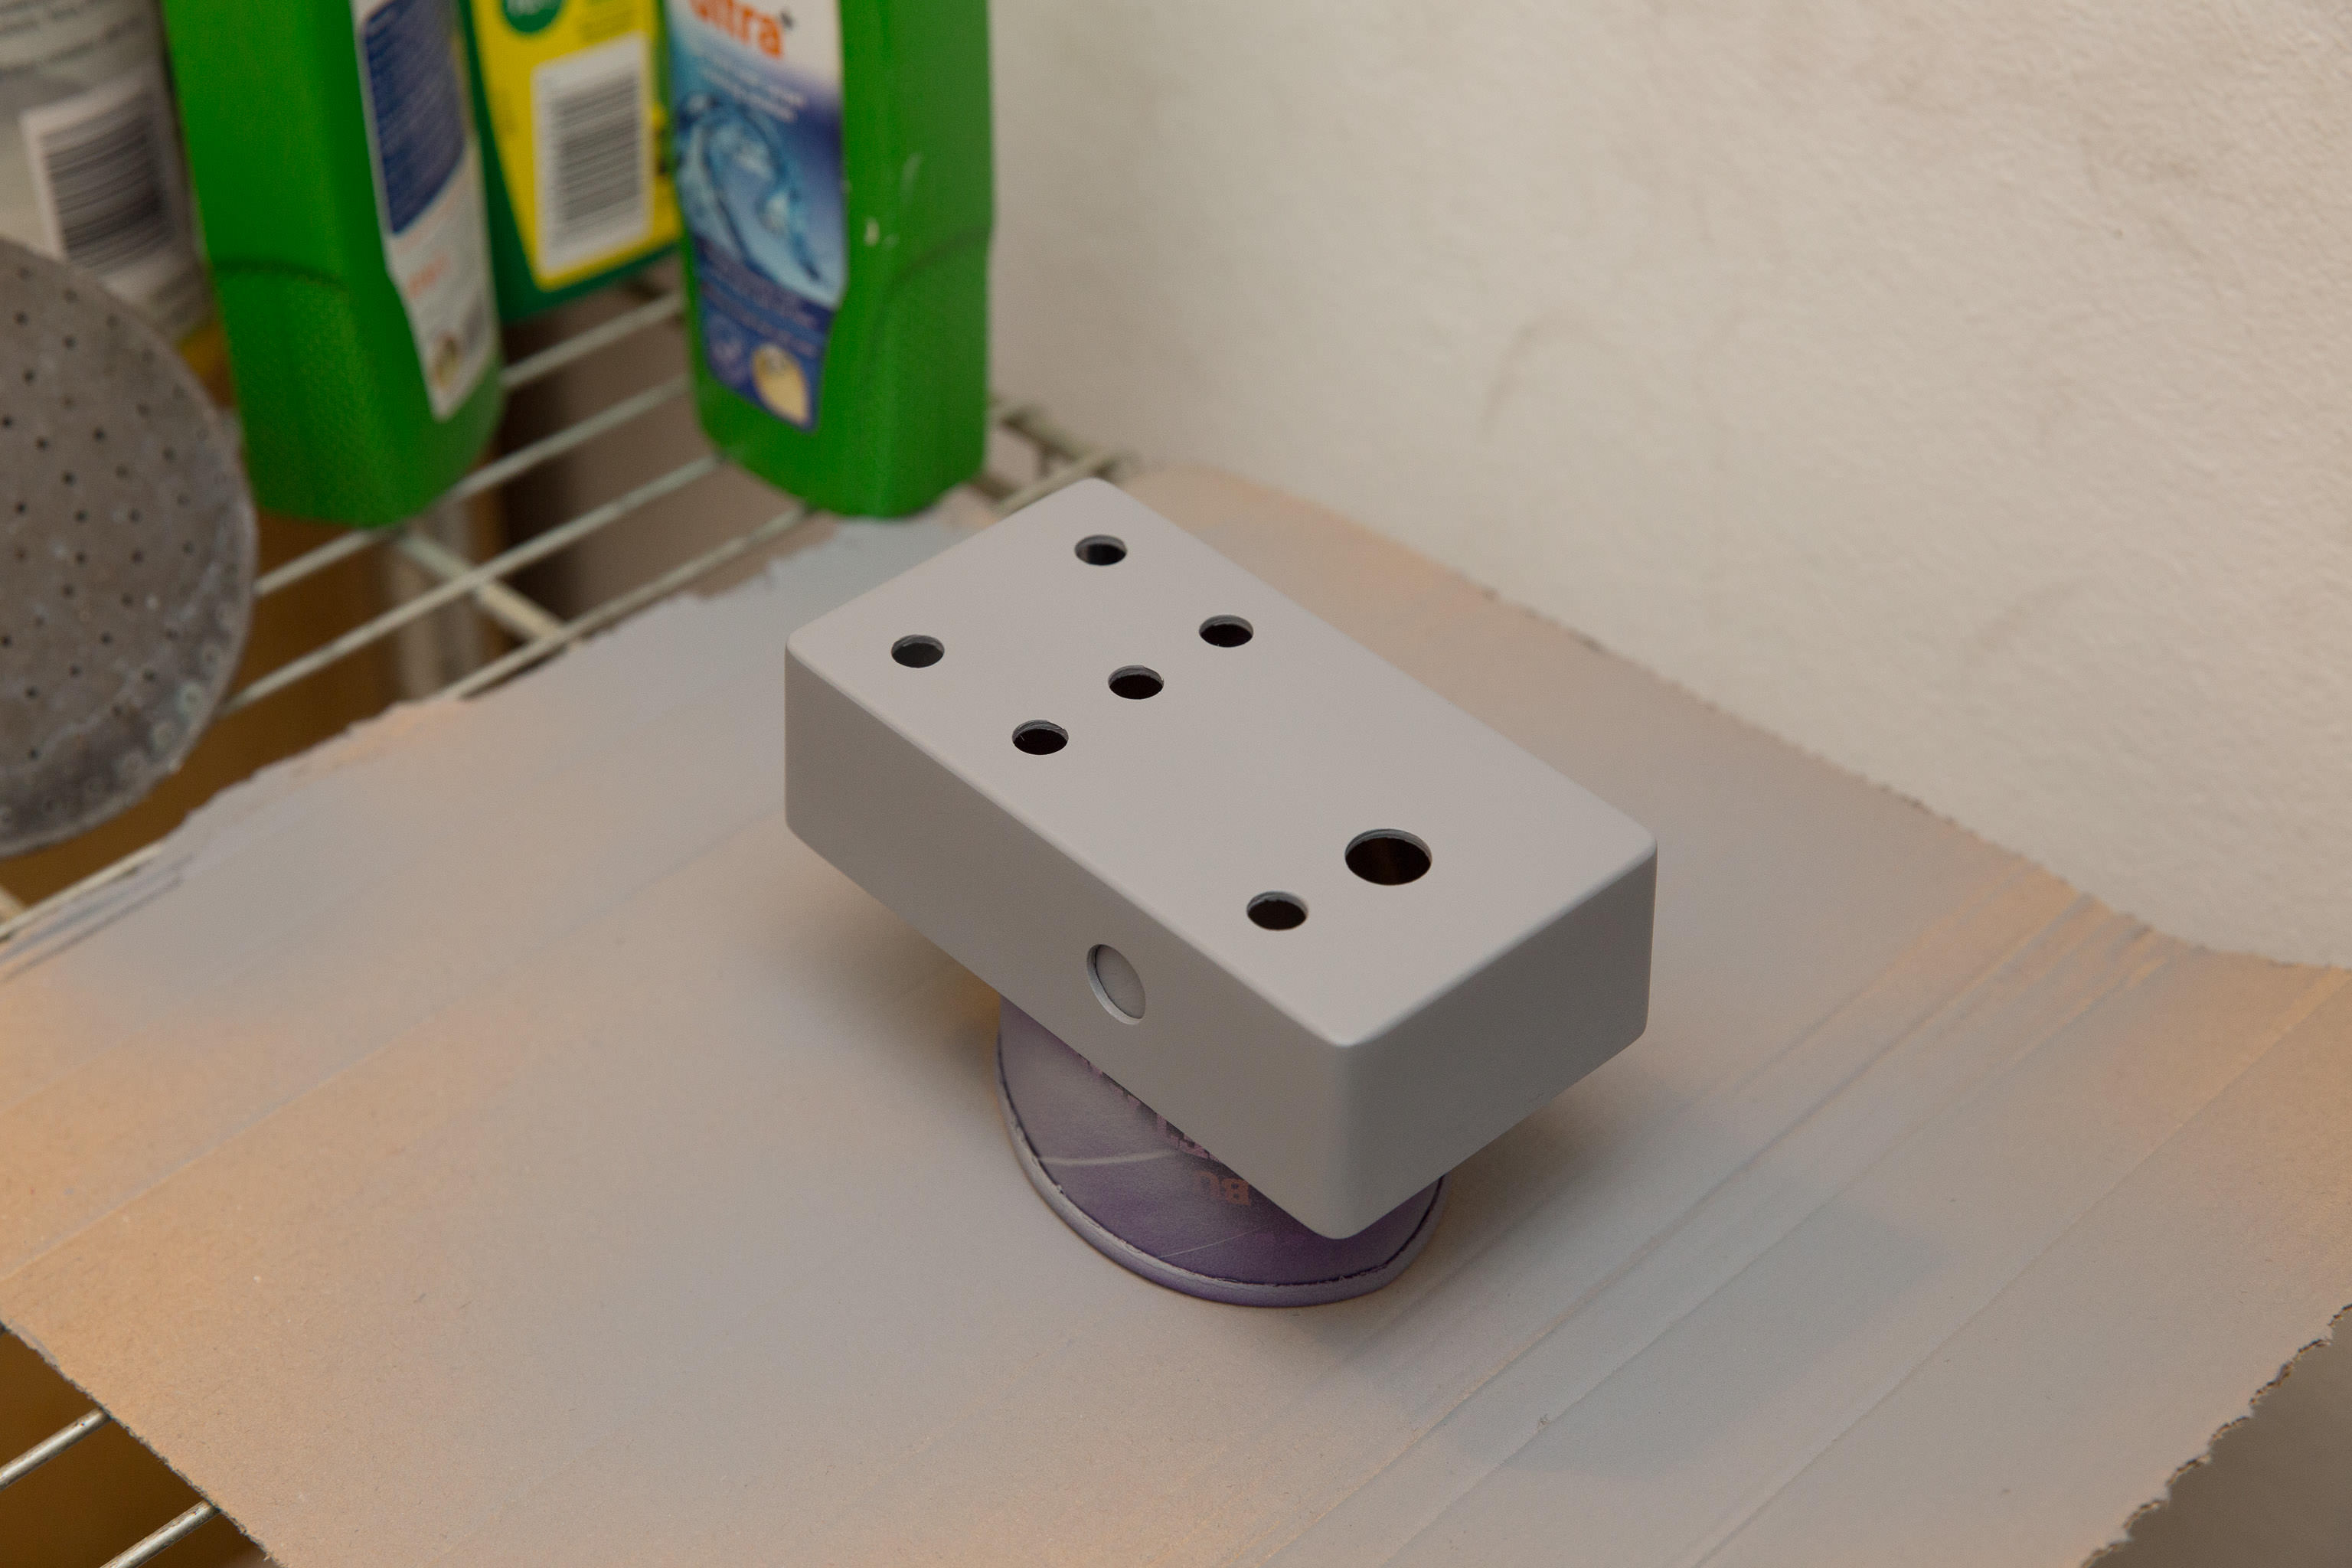
Sadly, my first few days of trying were an exercise in learning from mistakes. Yes, you really do have to prime aluminimum, despite the advice I got from the nice man in the paint shop. Possibly asking in a graffiti-supplies store was a mistake, but hey, this is Bristol. Also, Letraset Safmat does not work well on anything other than a white background.

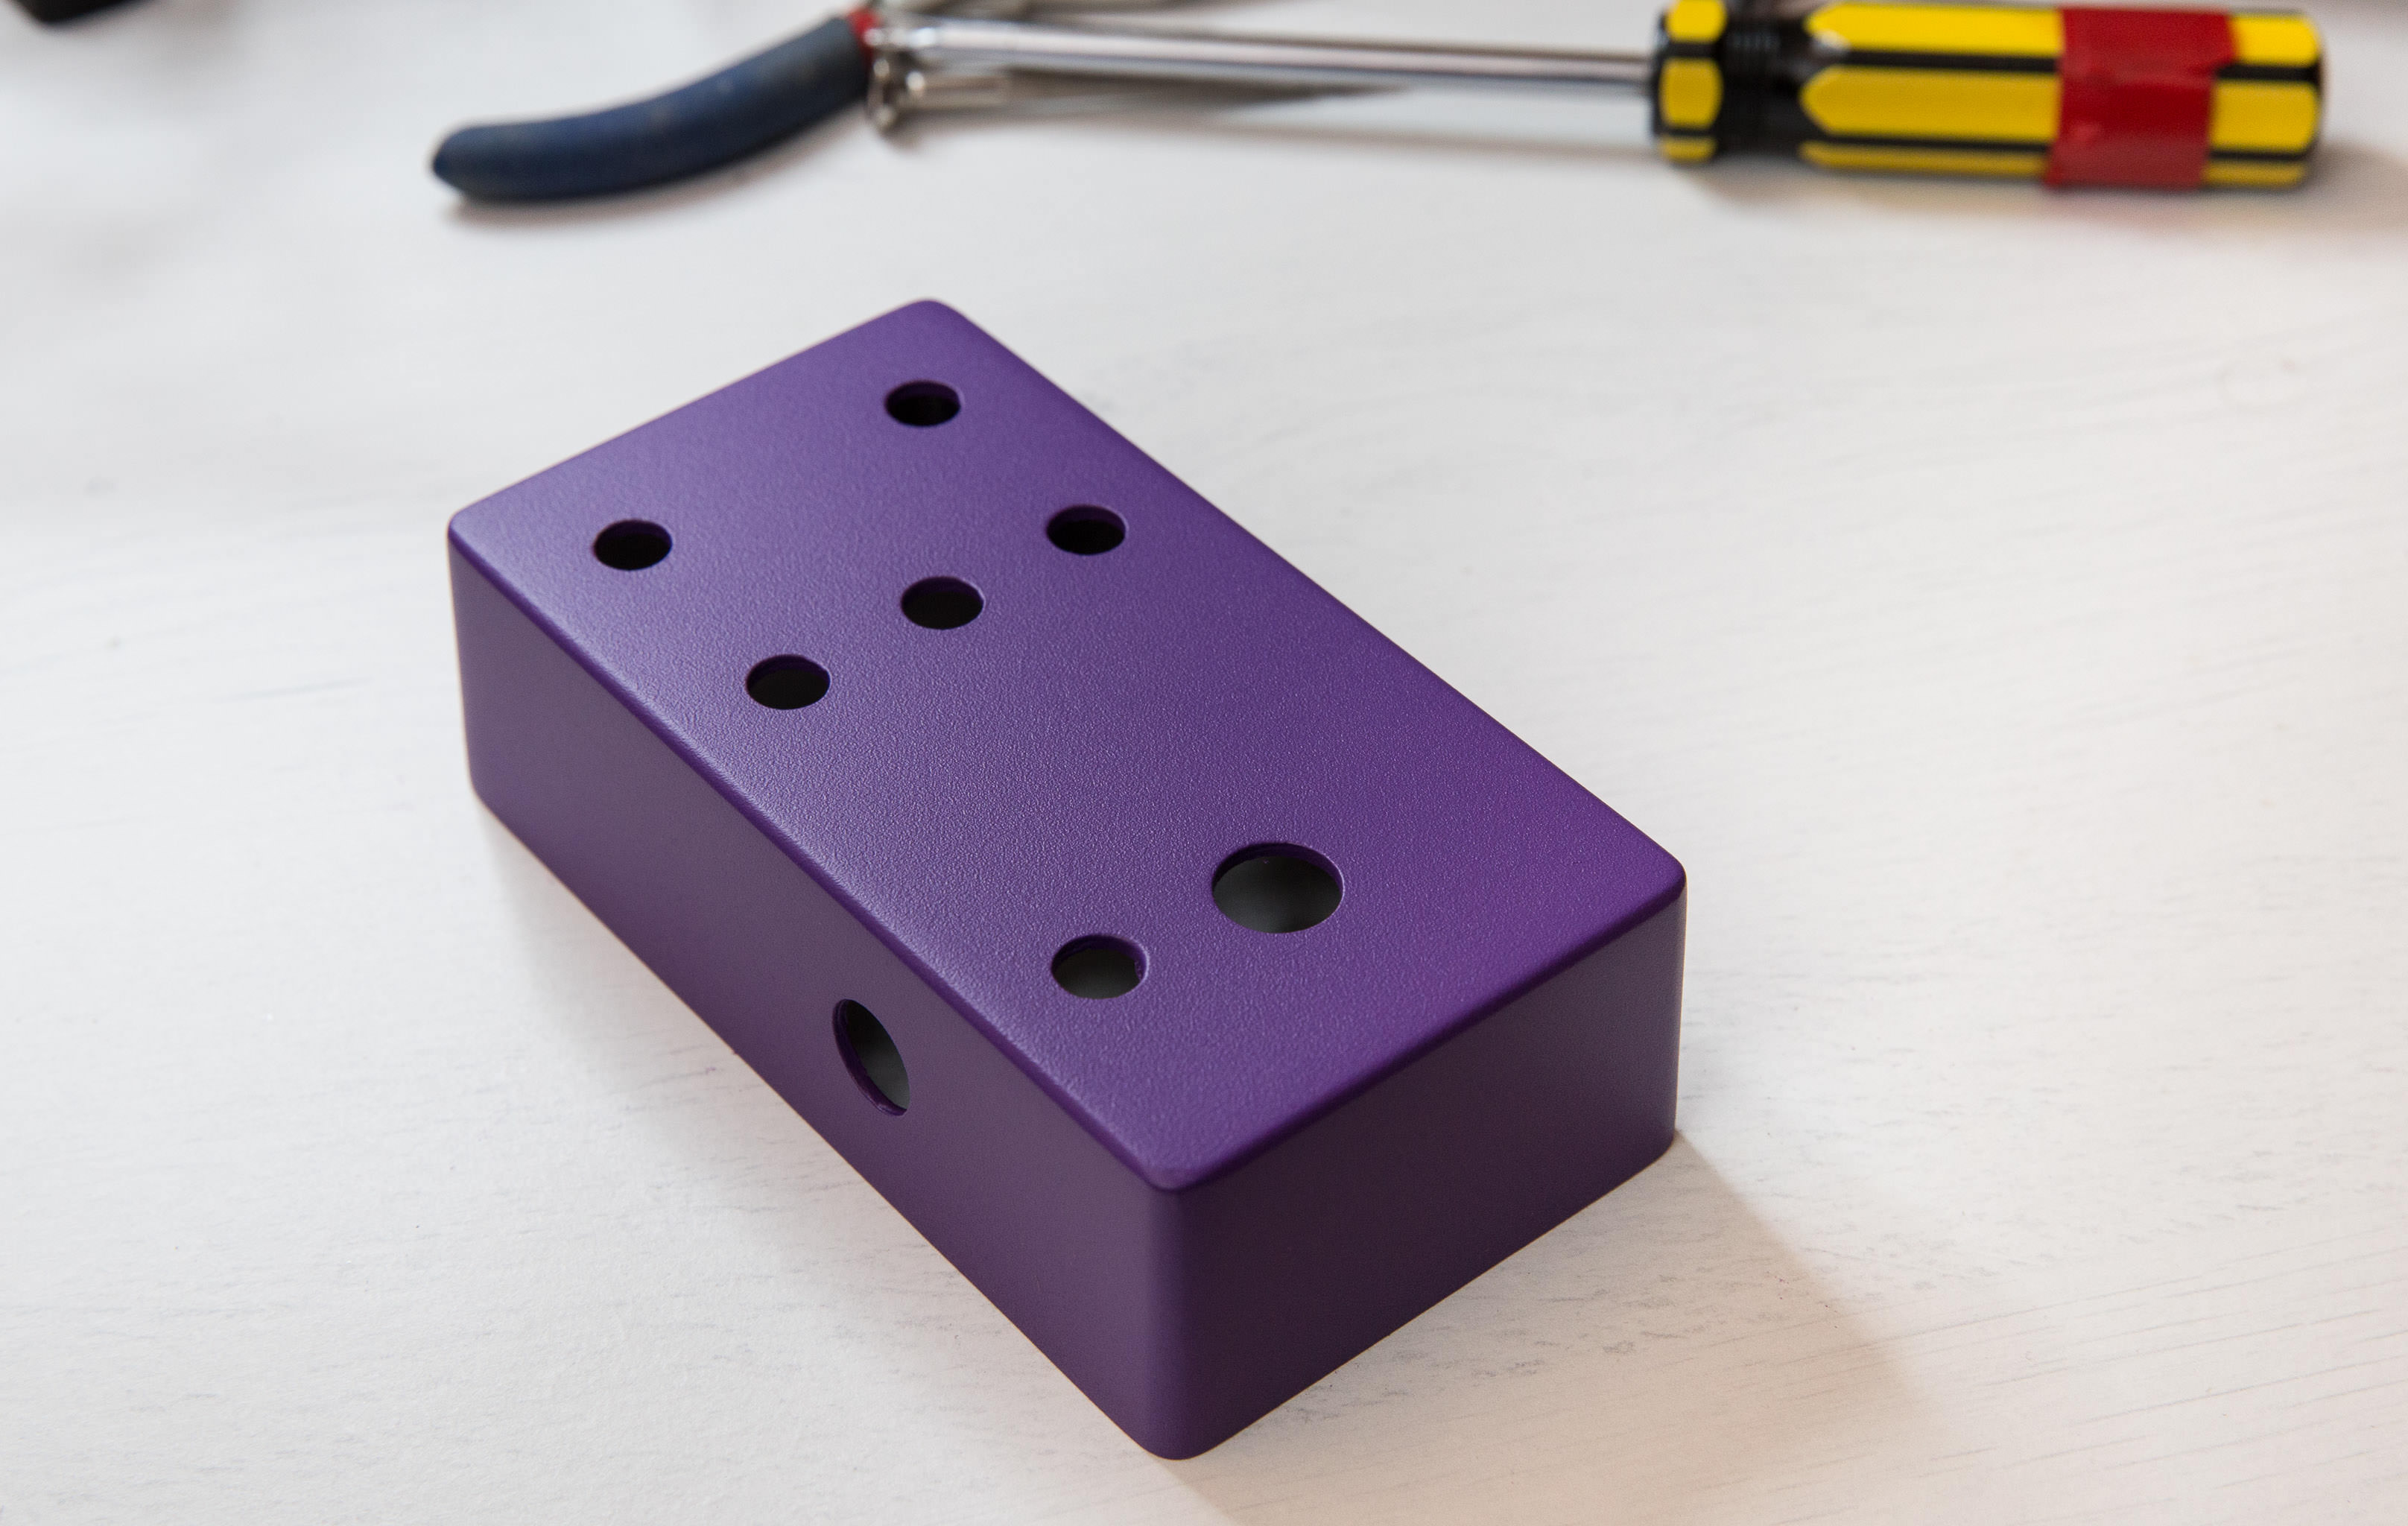
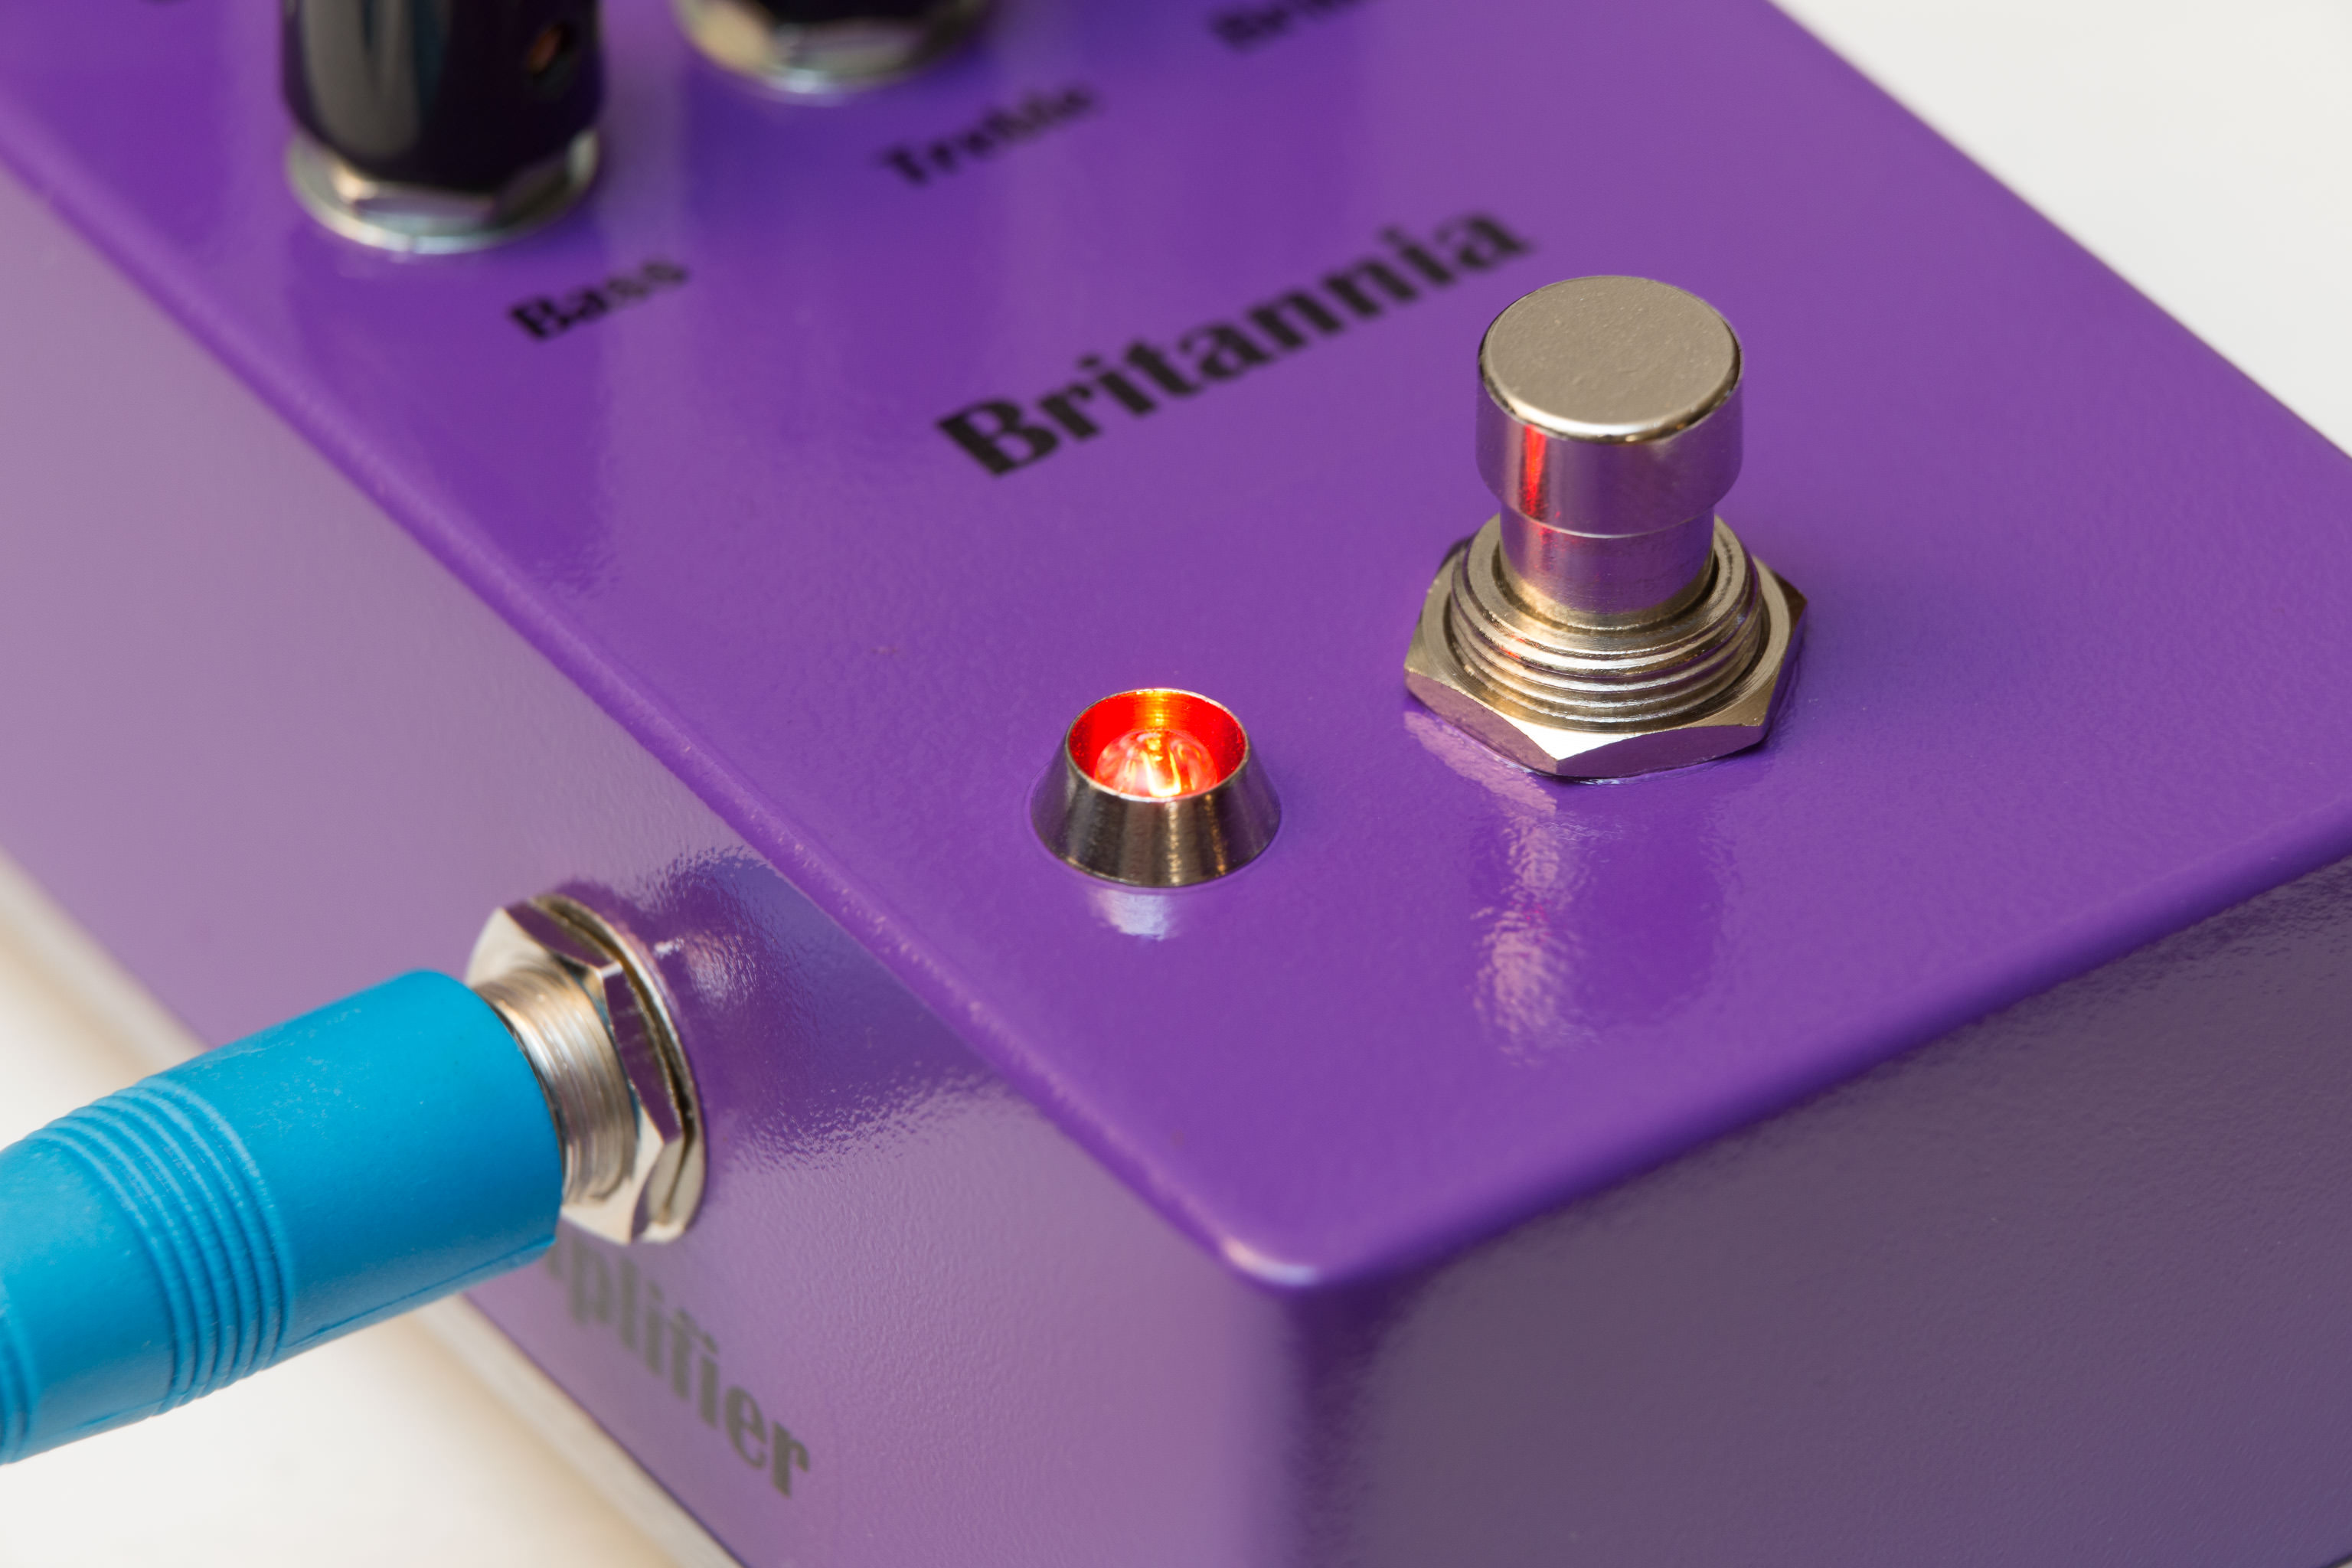
To cut a long story of disasters and re-attempts short, I did finally manage to paint the box successfully. I used a few coats of Plasti-kote primer and quite a few more of a nice purple from the Molotov range.
I also learned that as well as sanding and priming being important, I should leave the pedal overnight to properly dry out before trying to do anything with it. Sigh. Painting really is about patience, which isn’t that compatible with my normal working approach. Perhaps that makes it a good thing to practise.
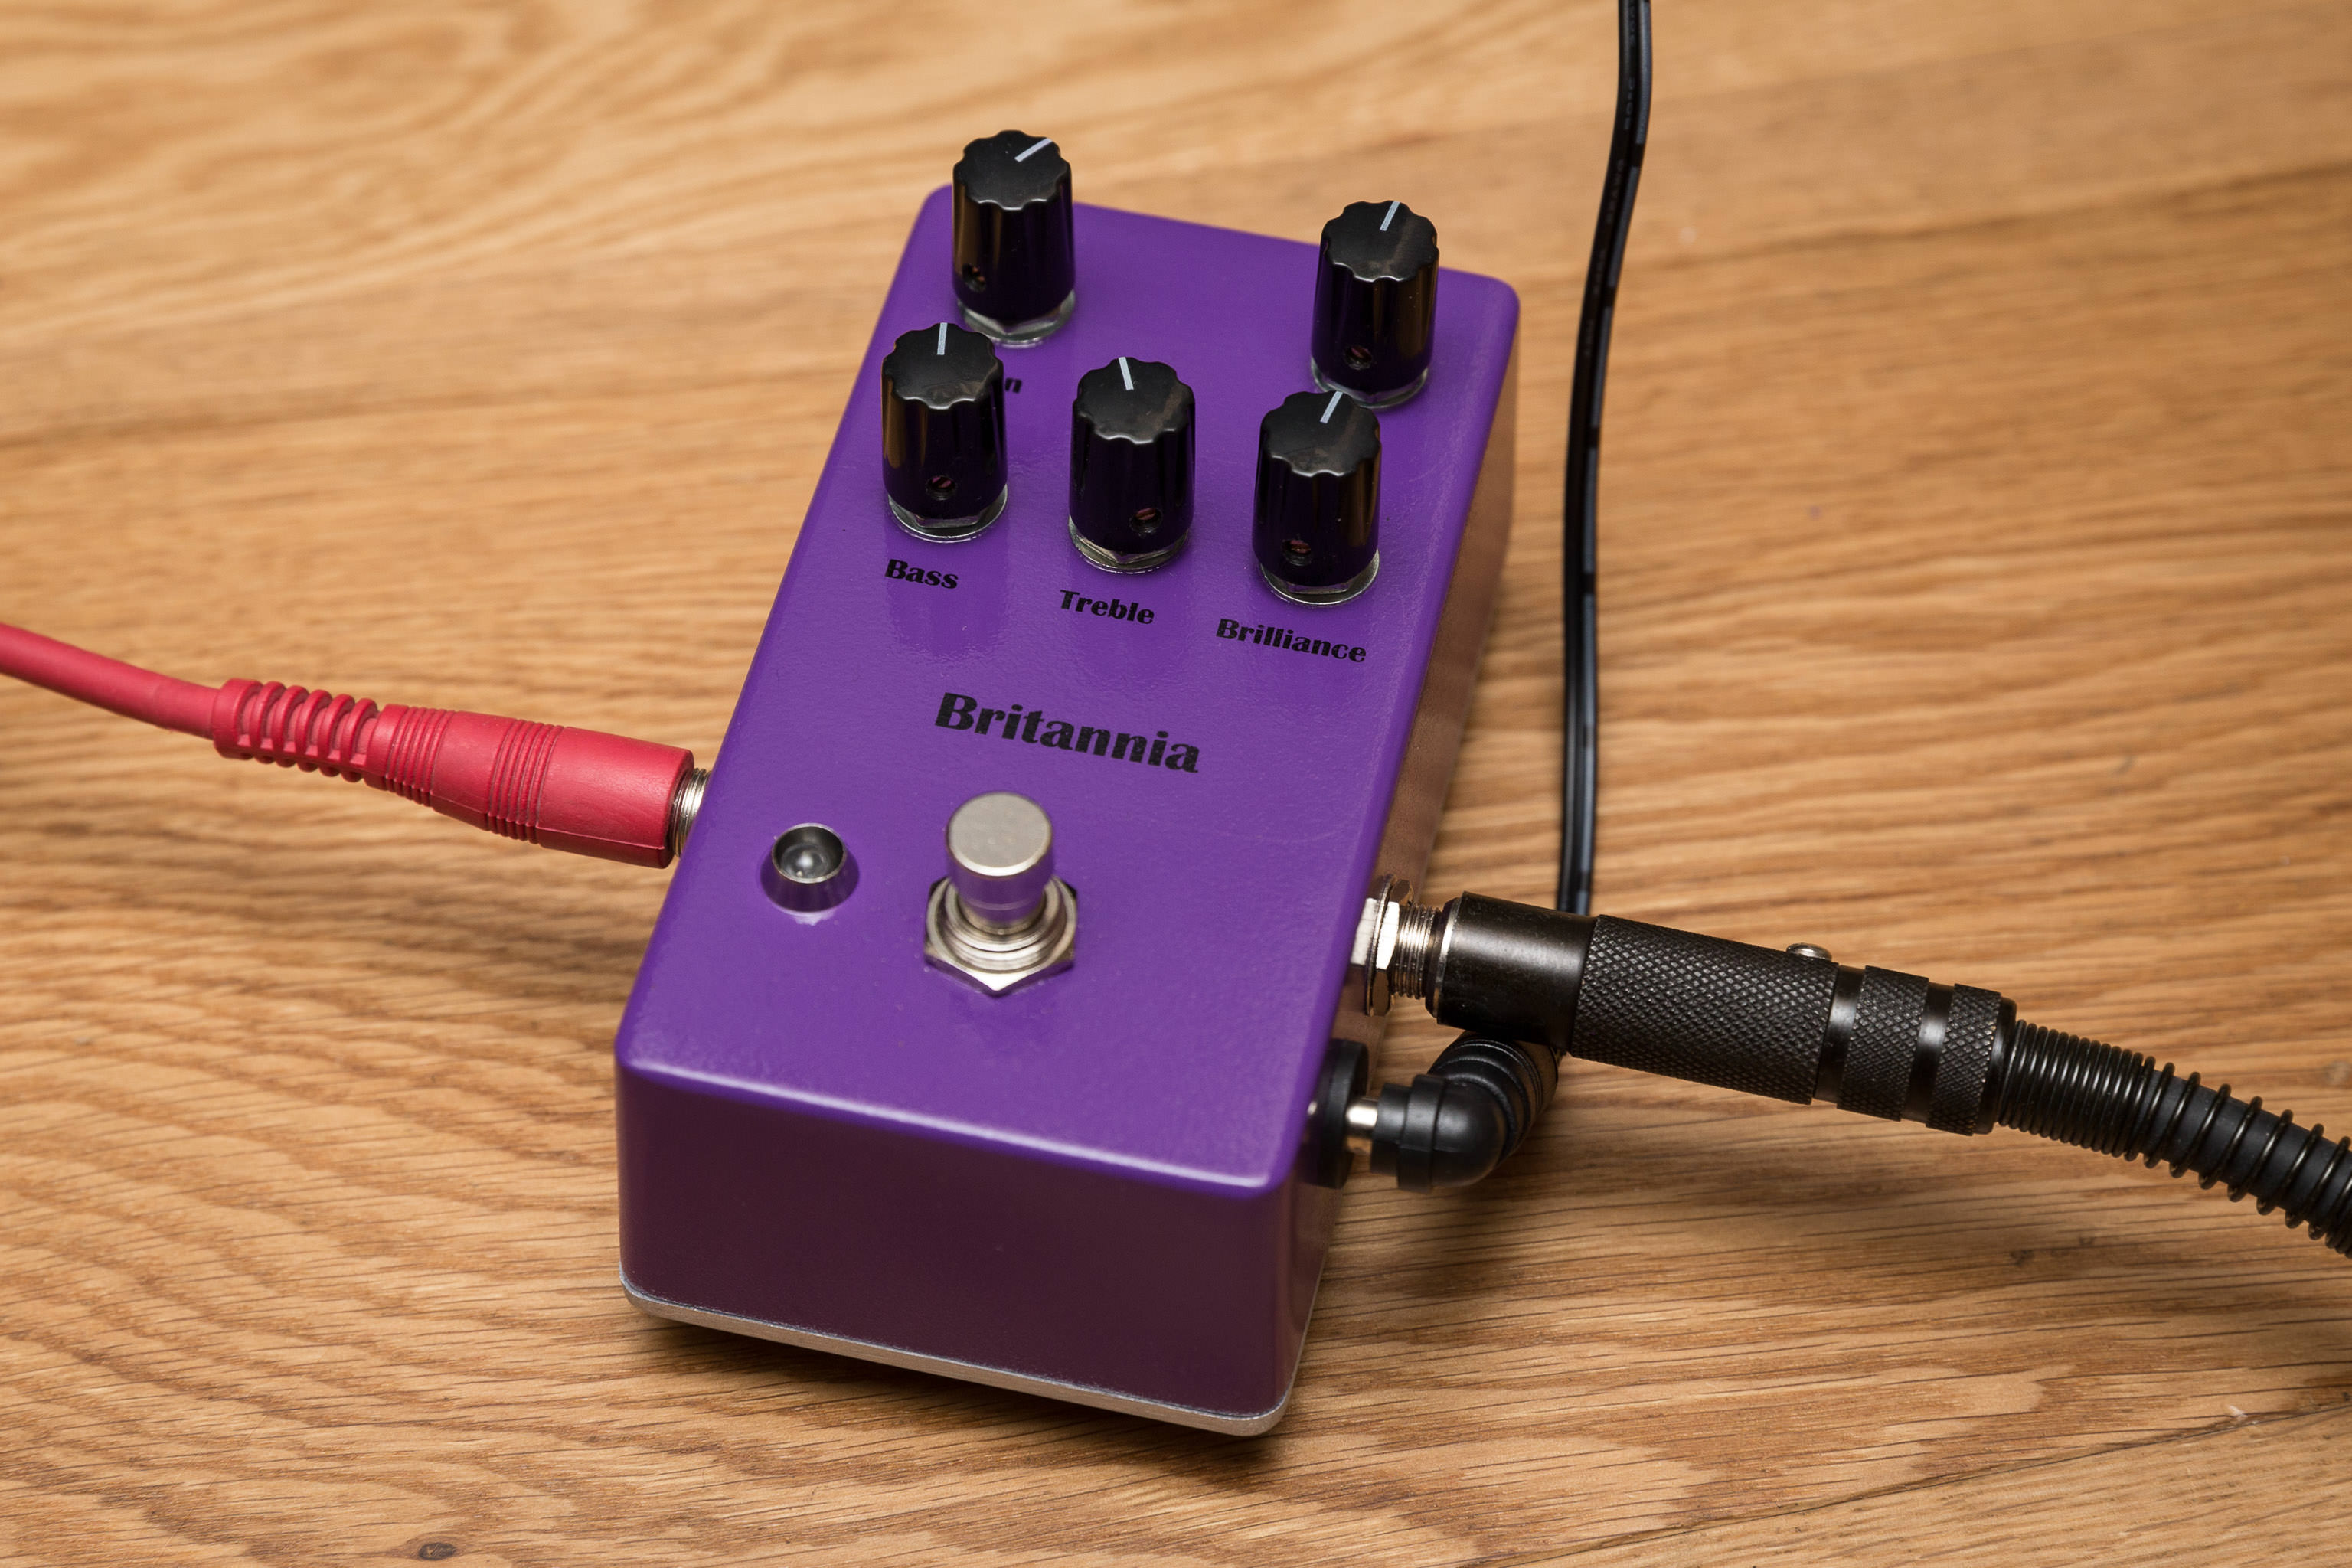
Anyway. After the colour painting I used some water-slide decal printer paper to produce some labels. And after a disaster or two with those, I learned that I (a) shouldn’t try to cover the entire top surface of the pedal with a decal, and (b) Humbrol Decalfix really does help decals to conform to a non-gloss surface.
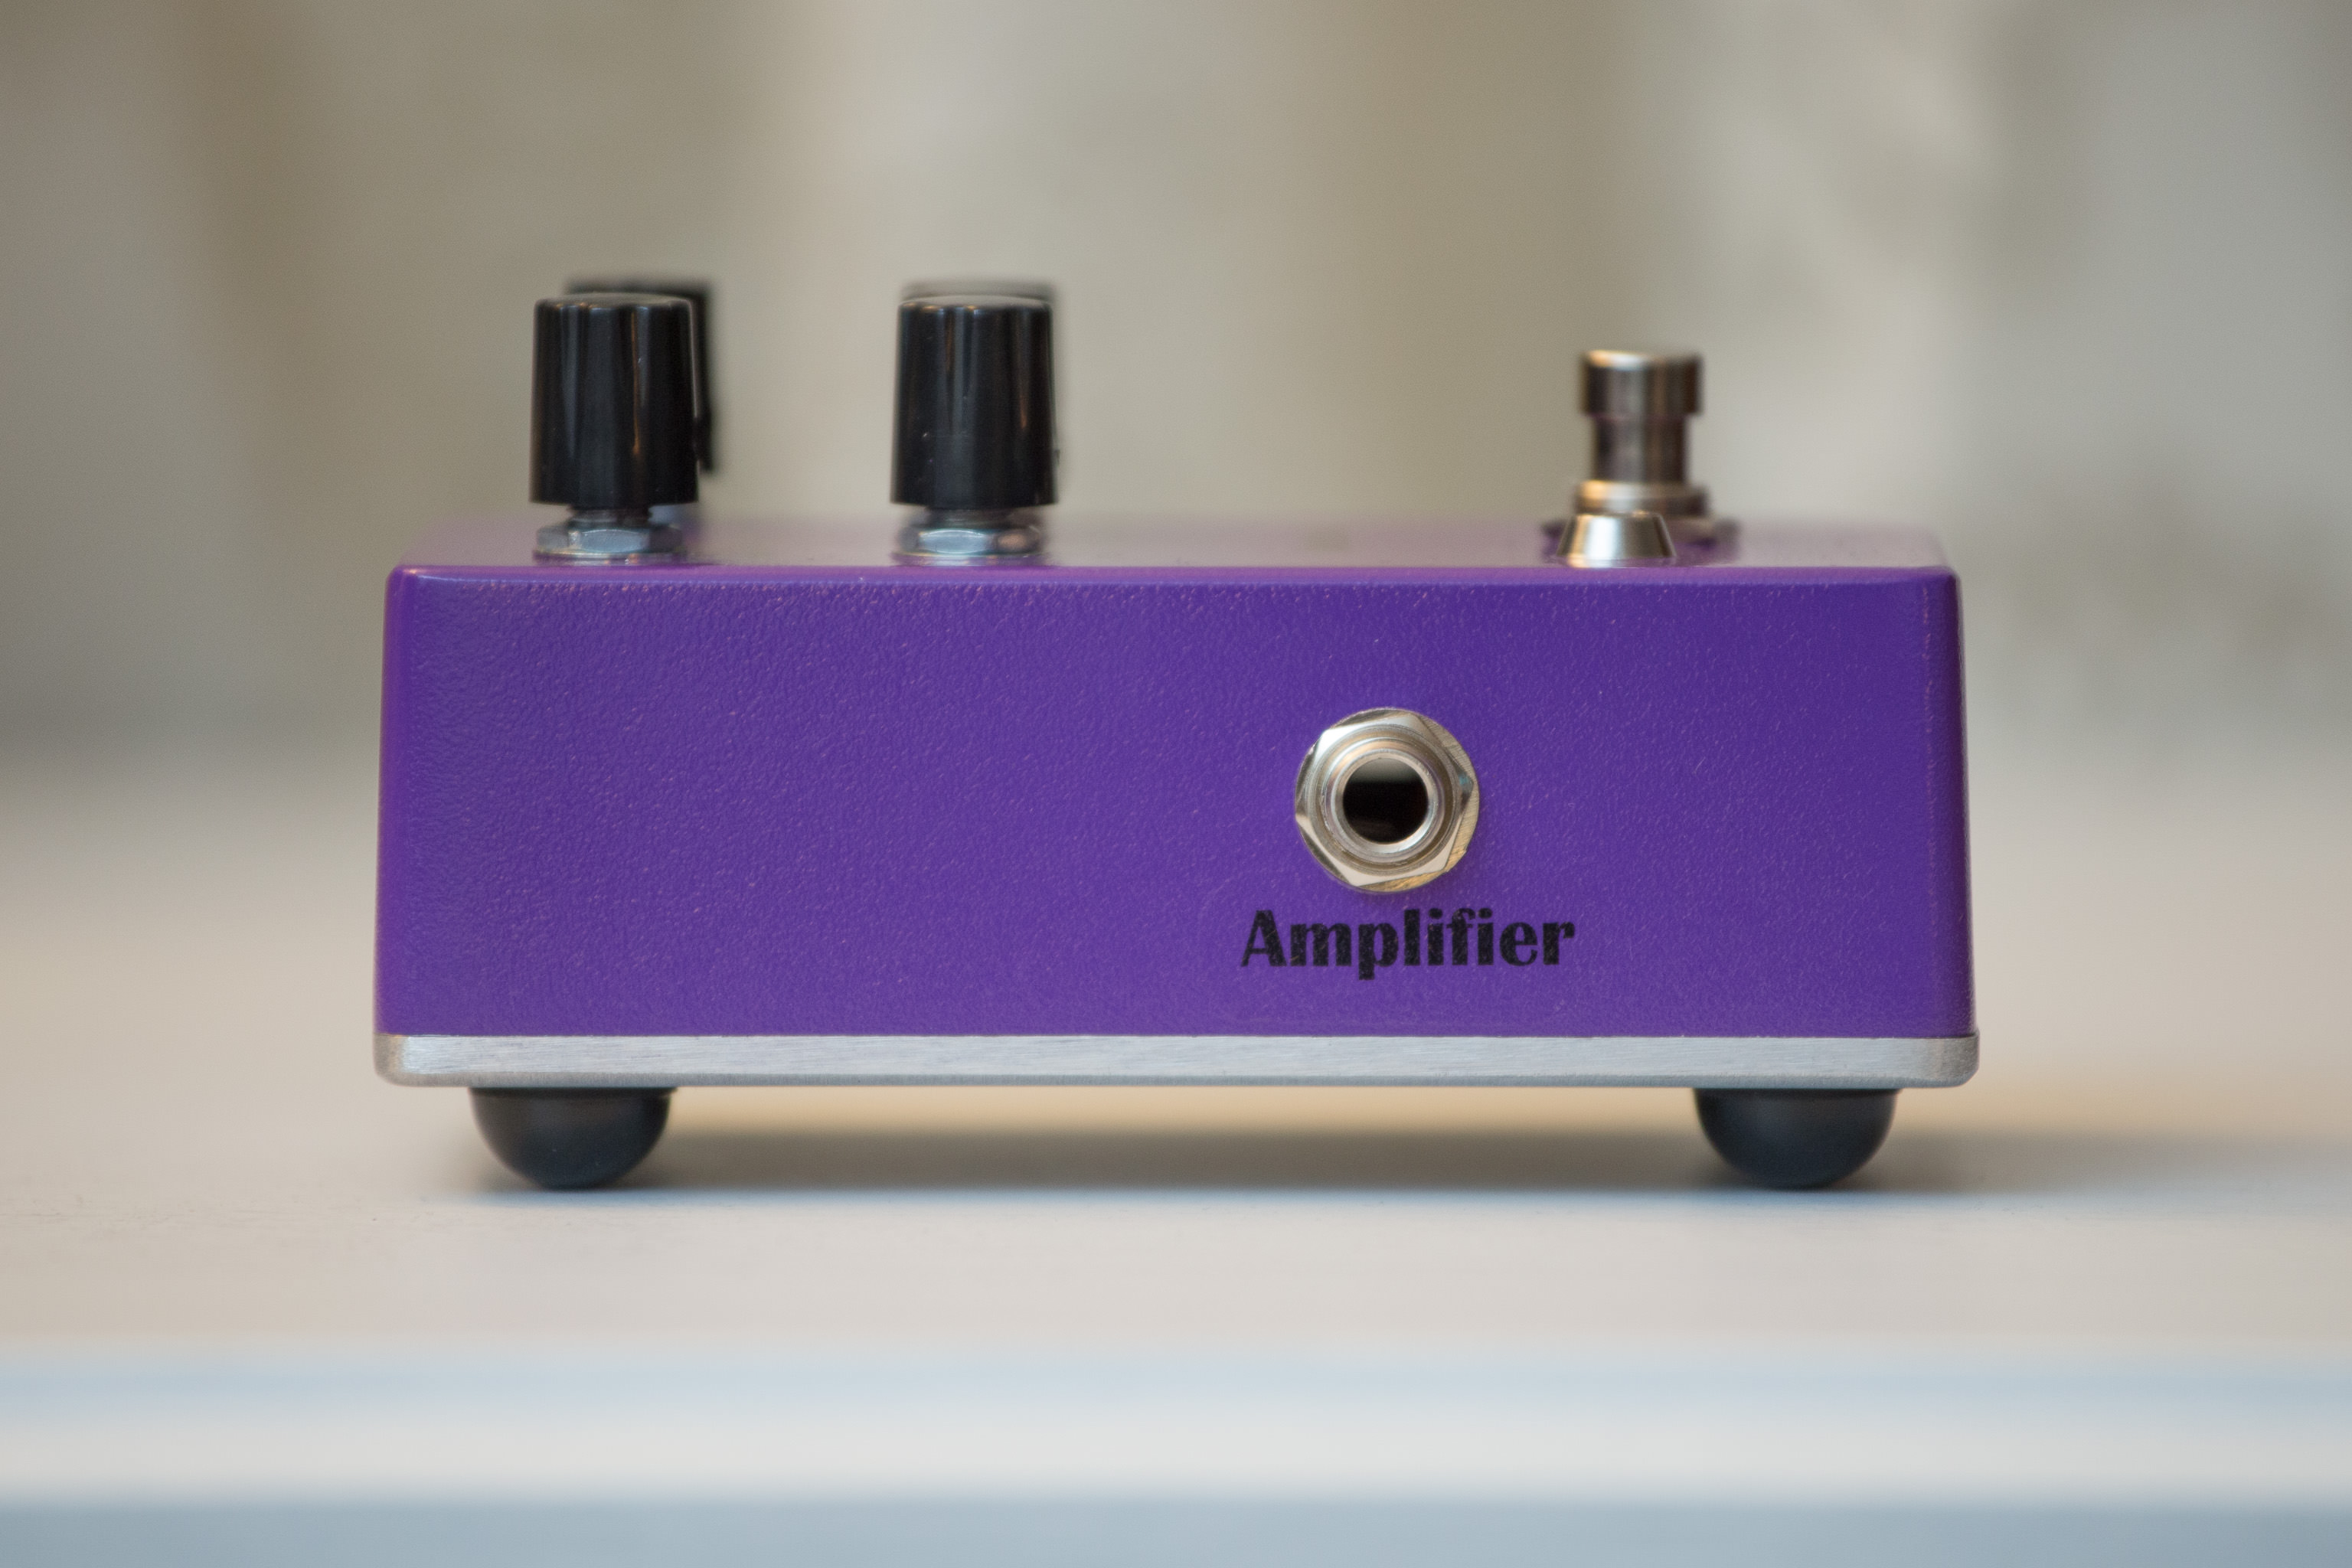
Finally I glossed over the whole affair to give a nice final finish and seal in the decals.
In the end, I was very pleased with the results, despite all the ups and downs and mistakes along the way. It’s all part of learning, right? And now I have by far my best-looking hand-finished project. Persevering through the tricky bits was definitely worth it!
1 Comment
Phil Gibson
February 13, 2017I’m dredging this up from a long time ago but I think you’re wrong about the FM radio. Your first venture into electronics was assembling a crystal set radio from a kit given to you by your grandfather when you were 5 or 6 years old. I asked if I could help and your response was, “Let me try on my own, first” and to disappear to your bedroom. About an hour later you held a tiny earphone in front of me and said, “Listen to this”. Yes, it worked.
The FM radio was a later project which you completed alone then gave me a brief explanation of what a transistor did and how it worked.
Dad.