Making an Infrared Remote Interface for the Pioneer PD-Z83M

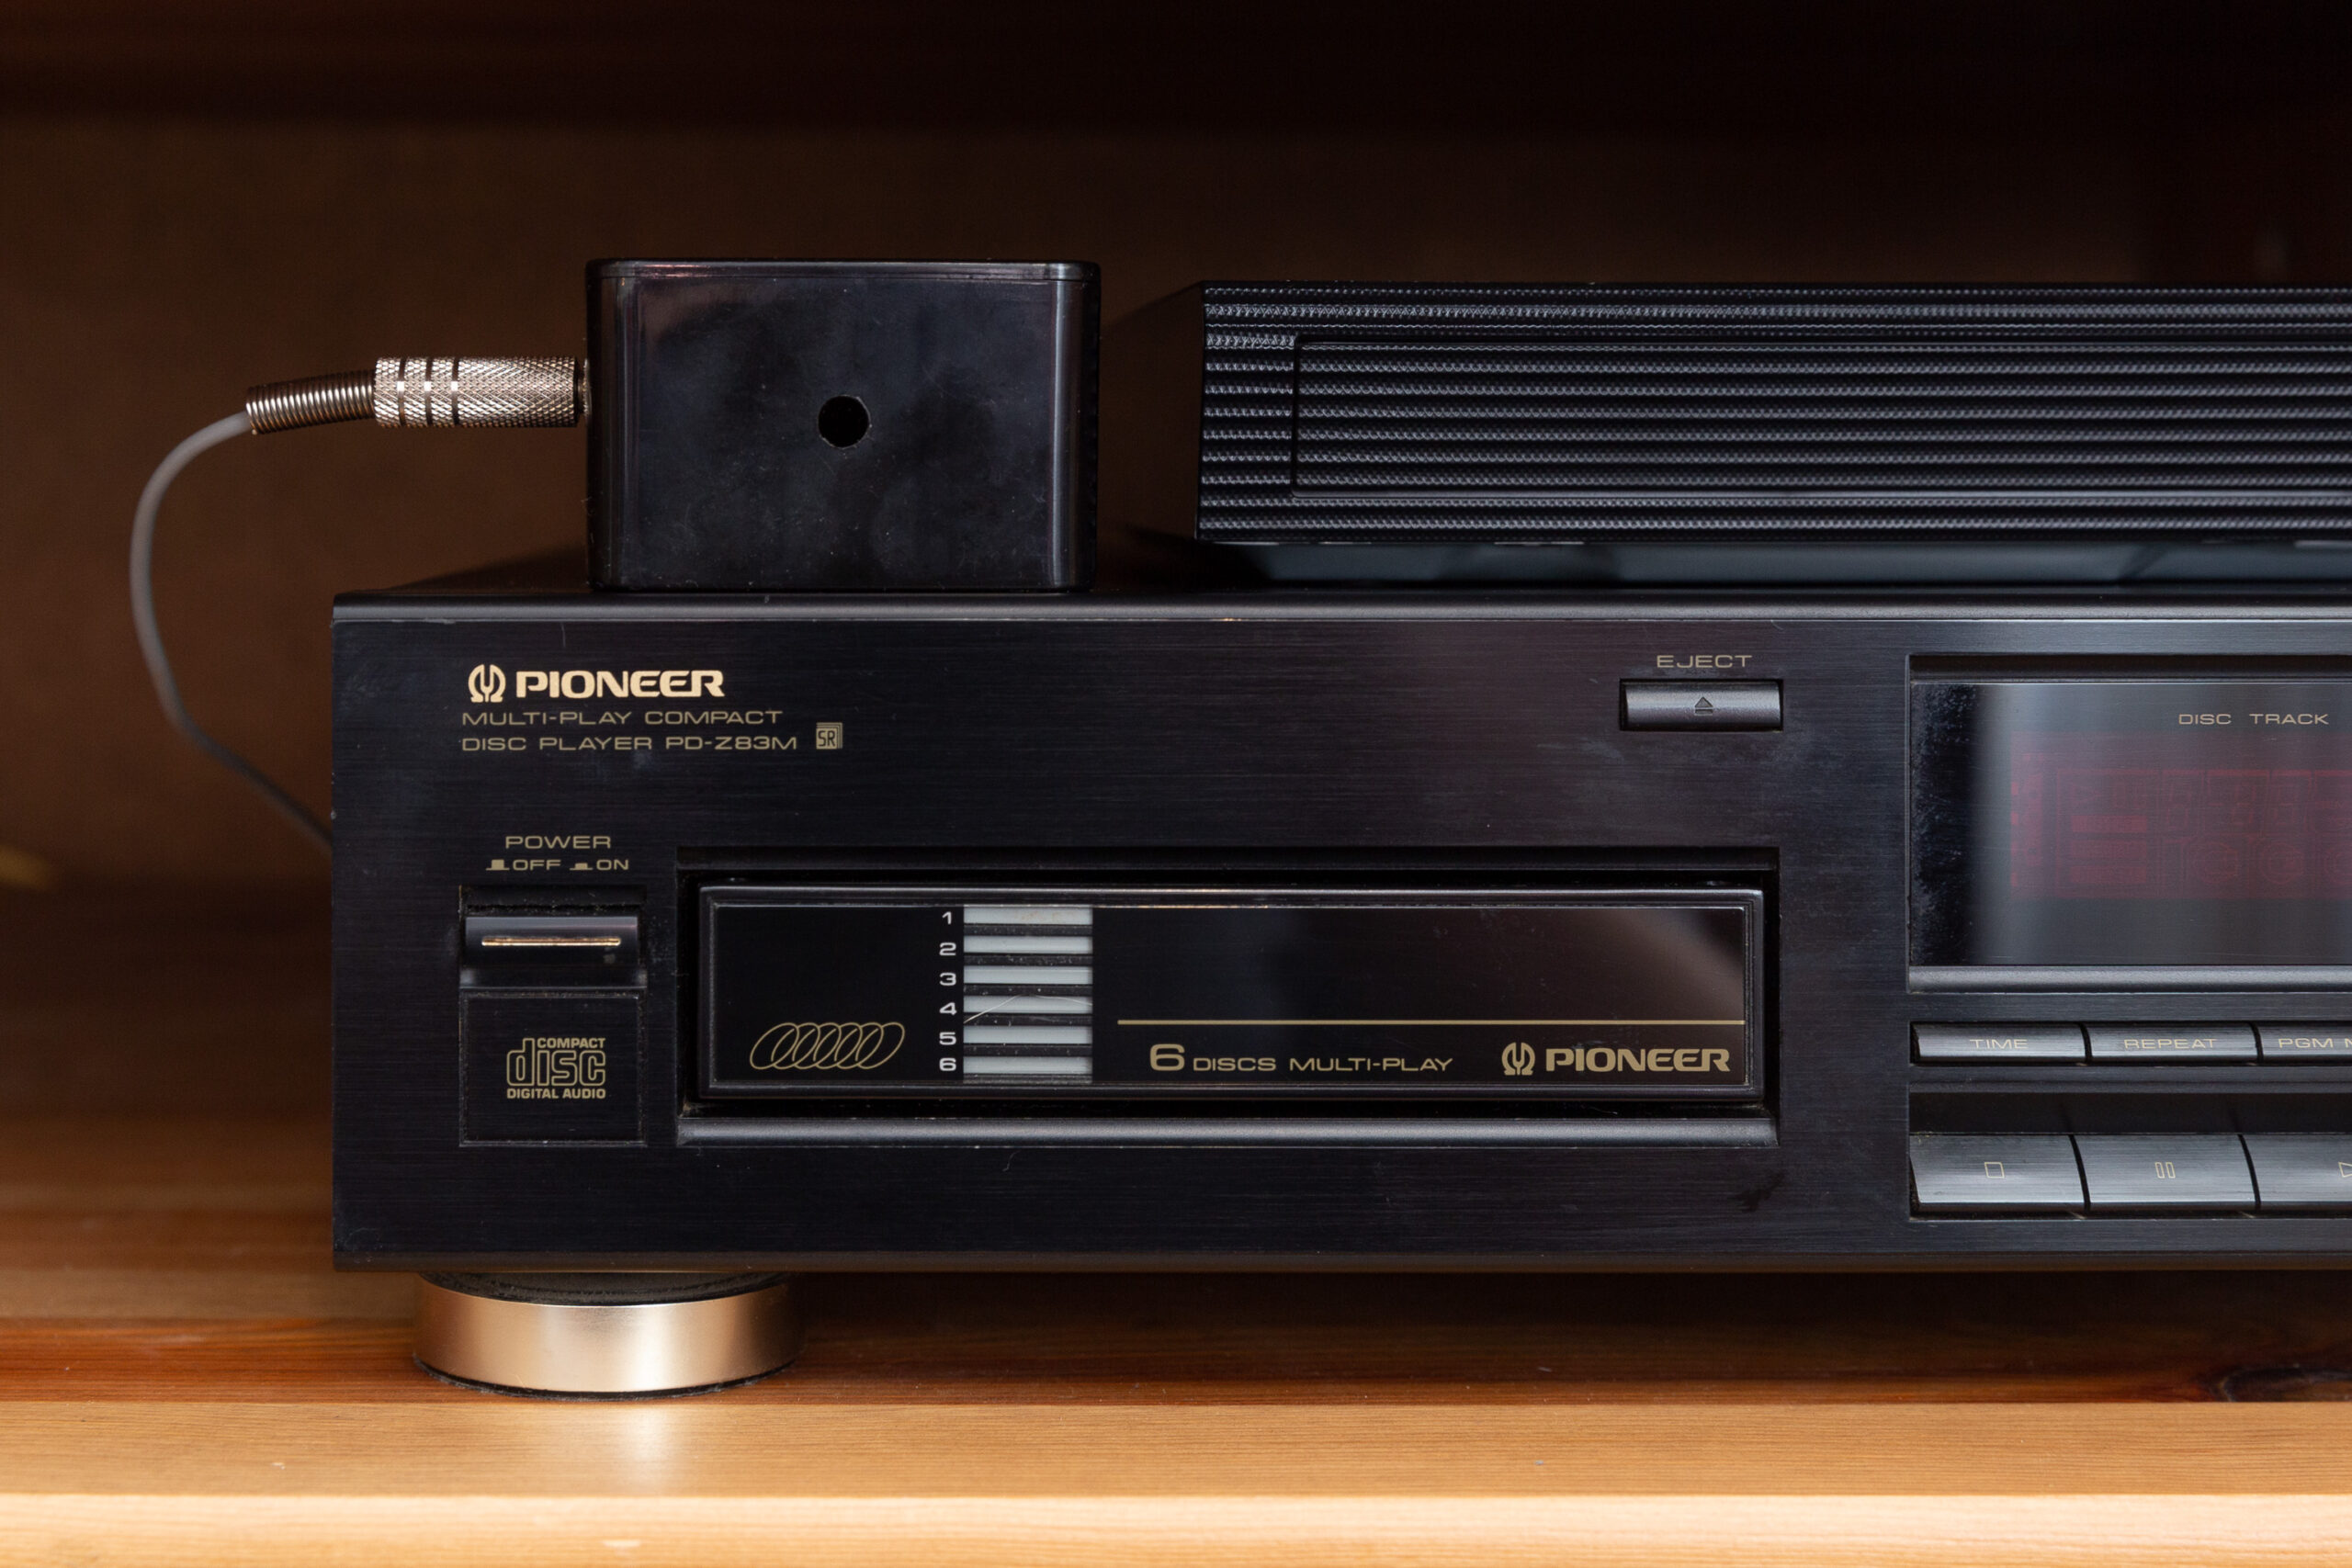
I made a little black box over the Bank Holiday break. I’ve had a Pioneer PD-Z83M multi-changer CD player since I was a kid, and it was how I listened to a lot of the music of my formative years. I remember listening to Fields of the Nephilim’s sprawling masterpiece Elizium on it at university, and it was in service for perhaps twenty years after that.
Recently I got my CDs out of storage and dusted off the Pioneer, pleased to find it still working, but very quickly found that I’d been spoiled by the luxury of remote control for my music and was frustrated by the lack of a remote on the CD player.
Happily, the web has always been stuffed full of enthusiastic people reverse-engineering electronics, and with a bit of advanced Googling I found Adrian Kingston’s examination of the proprietary Pioneer SR Bus interface that my elderly CD player had a jack plug for on the back. This was a deep dive into the SR bus — a wired interface which allows, say, a Pioneer amplifier that does have an infrared interface to control a CD player like mine, which doesn’t — and how it works, and gave me a crucial piece of information: that the SR bus format is basically a demodulated version of the standard Pioneer infrared remote control signals.
What that meant was that it should be possible to make a really simple circuit based on the TSOP31240 infrared receiver that would take signals from my Logitech Harmony remote (or indeed an actual vintage Pioneer remote control, if you wanted) and translate them into something that could control my CD player through its SR bus.
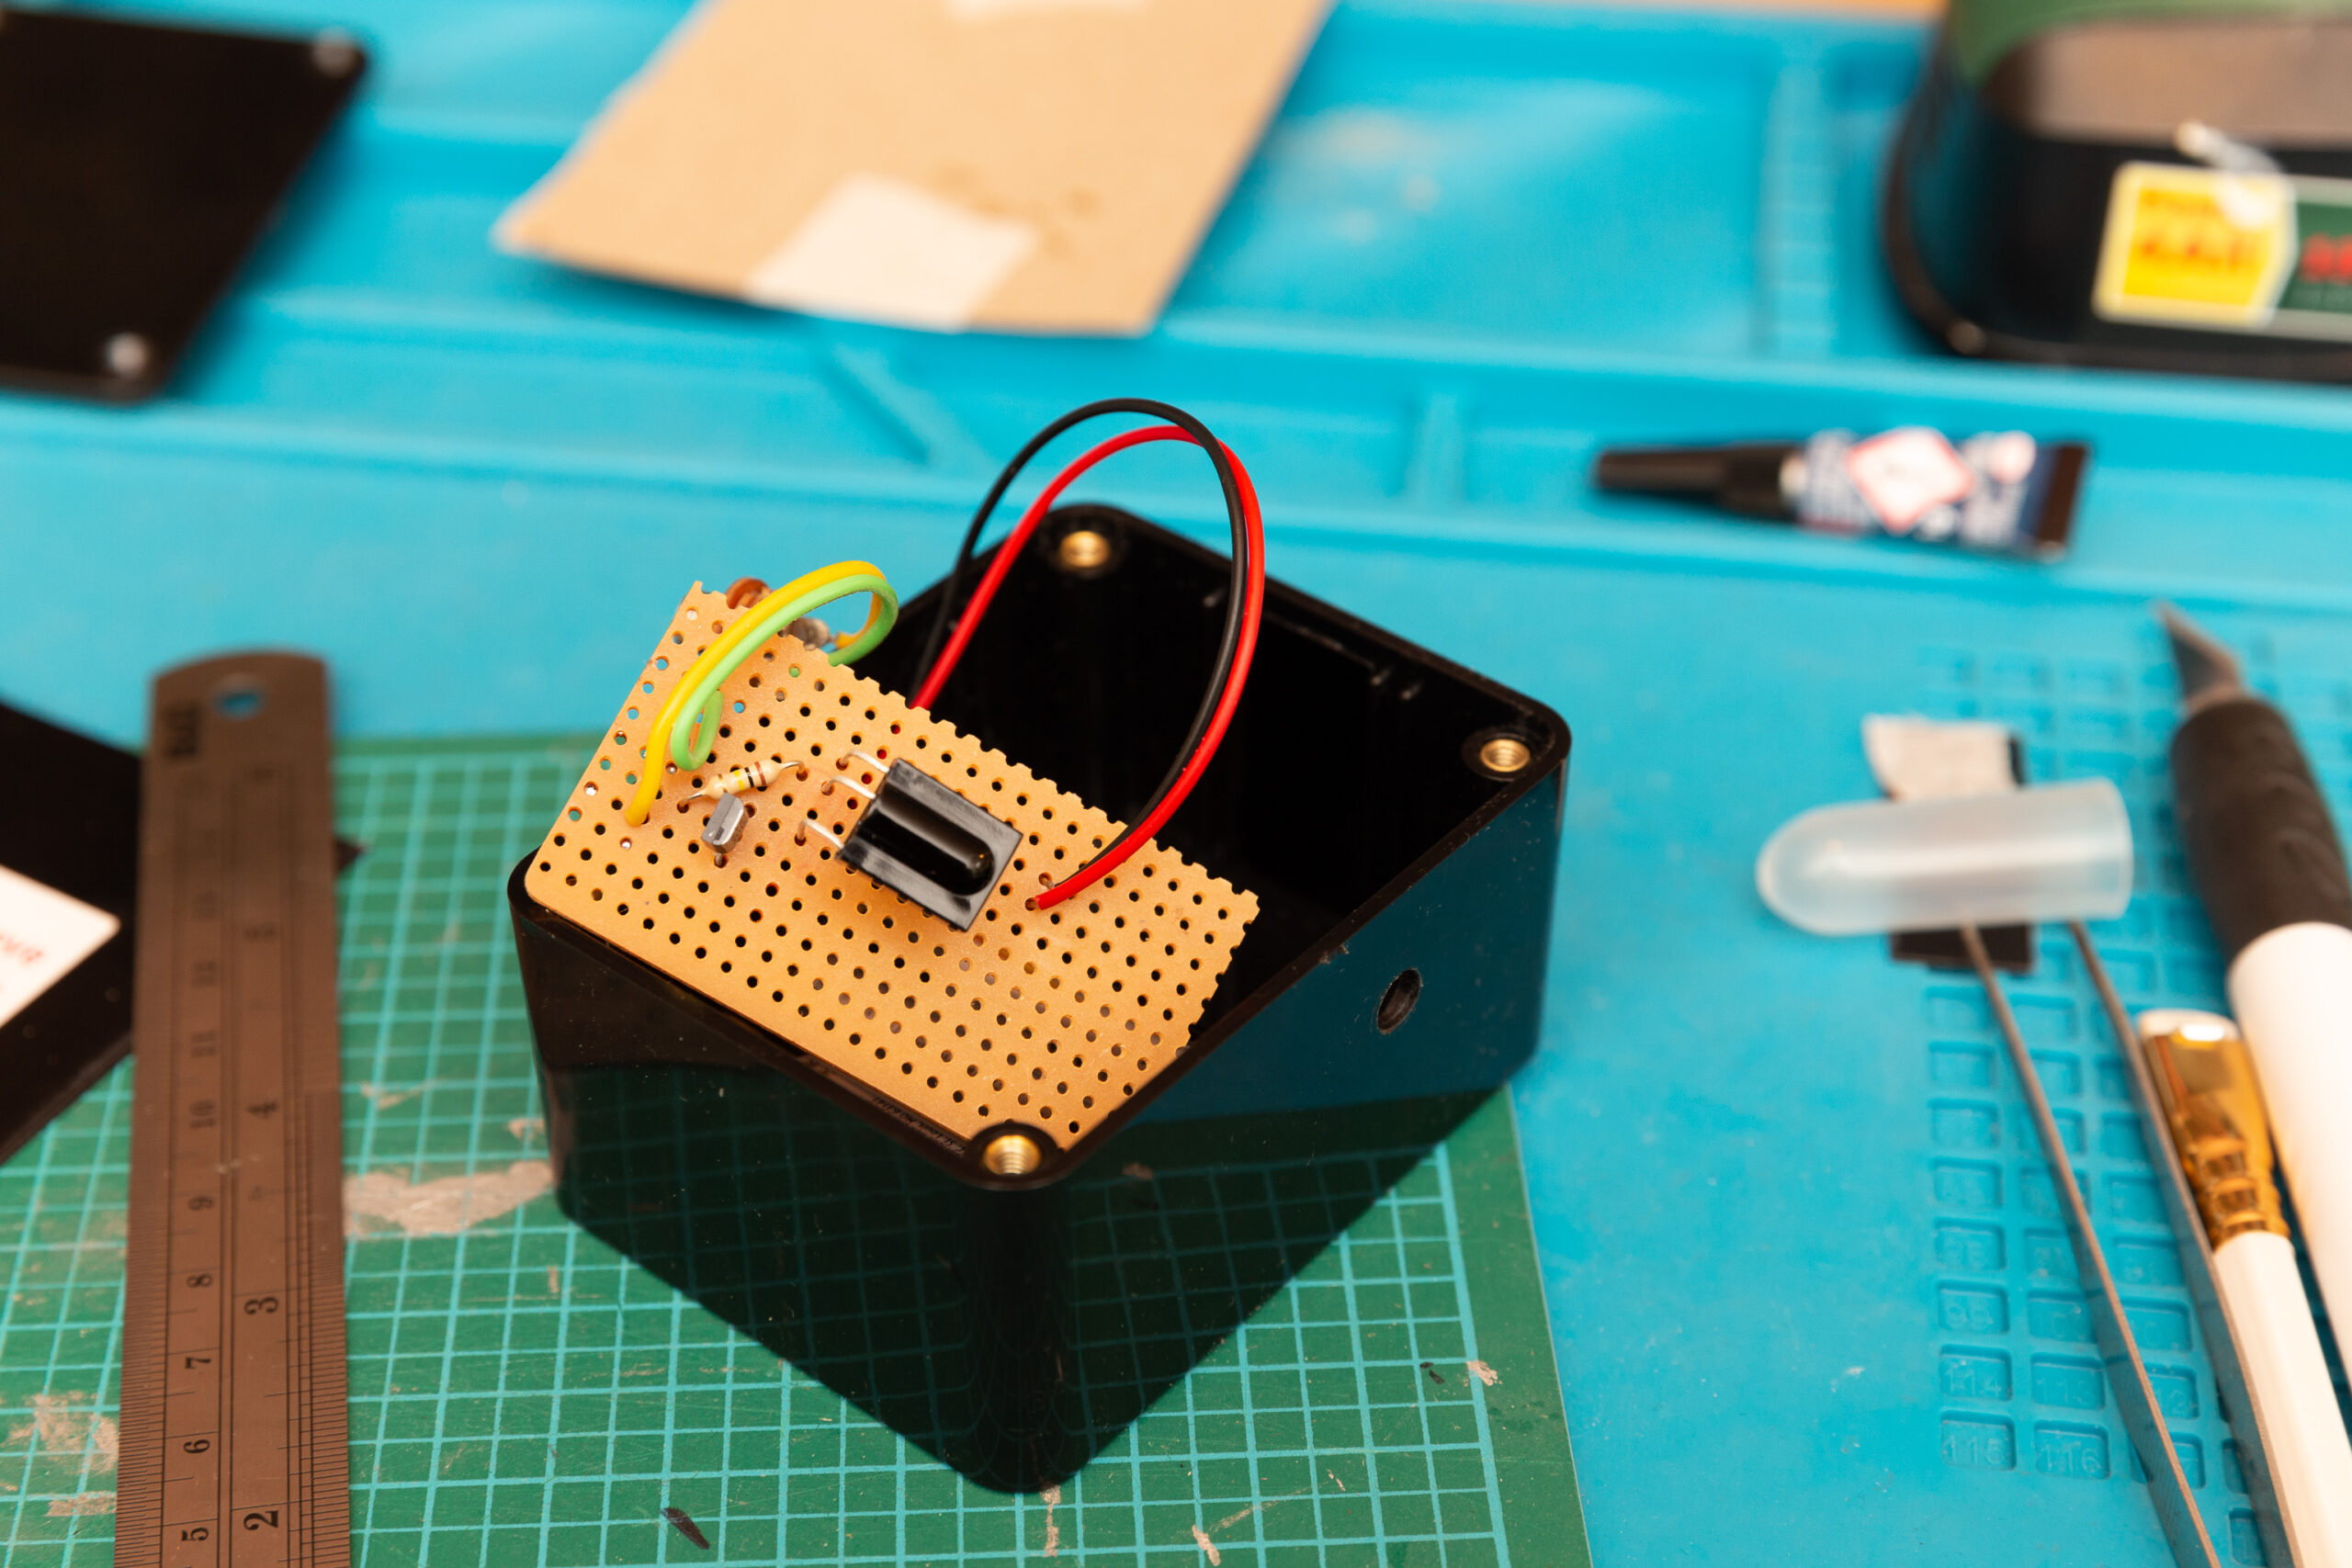
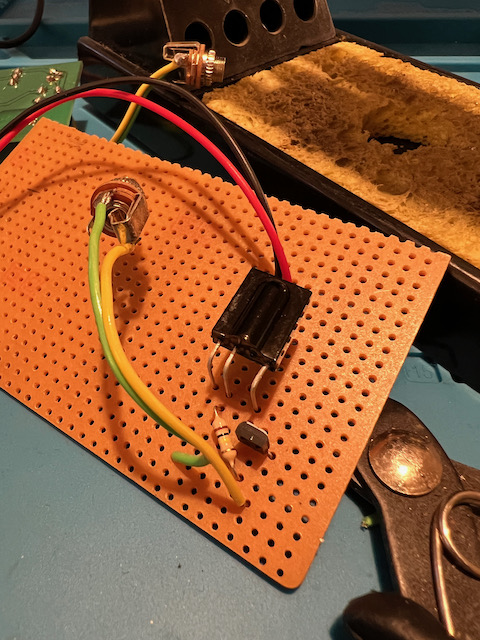
My simple circuit was this. The demodulated signal from the TSOP31240 is connected to the emitter of an NPN transistor whose base current it set up to saturate via the resistor R1 (I used an obsolete ZTX300 transistor simply because it was the first one I grabbed from my stockpile of random NPNs.) When the (normally-high) output from the receiver is pulled low by a series of demodulated pulses from my infrared remote, that in turn pulls the SR interface low. That’s all it needs, it seems, as looking at the service manual circuit, the SR interface input is just a logic input with an internal 200k pull-up resistor connected directly to the RMOT input of the custom Pioneer system microcontroller.
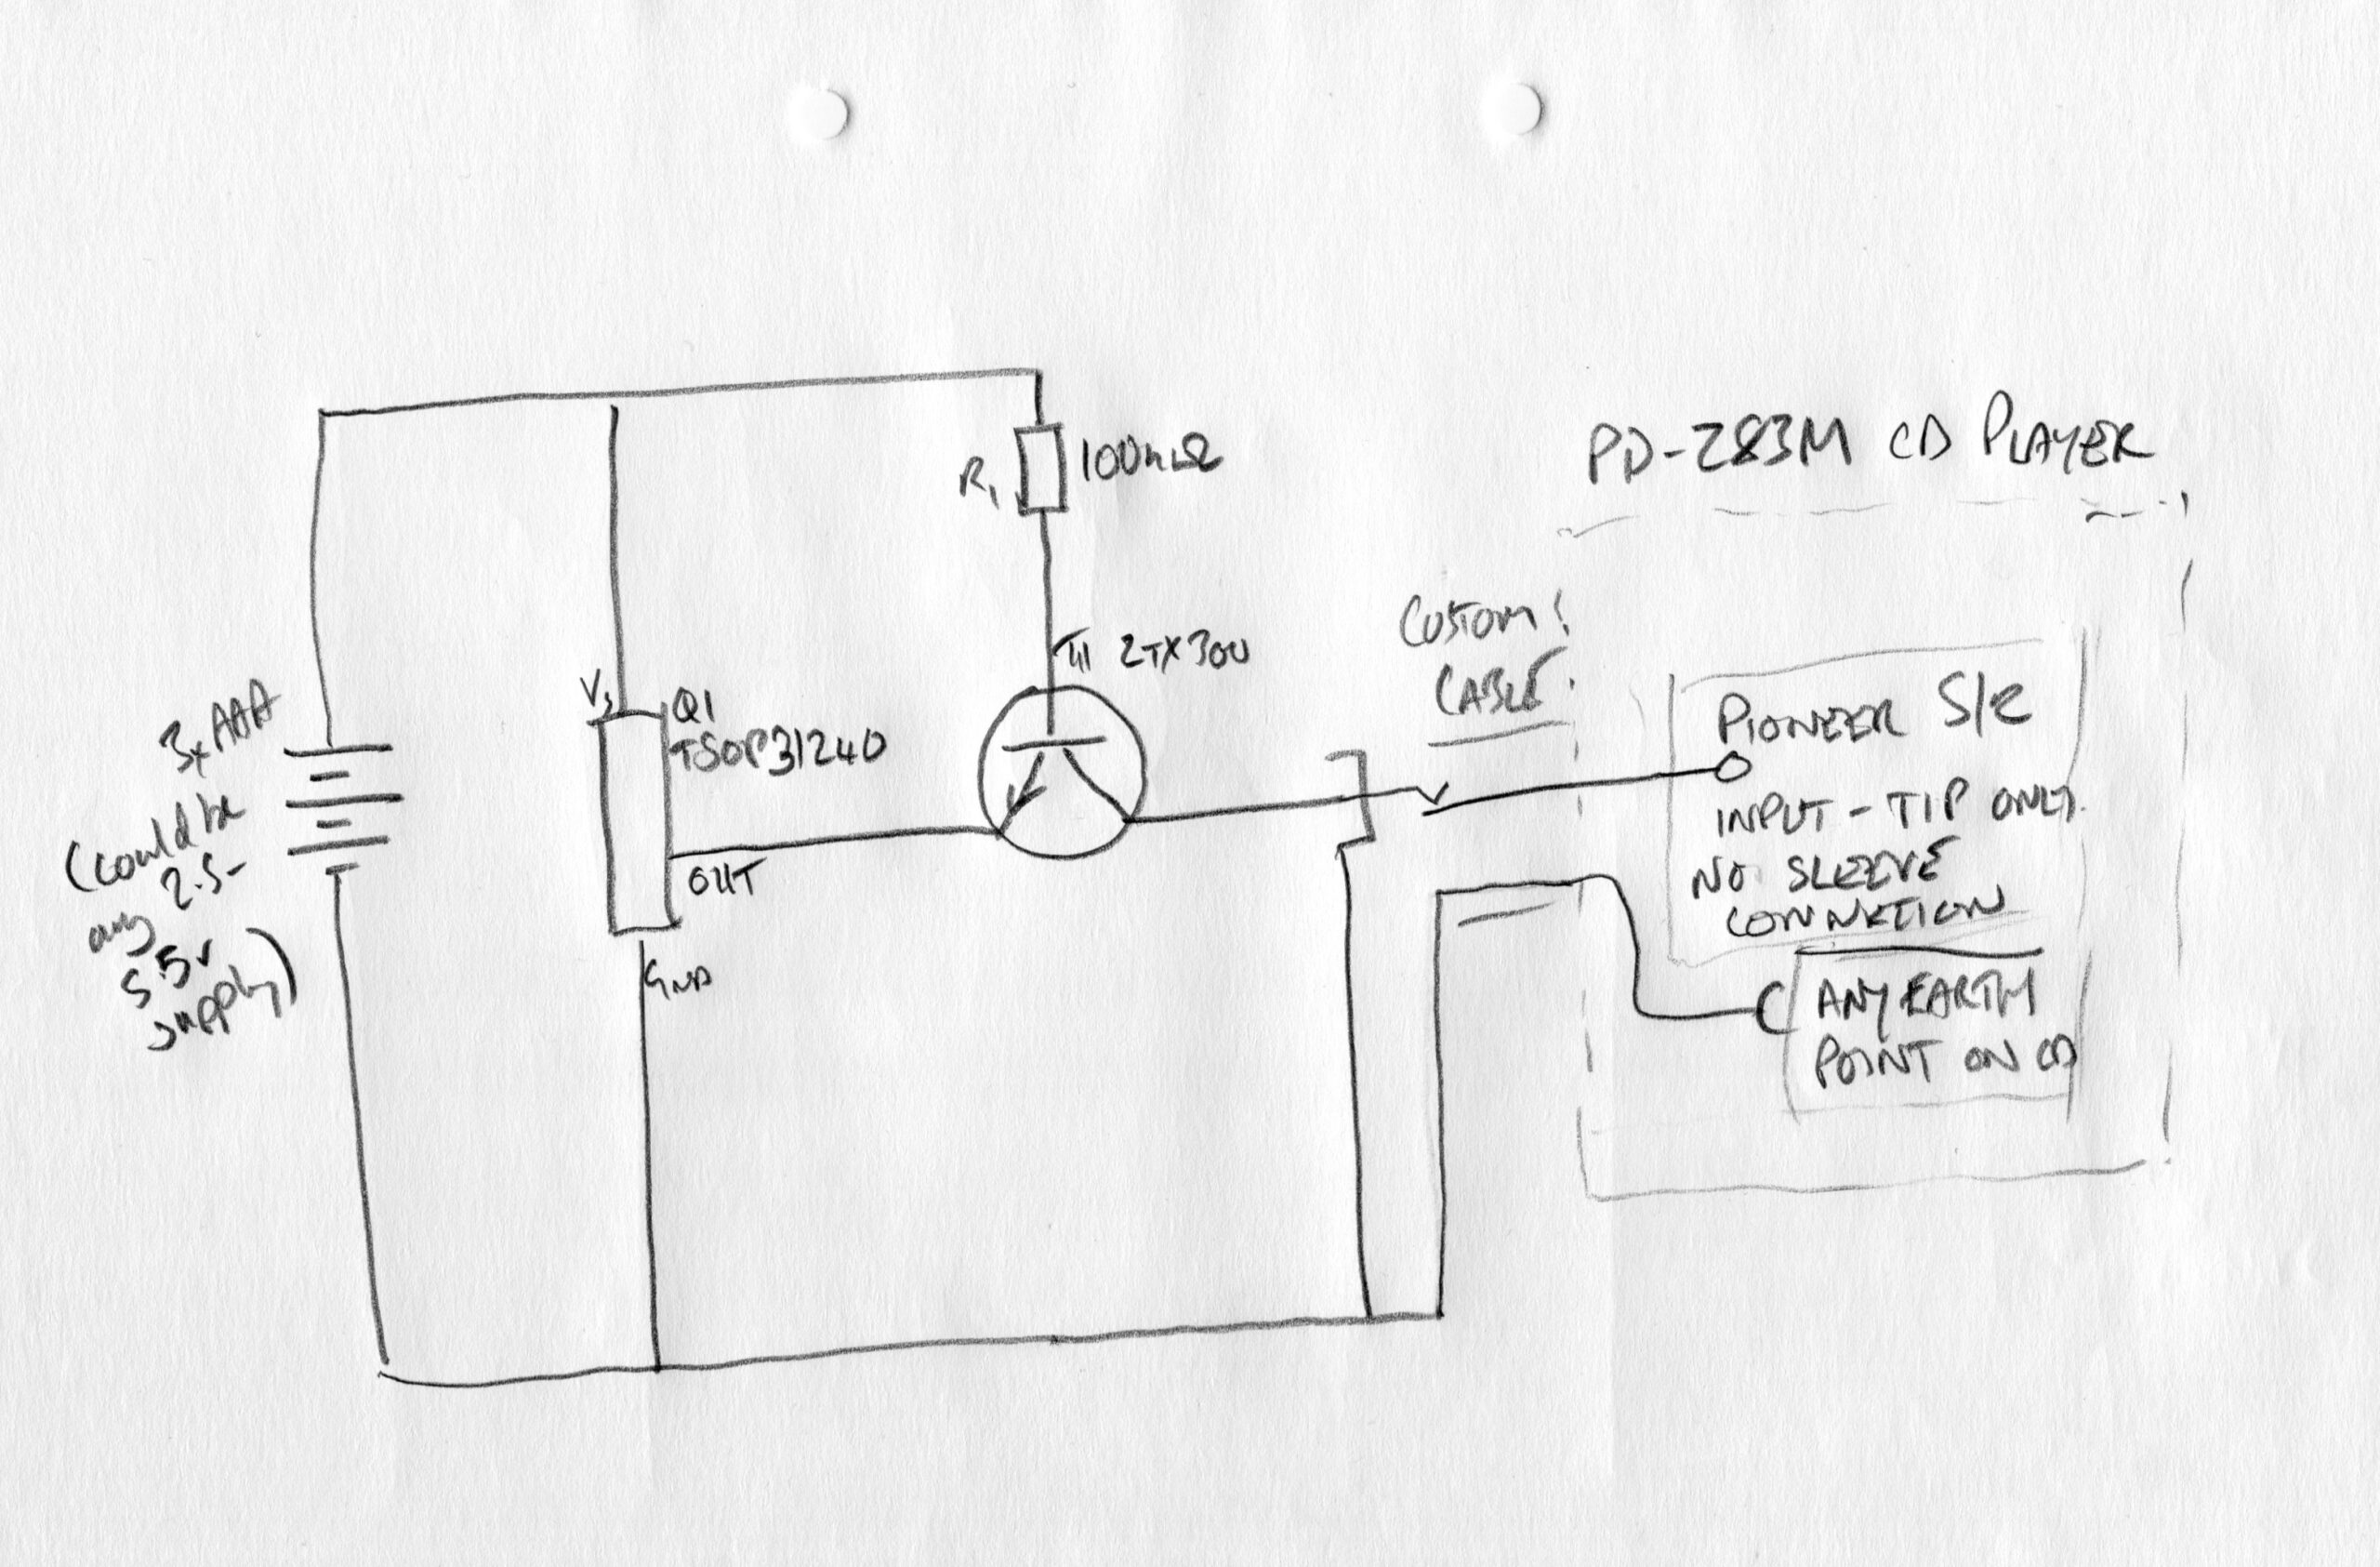
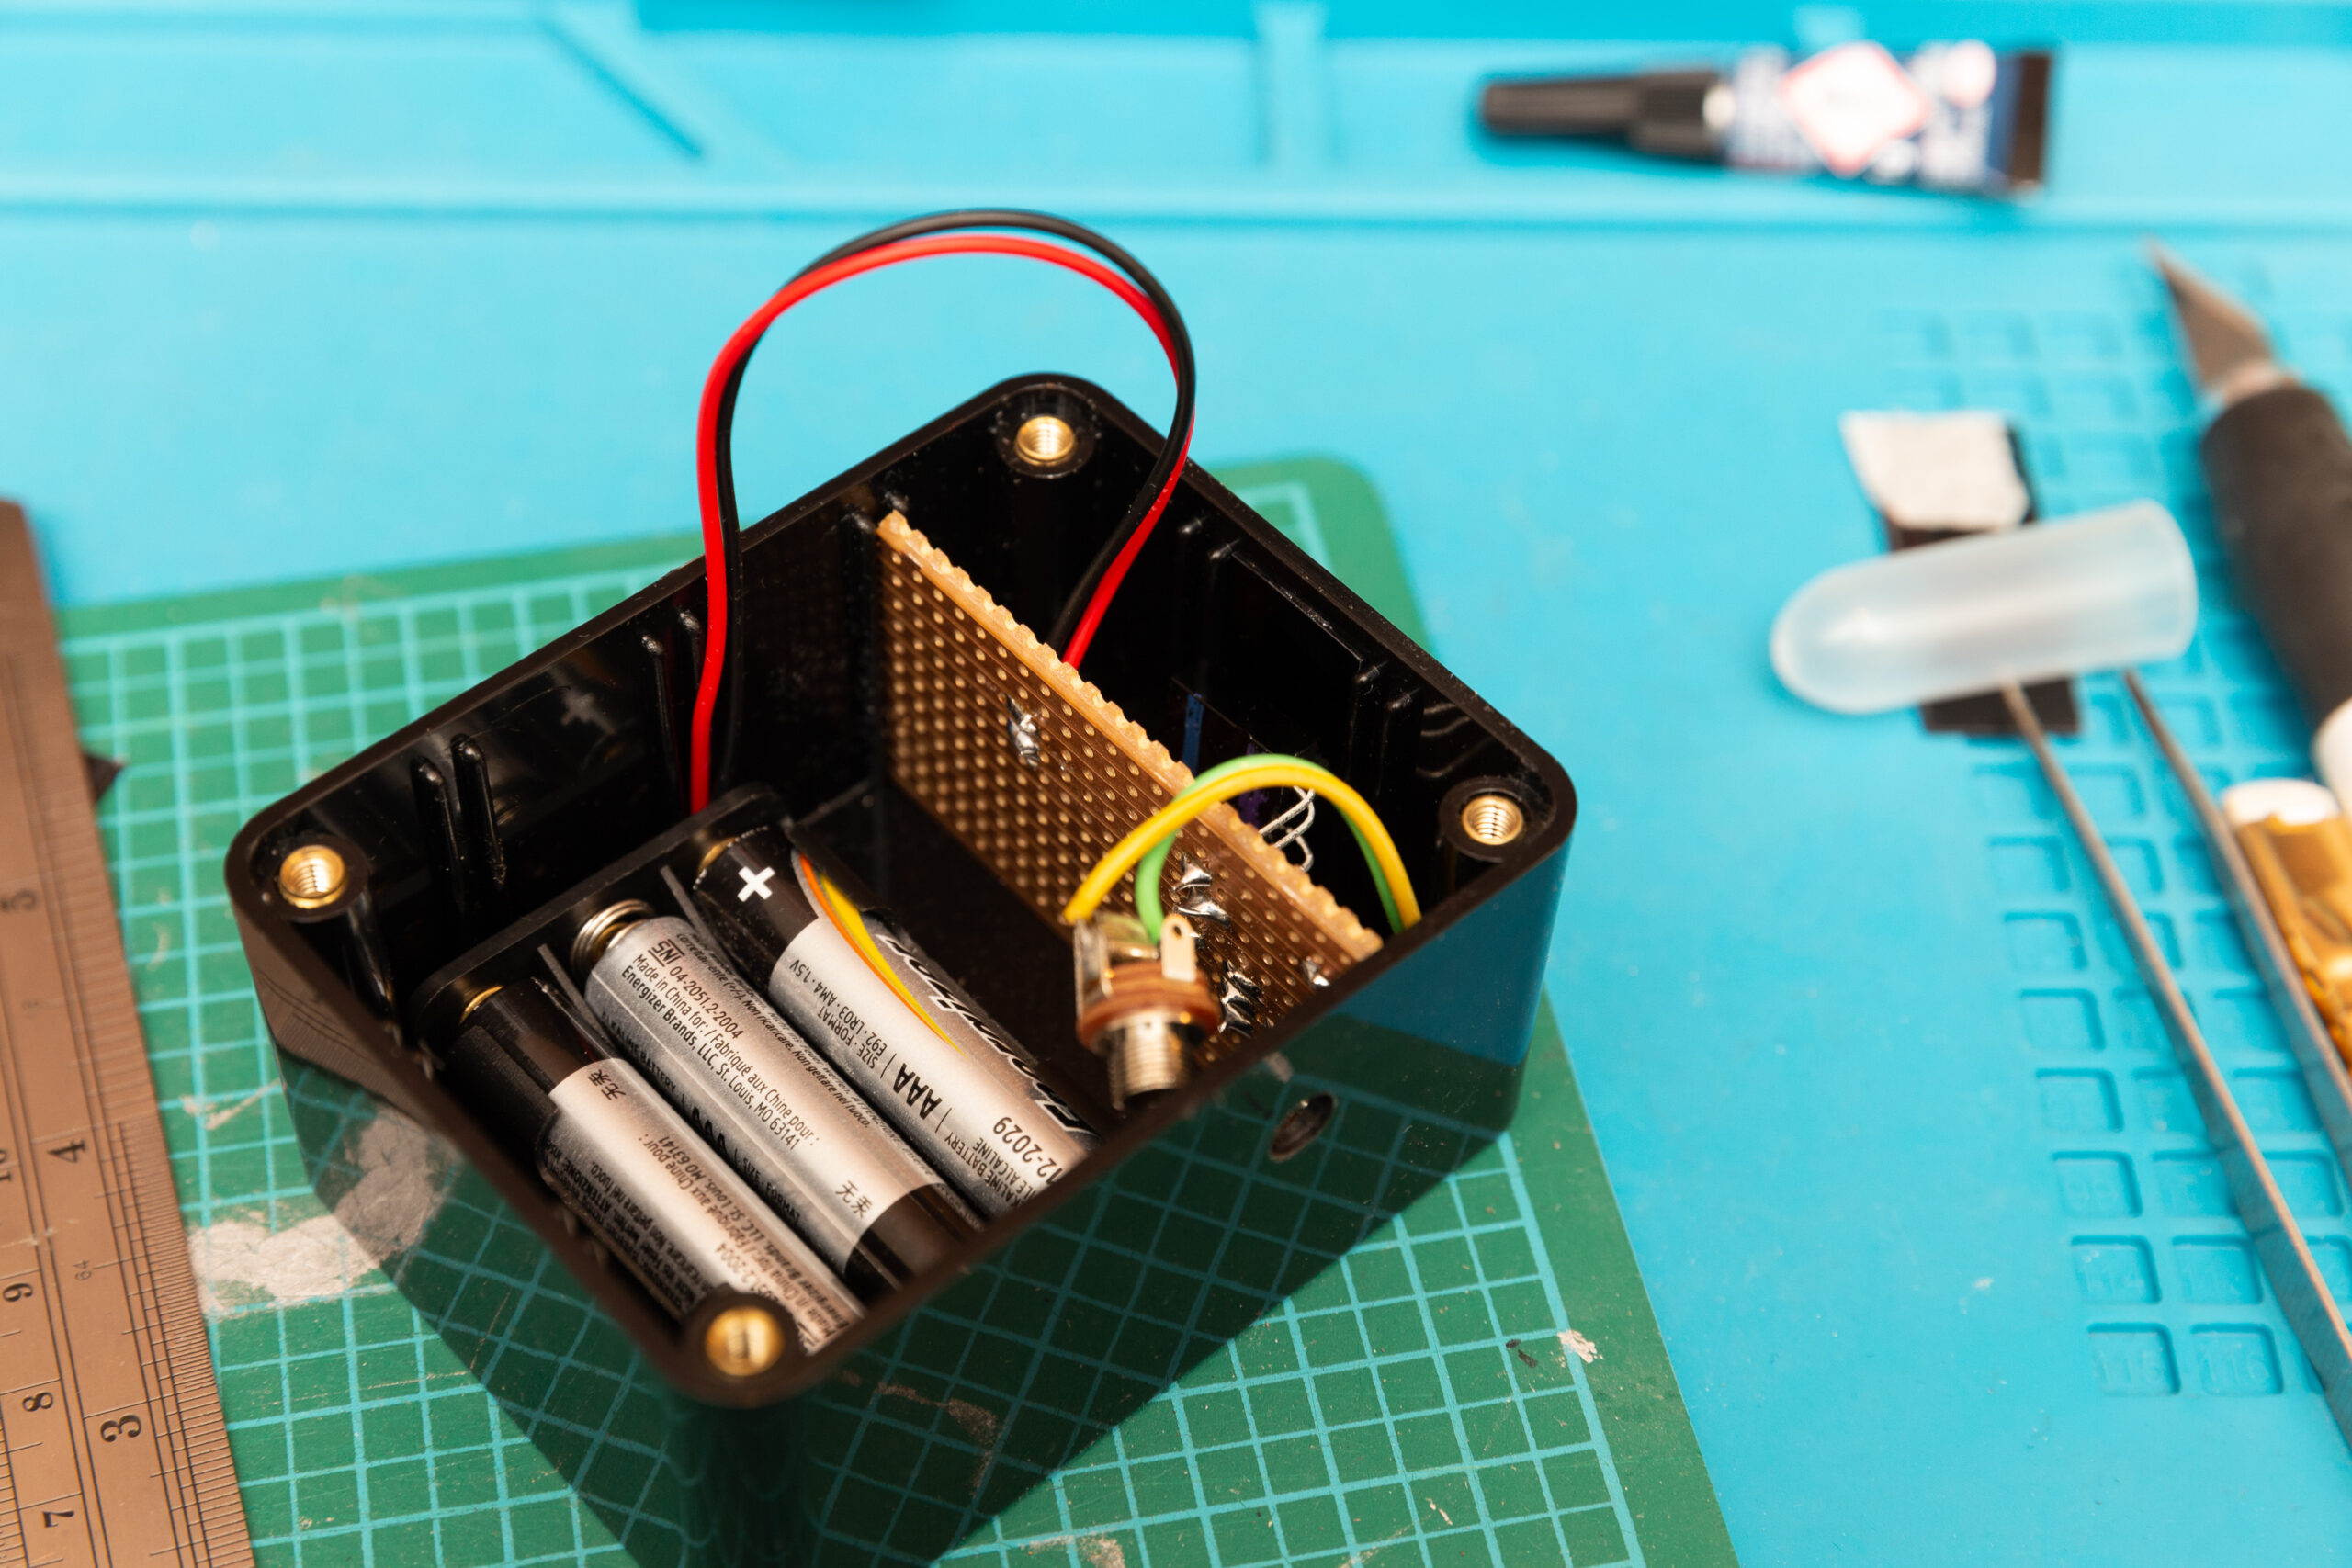
(It’s possible that the Pioneer might even be directly driveable by the IR receiver output and that I don’t even need the transistor, but I’m not sure how well that would work given the mismatch in voltage between the Pioneer’s 5v and my at-most-about‑4.5v-but-varying-below-that setup of three AAA batteries.)
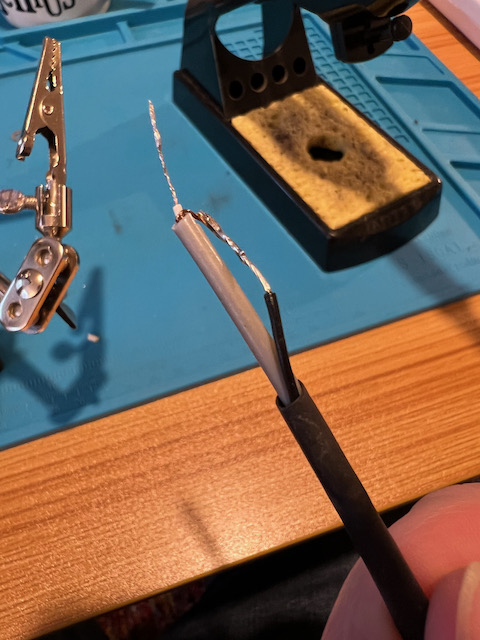
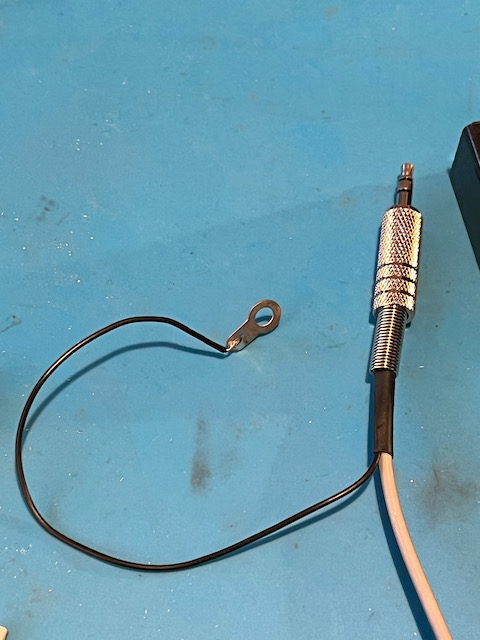
Adrian’s post also provided the other crucial bit of information: that the Pioneer SR jack is a bit weird in that the tip is used for the SR bus but the sleeve, which you’d normally expect to be a ground connection, is actually used for a digital audio signal. The ground between Pioneer SR devices is provided instead by the ground of the audio connection. This meant that to get everything working I needed to make a special cable to take a ground from a different point on the CD player. I used a spare stereo jack plug (this was very much a “what I have lying around” project) with just the tip connected, and soldered the ground connection of the cable to a flying lead with an eye connector that I could hook up to one of the Pioneer’s case screws. A bit of heat-shrink sleeving and it almost looked professional :)
Now, every project needs its ups and downs, and I was overconfident and enthusiastic and decided not to do my proper testing in advance but trust to luck and solder up the simple little circuit and box it up after simply making sure on the bench that it was properly decoding the codes I was sending it and pulling its output low correctly.
And, of course, I connected it to the Pioneer and it simply did not work. Long story short, I’d made two crucial mistakes:
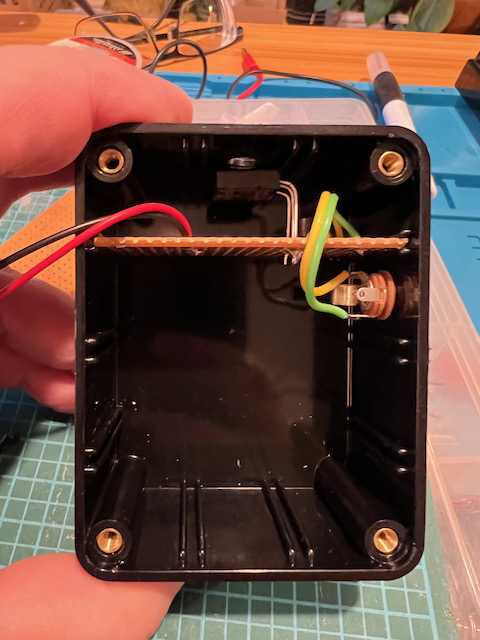
First, I’d managed to get all the harder bits of the construction and wiring done fine, but fell at the last hurdle and managed to connect the jack socket on the box the wrong way around. D’oh. That took a while to sort out as I was diagnosing by putting a scope across two accessible bits of the circuit while hooked up to a voltage source that wasn’t connected through the dodgy jack socket. Pillock.
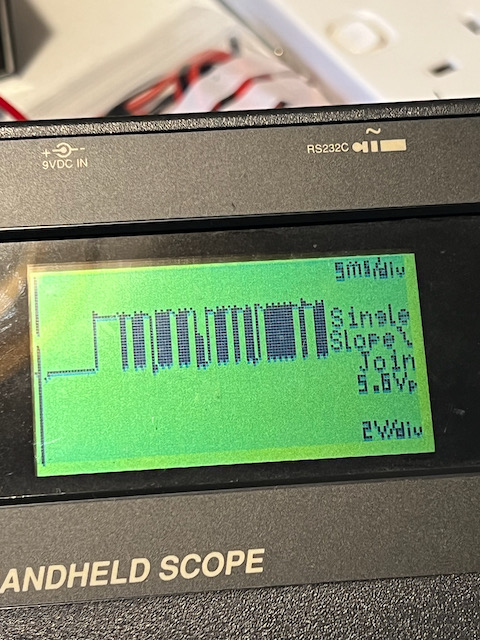
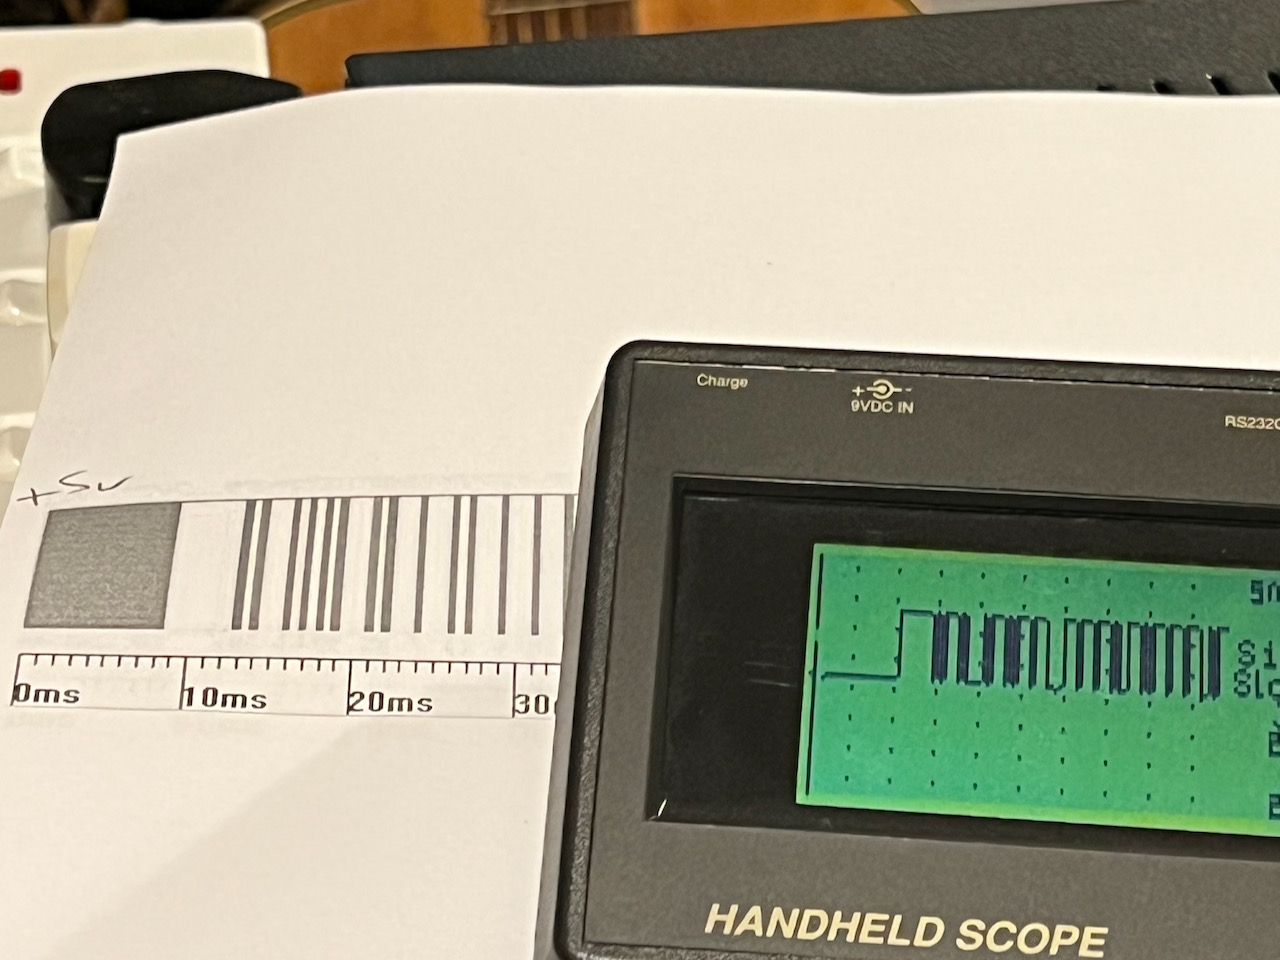
Second, I was sending the wrong codes. I’d typed “Pioneer PD-Z83M” into my Logitech harmony and been pleasantly surprised that it found that model and set things up for me. Unfortunately I have no idea what codes that set up, but they weren’t the right ones for controlling my PD-Z83M. I used my (hand-built from a Velleman kit!) handheld scope to compare the output I was seeing for the “Play” code with the scope traces from Adrian’s web page and changed the Harmony to use one of the model numbers for a CD jukebox, the PD-F100, that Adrian mentioned. Hey presto, a match (well, okay, it’s not that convincing at that scope resolution, but I tried it “zoomed in” a bit more on the timebase and it looked good):
And after that, when I plugged my little box back into the Pioneer, crossed my fingers, and pressed “Play” on the Logitech remote, the Pioneer rewarded my efforts by bursting into life and playing Passion Play’s Frantic.
Once I’d jumped that hurdle, it turned out that everything else worked perfectly. The Logitech remote would play, pause, fast-forward, rewind, change discs, everything. And I can now sit working at my desk and pause the CD player on the other side of the room if a colleague calls me up on Teams, or whatever.
I had most of the stuff I used just lying around, including the box and jack plugs and stripboard and all the electronic components apart from the IR receiver itself. I bought a sample plate of IR transmissive plastic from an eBay seller for £2 to sit underneath the hole I’d drilled in the box for the photodiode and make it look as neat as possible. I’m very happy with the results.